Three ways in
Build a game from nothing, check code an AI wrote, or bring in scripts from anywhere and work with them visually.
On this page
You can start from an empty project, from a script an assistant just wrote, or from code you got from somewhere else. Round Trip supports all three without asking you to convert the codebase or learn C# punctuation first.
Examples of the three starting points
Select a screenshot to enlarge it.
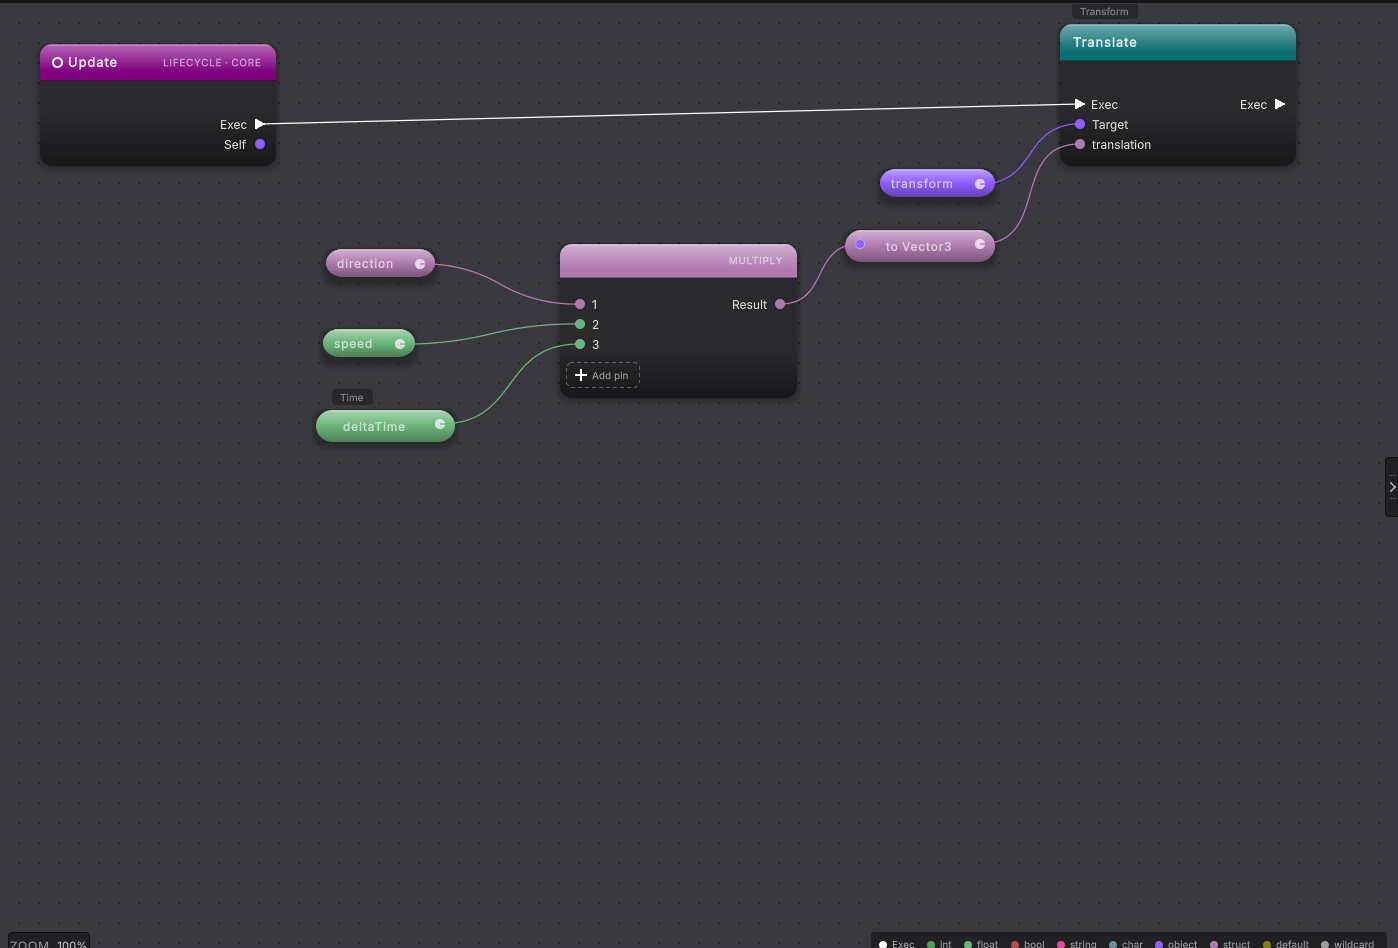
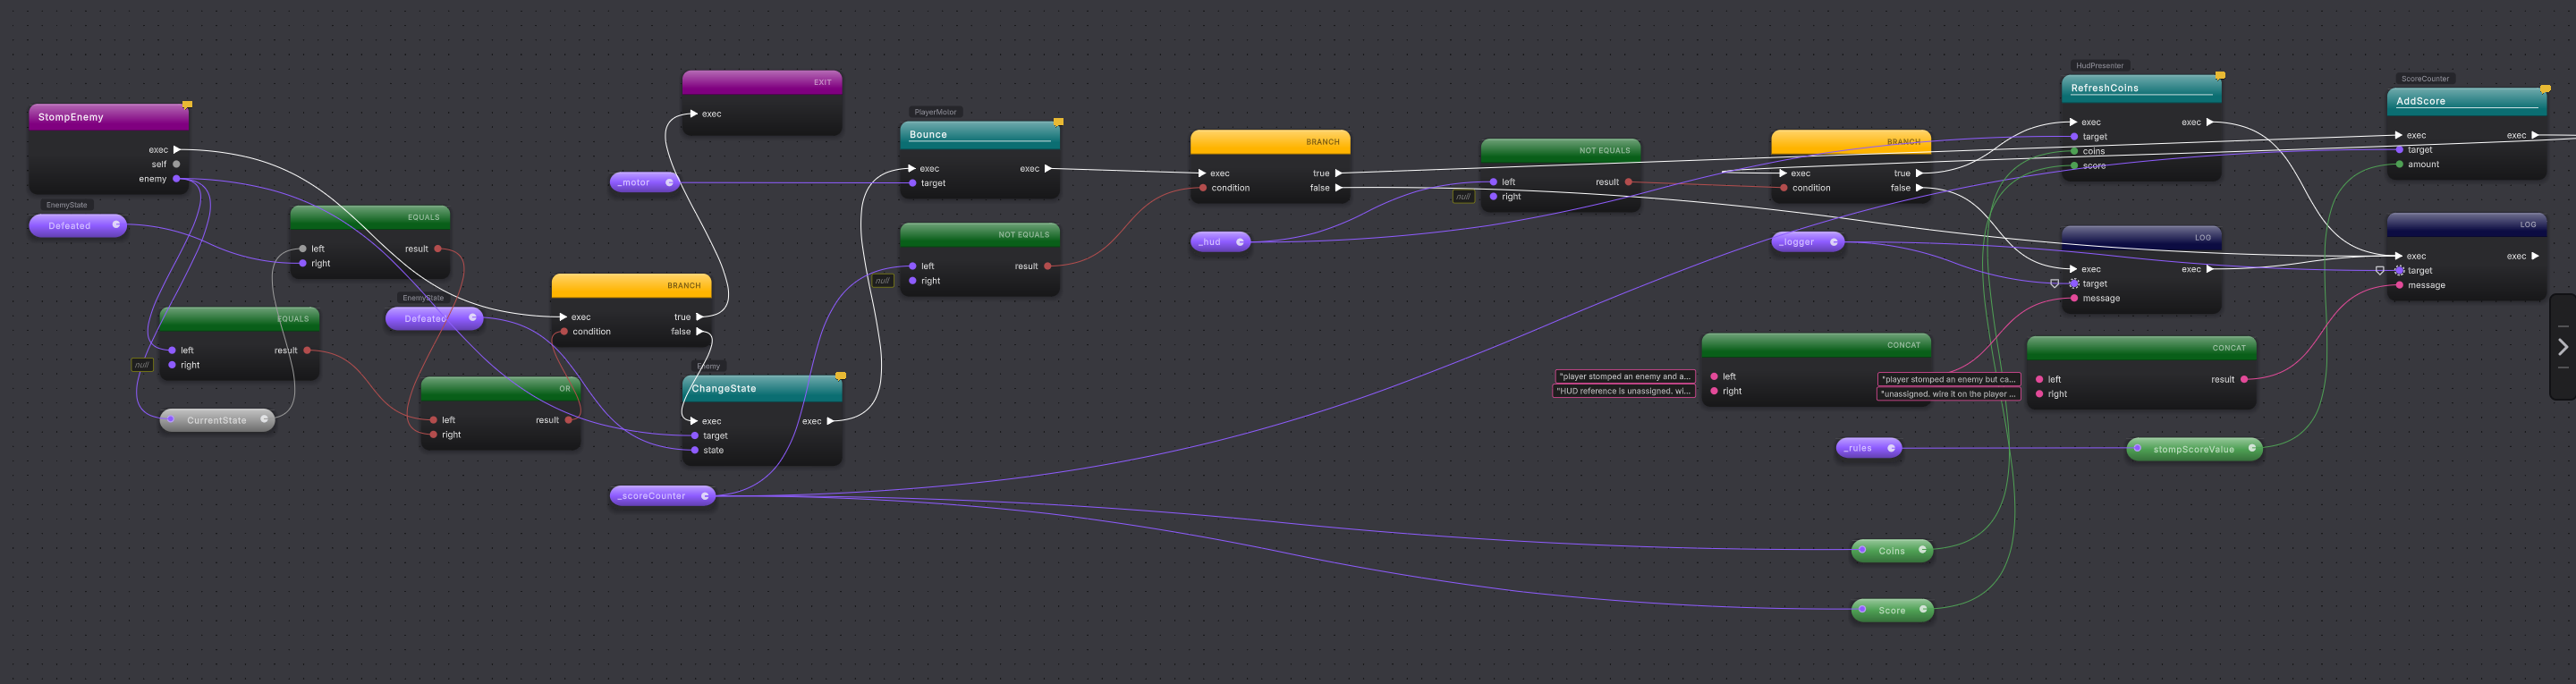
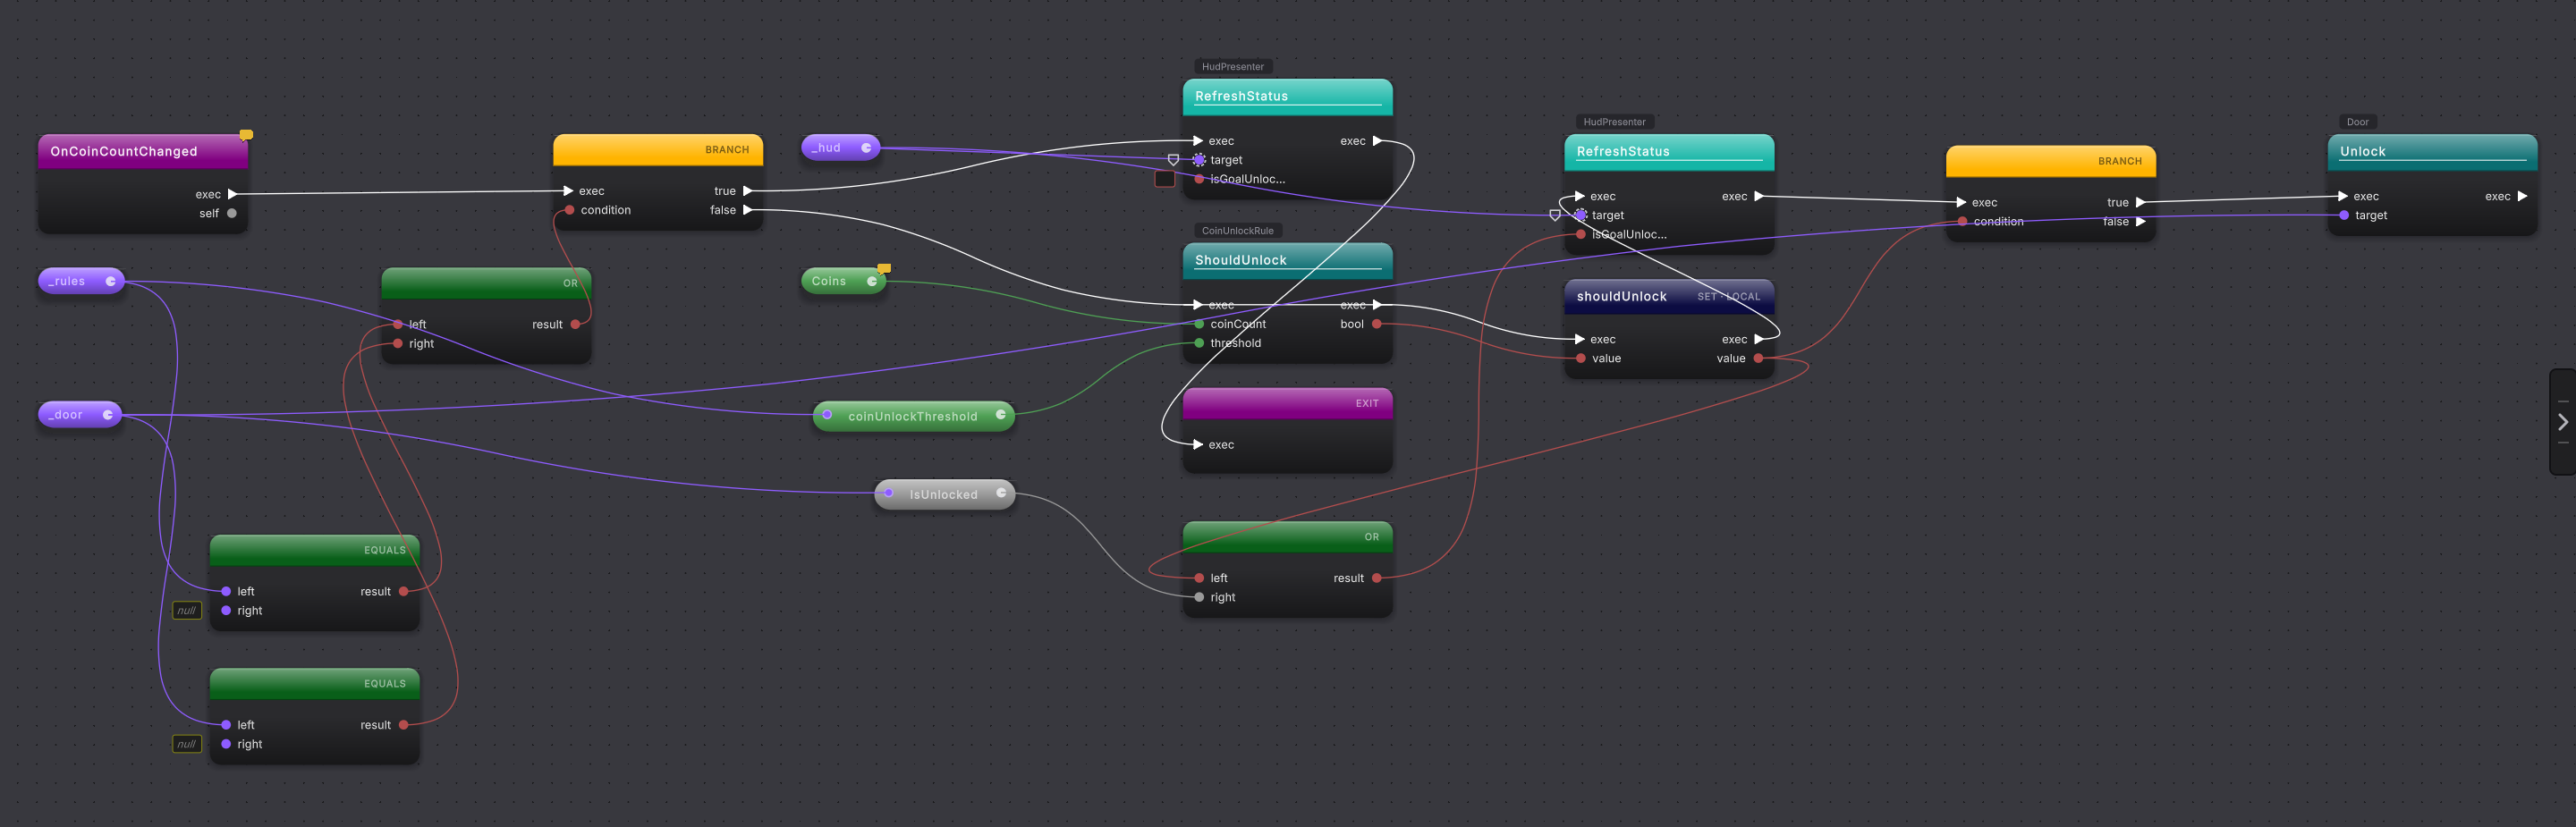
Build the game without writing code
Section titled “Build the game without writing code”Use this route when no source file holds the behavior yet. The short example below creates a CoinAnnouncer component with an AnnounceCoin method that logs a message. It is a building block, not a playable game. Start in a practice project with an indexed source folder.
Build a class and a method on the canvas
Create the class
Open Tools > Round Trip > Graph view. Press + beside the class chip, name the class
CoinAnnouncer, choose MonoBehaviour and press Create.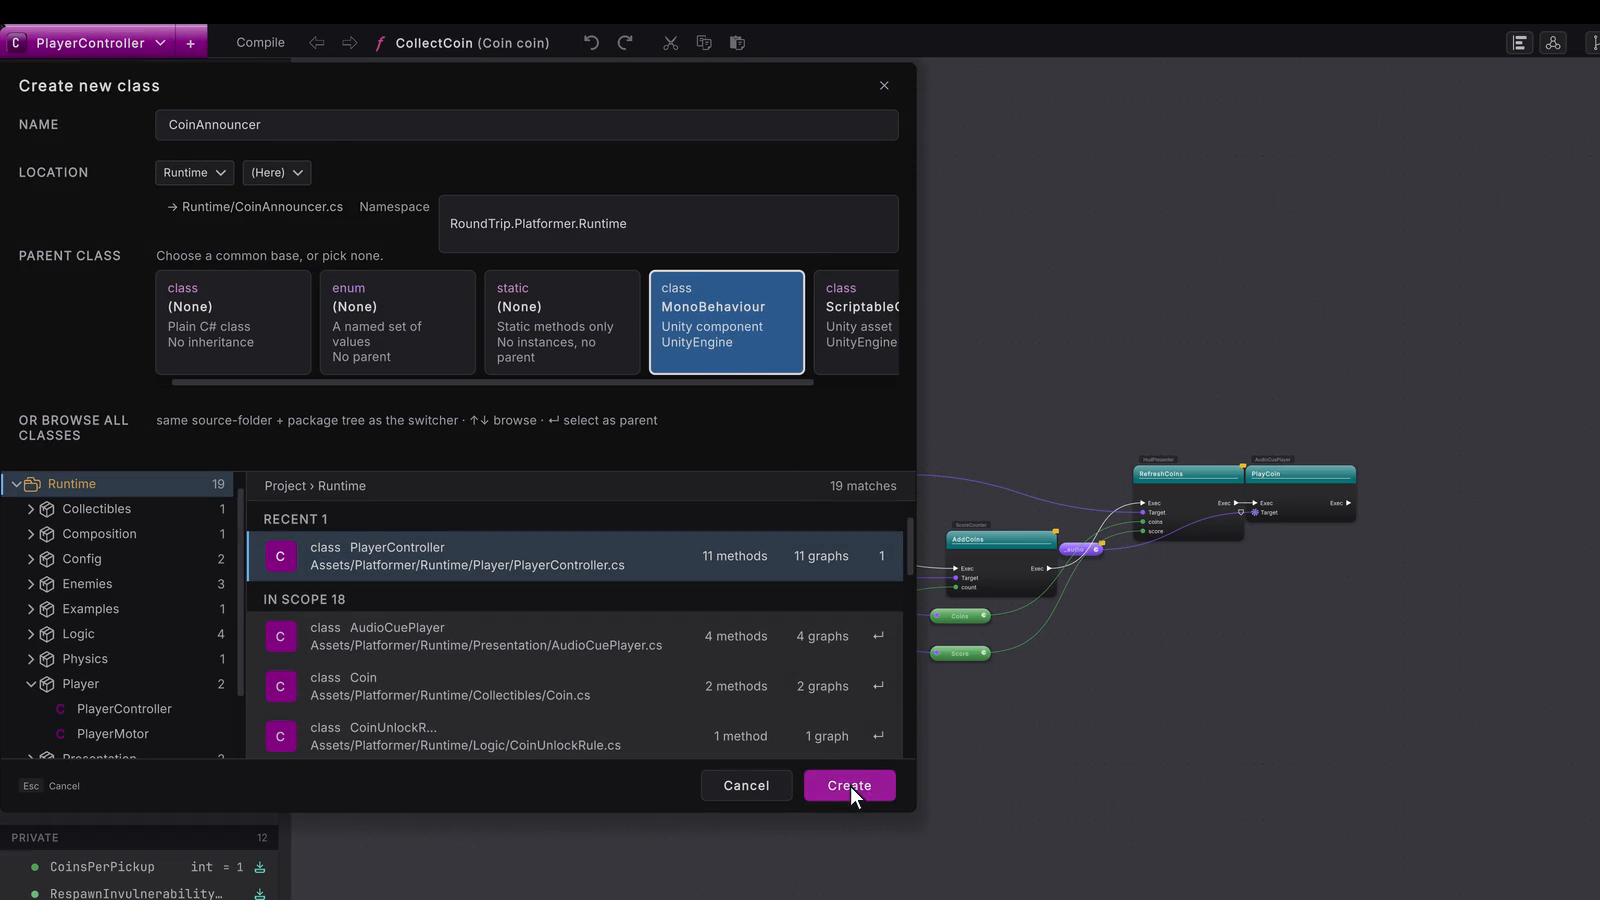 4 stepsFull size ↗
Add the method
Press + on the Methods header, type
AnnounceCoinand press Enter.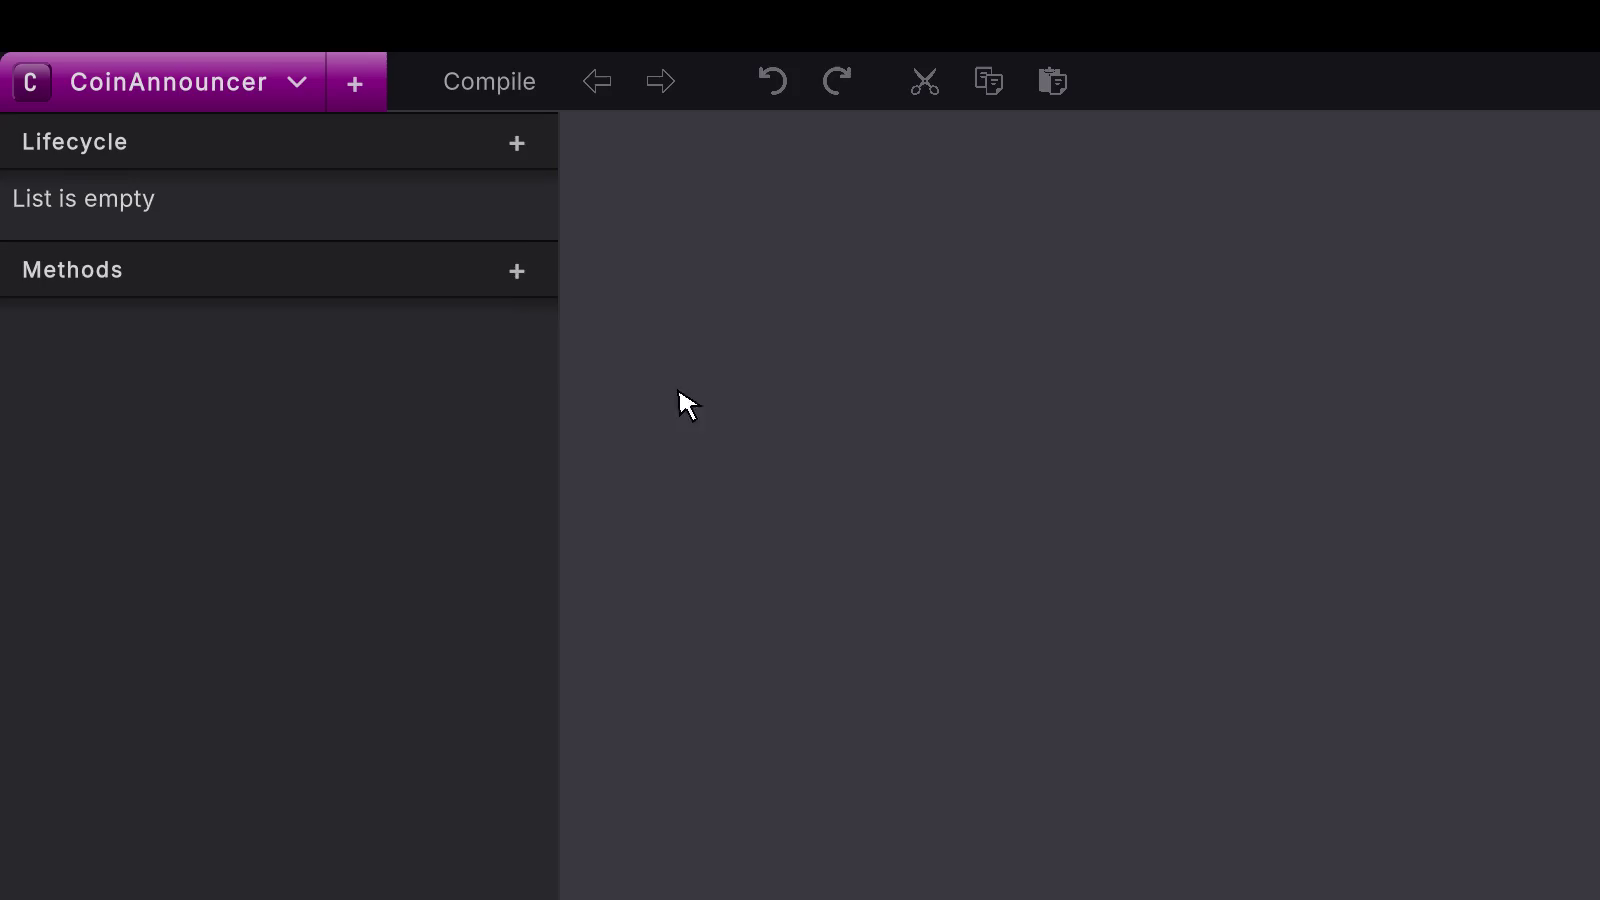 3 stepsFull size ↗
Log a message and Compile
Right-click the empty canvas, search
Logand choose the call. Drag the entry node’s white Exec pin to the Log node’s Exec input. Click its message pin and type"Hello from Round Trip", quotes included. Then press Compile at the left of the top rail.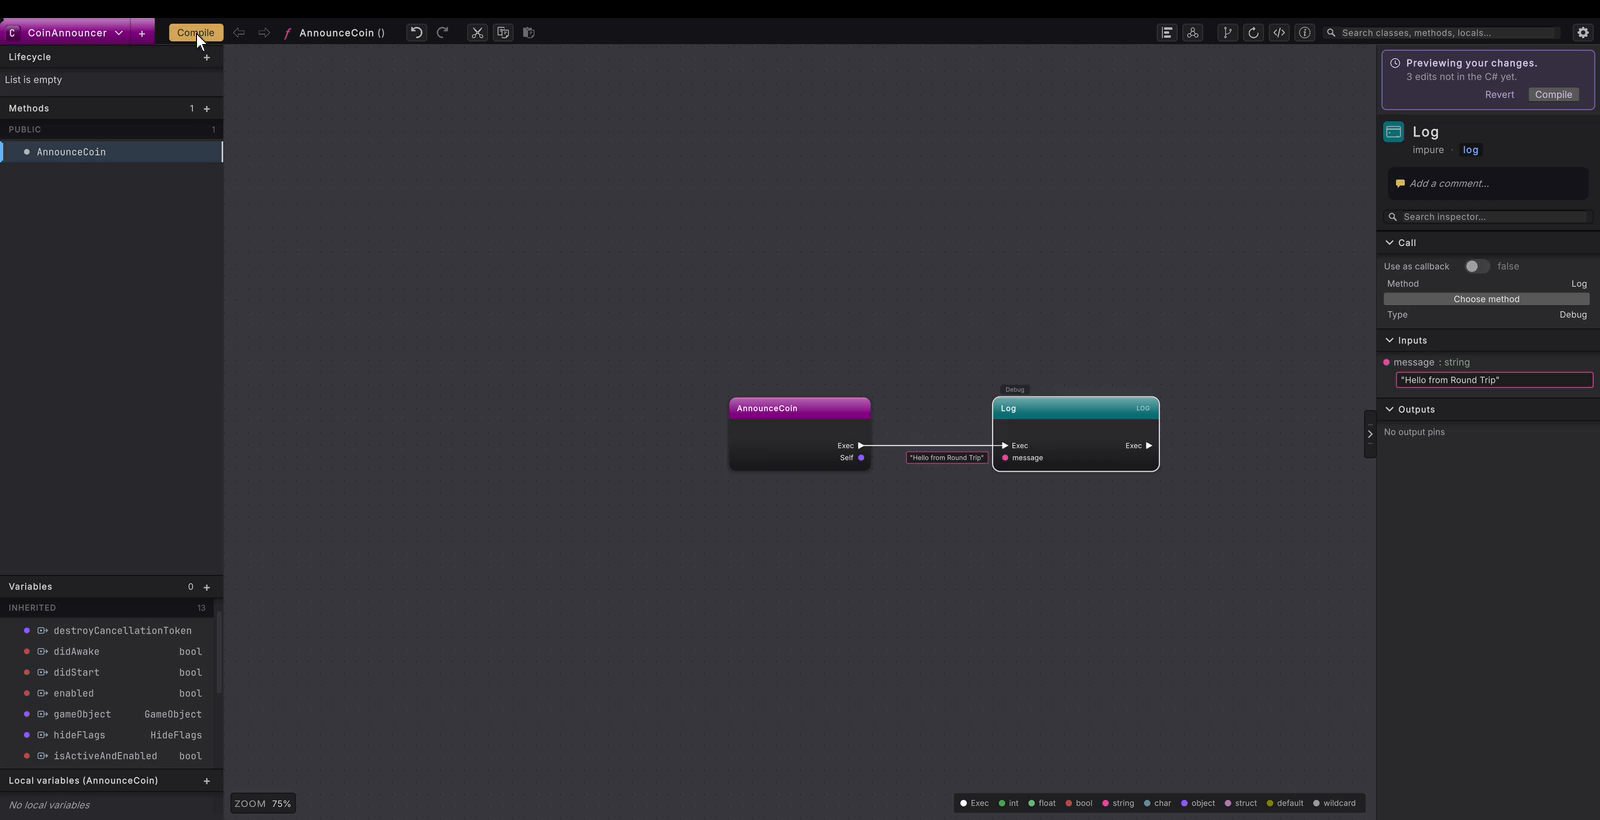 7 stepsFull size ↗
Continue with Your first class for the full click-by-click exercise.
Check what the AI did
Section titled “Check what the AI did”Use this route when an assistant has edited your scripts and you want to see what it did before you keep it. Commit before the assistant starts, so its work is the only difference you are reviewing and you have a known-good version to go back to.
Open the modified-classes button on the top rail (its tooltip reads Show modified classes.) and choose the class the assistant touched. Read the changed method as a diagram: follow guards, calls and value flow without relying on the assistant’s explanation. Compare the source file with your checkpoint using your version-control tool’s diff. If you reject the change, use that tool to restore the file.
The worked route is Check what the AI did.
Use code from anywhere
Section titled “Use code from anywhere”Use this route when the code already exists: a tutorial script, a forum answer, an asset you bought, or a project you inherited. The example below uses ScoreCounter from the Platformer sample in a practice copy. Supported code can be changed on the canvas; Round Trip can refuse changes it cannot safely write.
Read a script you did not write, then change one value
Add the source folder
Select the sample’s
Platformer/Runtimefolder in the Project window and choose Assets > Round Trip > Add folder to Round Trip. Skip this step if you imported the Platformer sample, which adds the folder for you.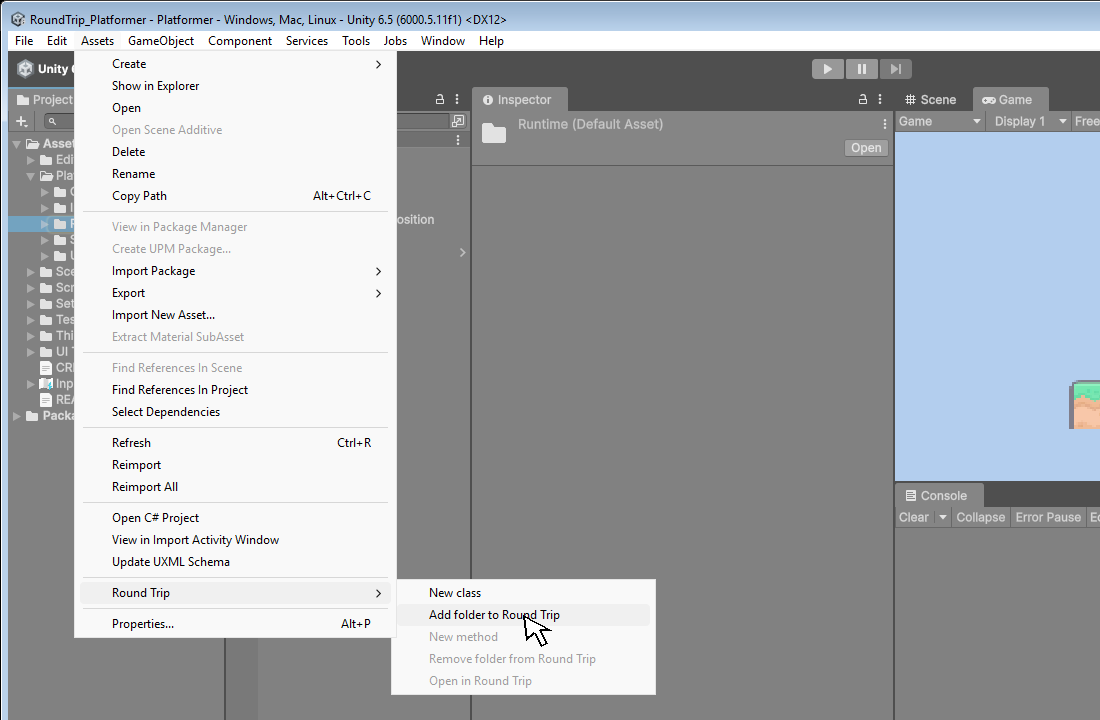 3 stepsFull size ↗
Open Graph view
Choose Tools > Round Trip > Graph view. The Round Trip graphs window opens.
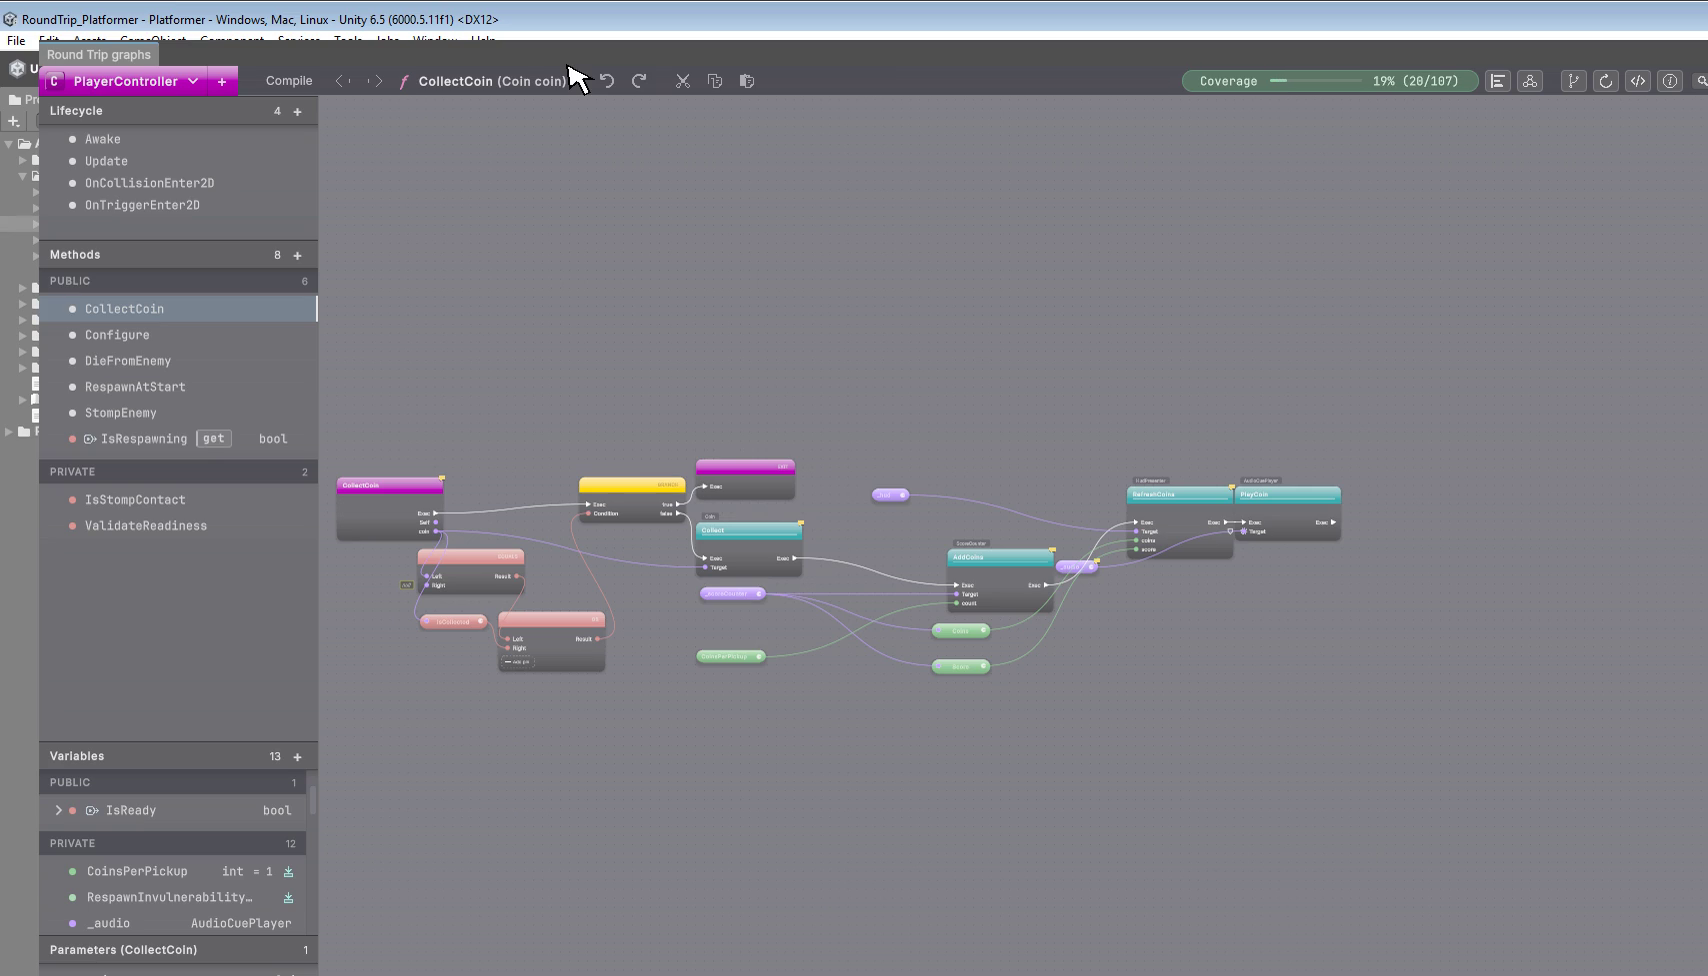 4 stepsFull size ↗
Choose the class
Press Cmd/Ctrl+O to open the class picker, choose the Runtime scope and select
ScoreCounter.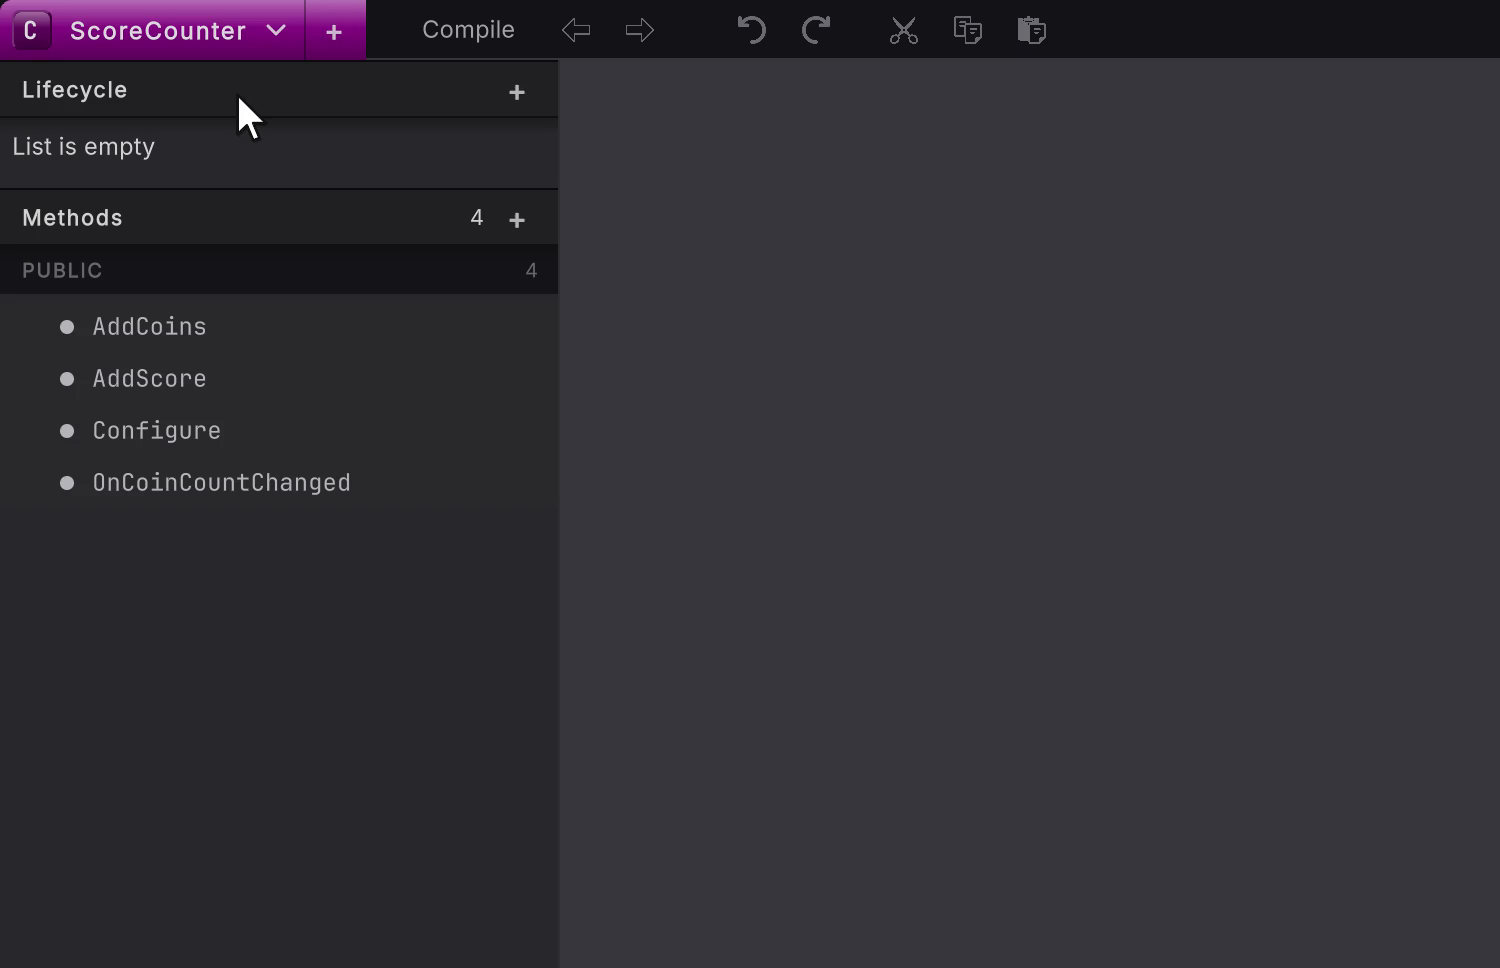 4 stepsFull size ↗
Open the method
In the left rail, select
OnCoinCountChanged.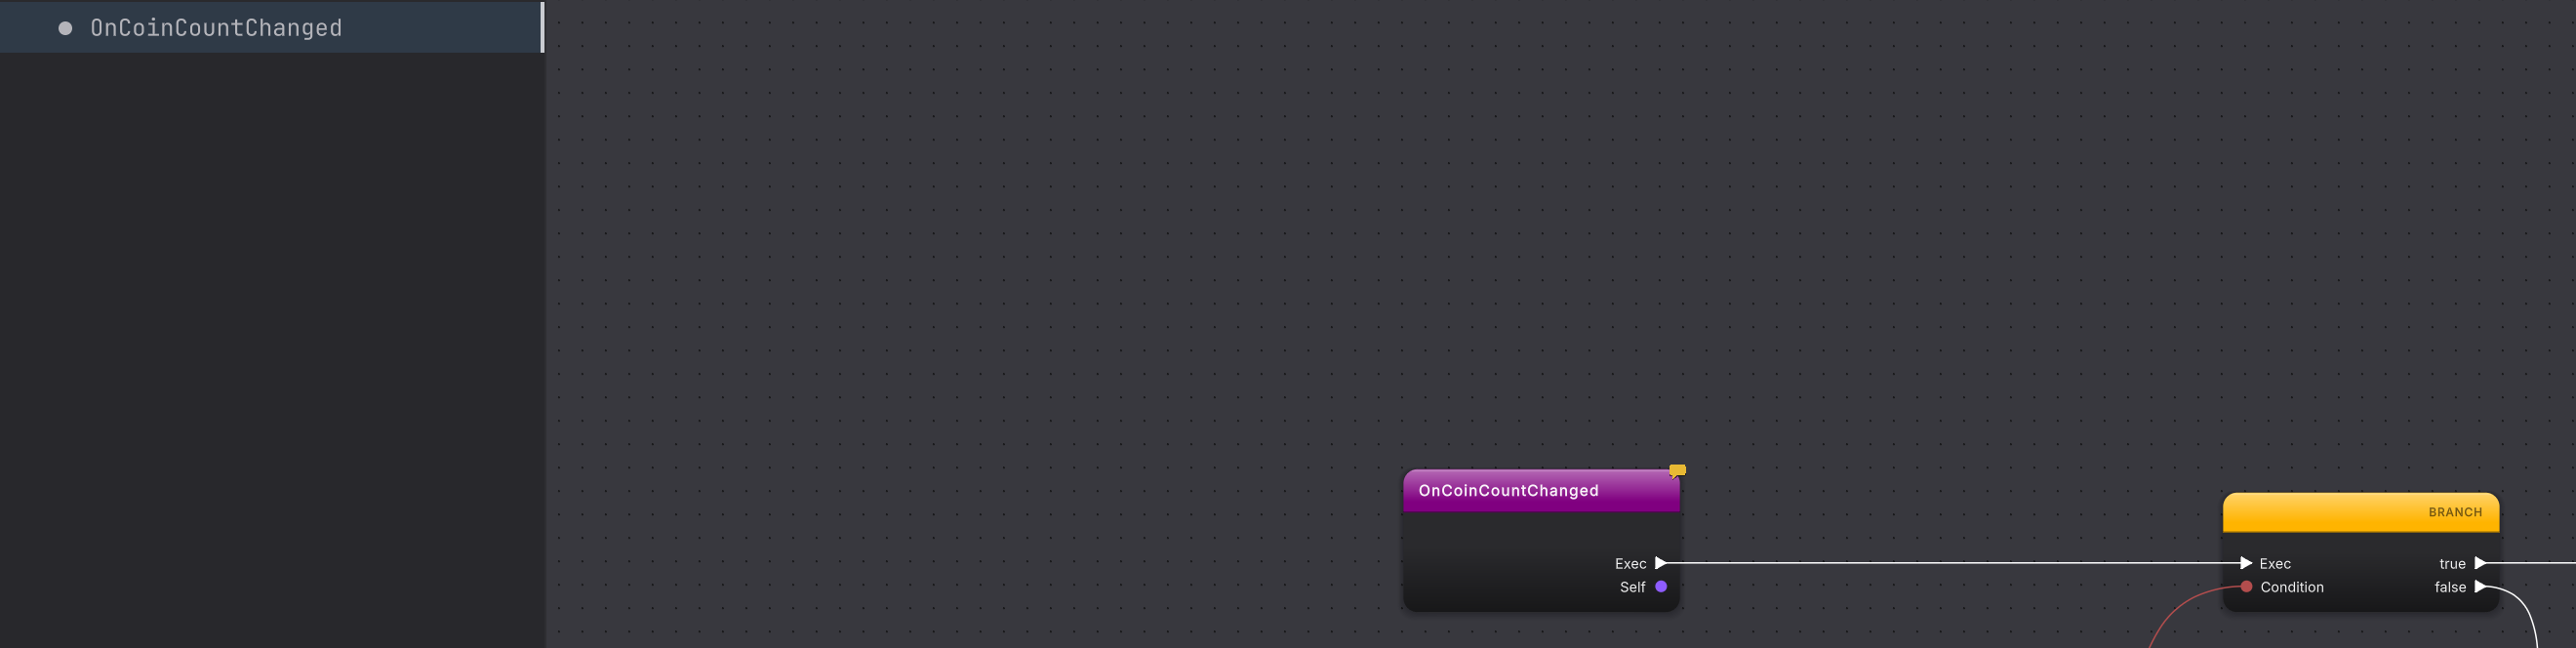
Inspect the branch
Click the first BRANCH to see its identity in the right rail.
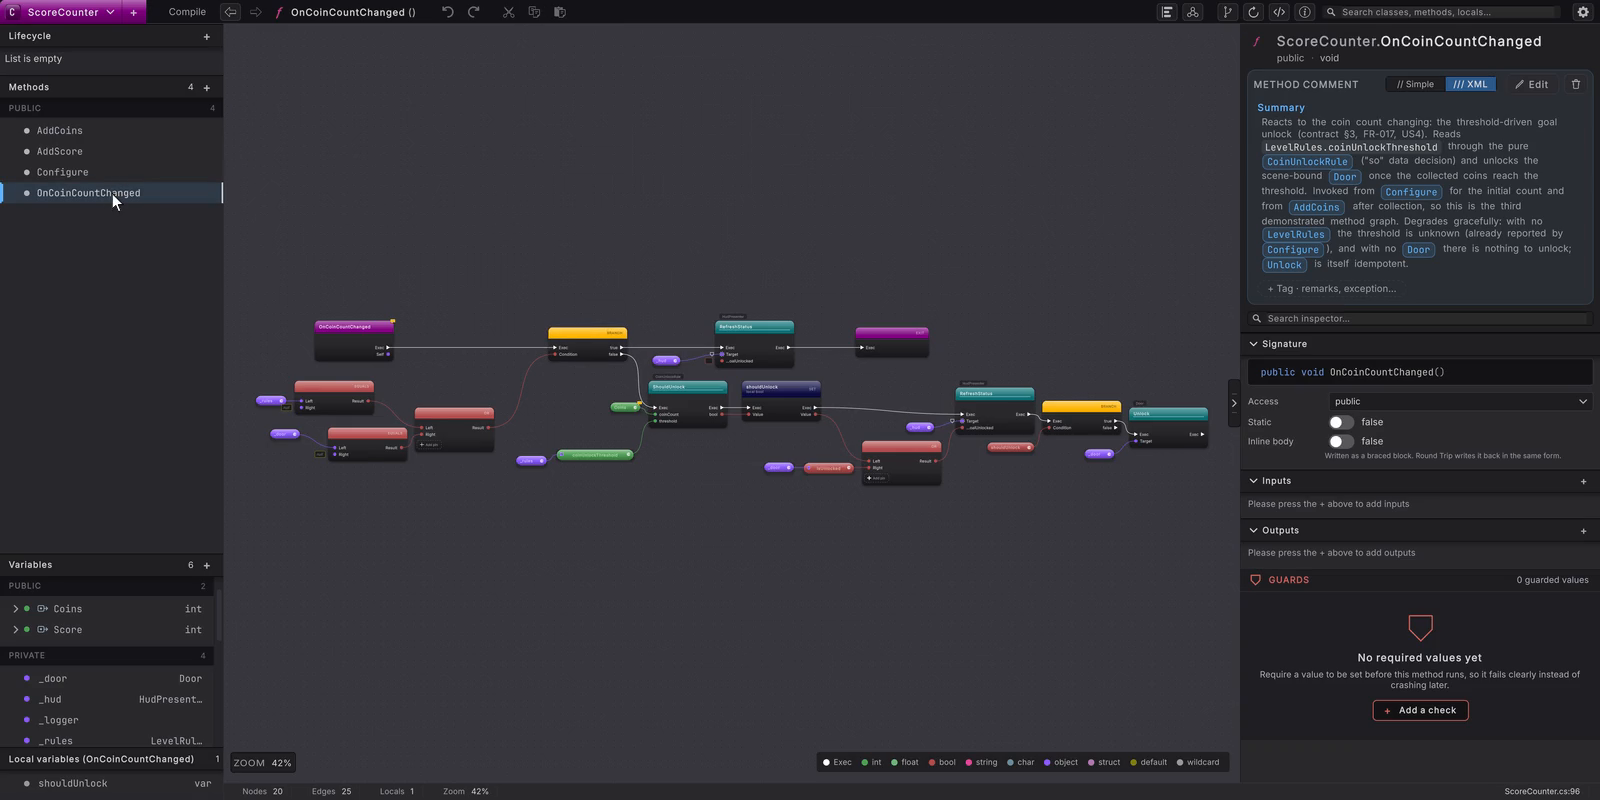 4 stepsFull size ↗
Tick the value and Compile
Follow the branch’s true output to the first RefreshStatus call. Click its isGoalUnlocked box to tick it, then press Compile. Do this only in a practice copy and restore the original file afterwards.

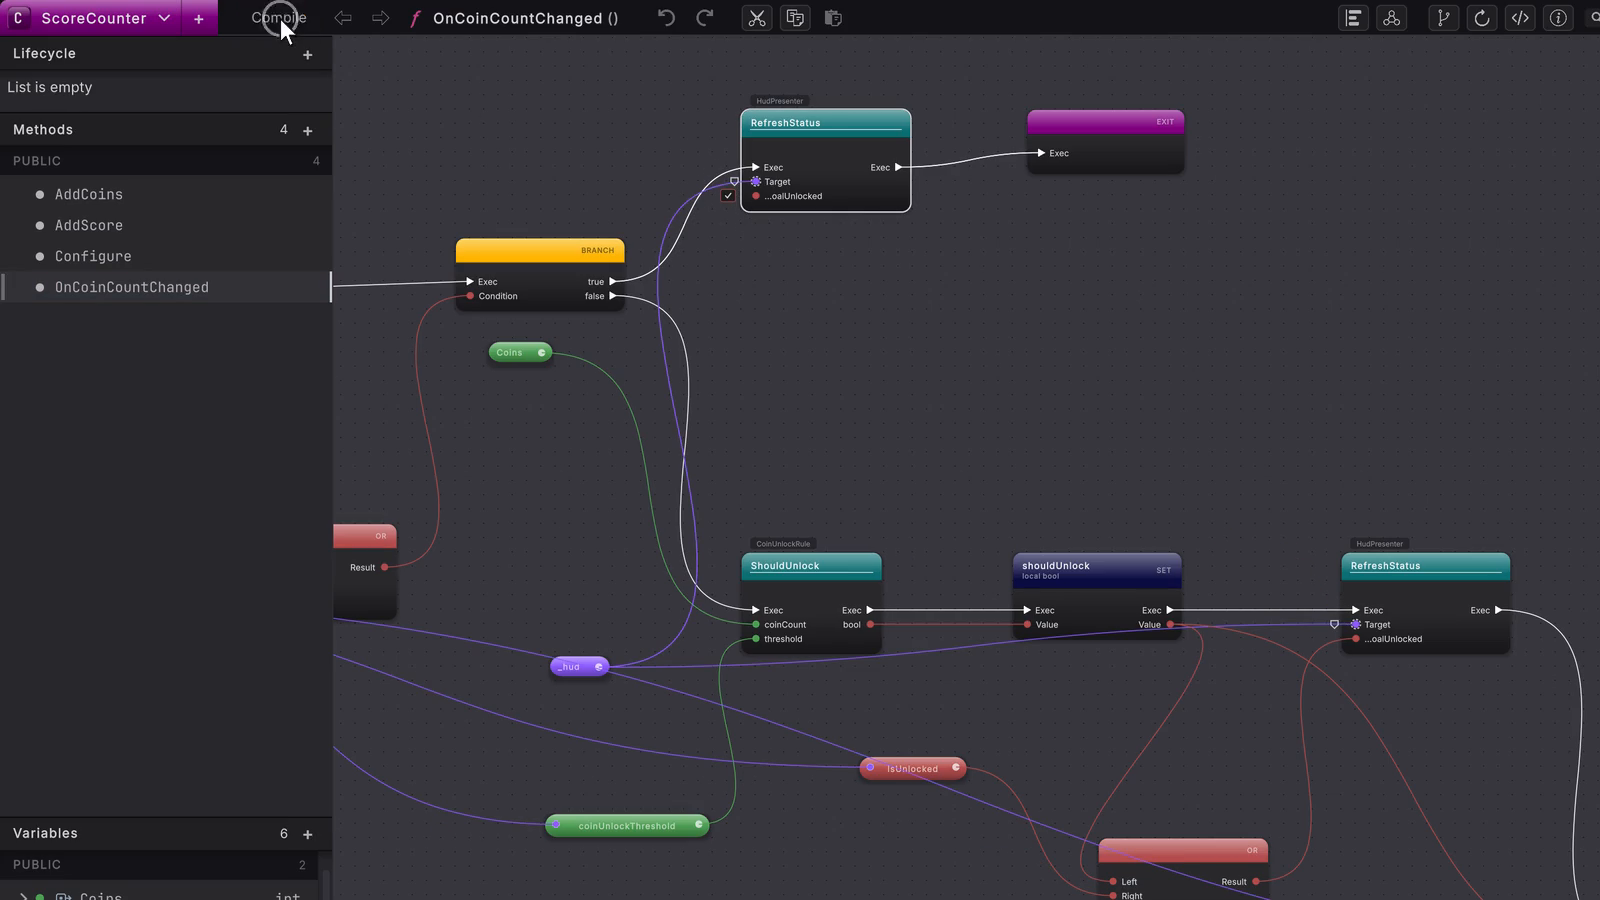
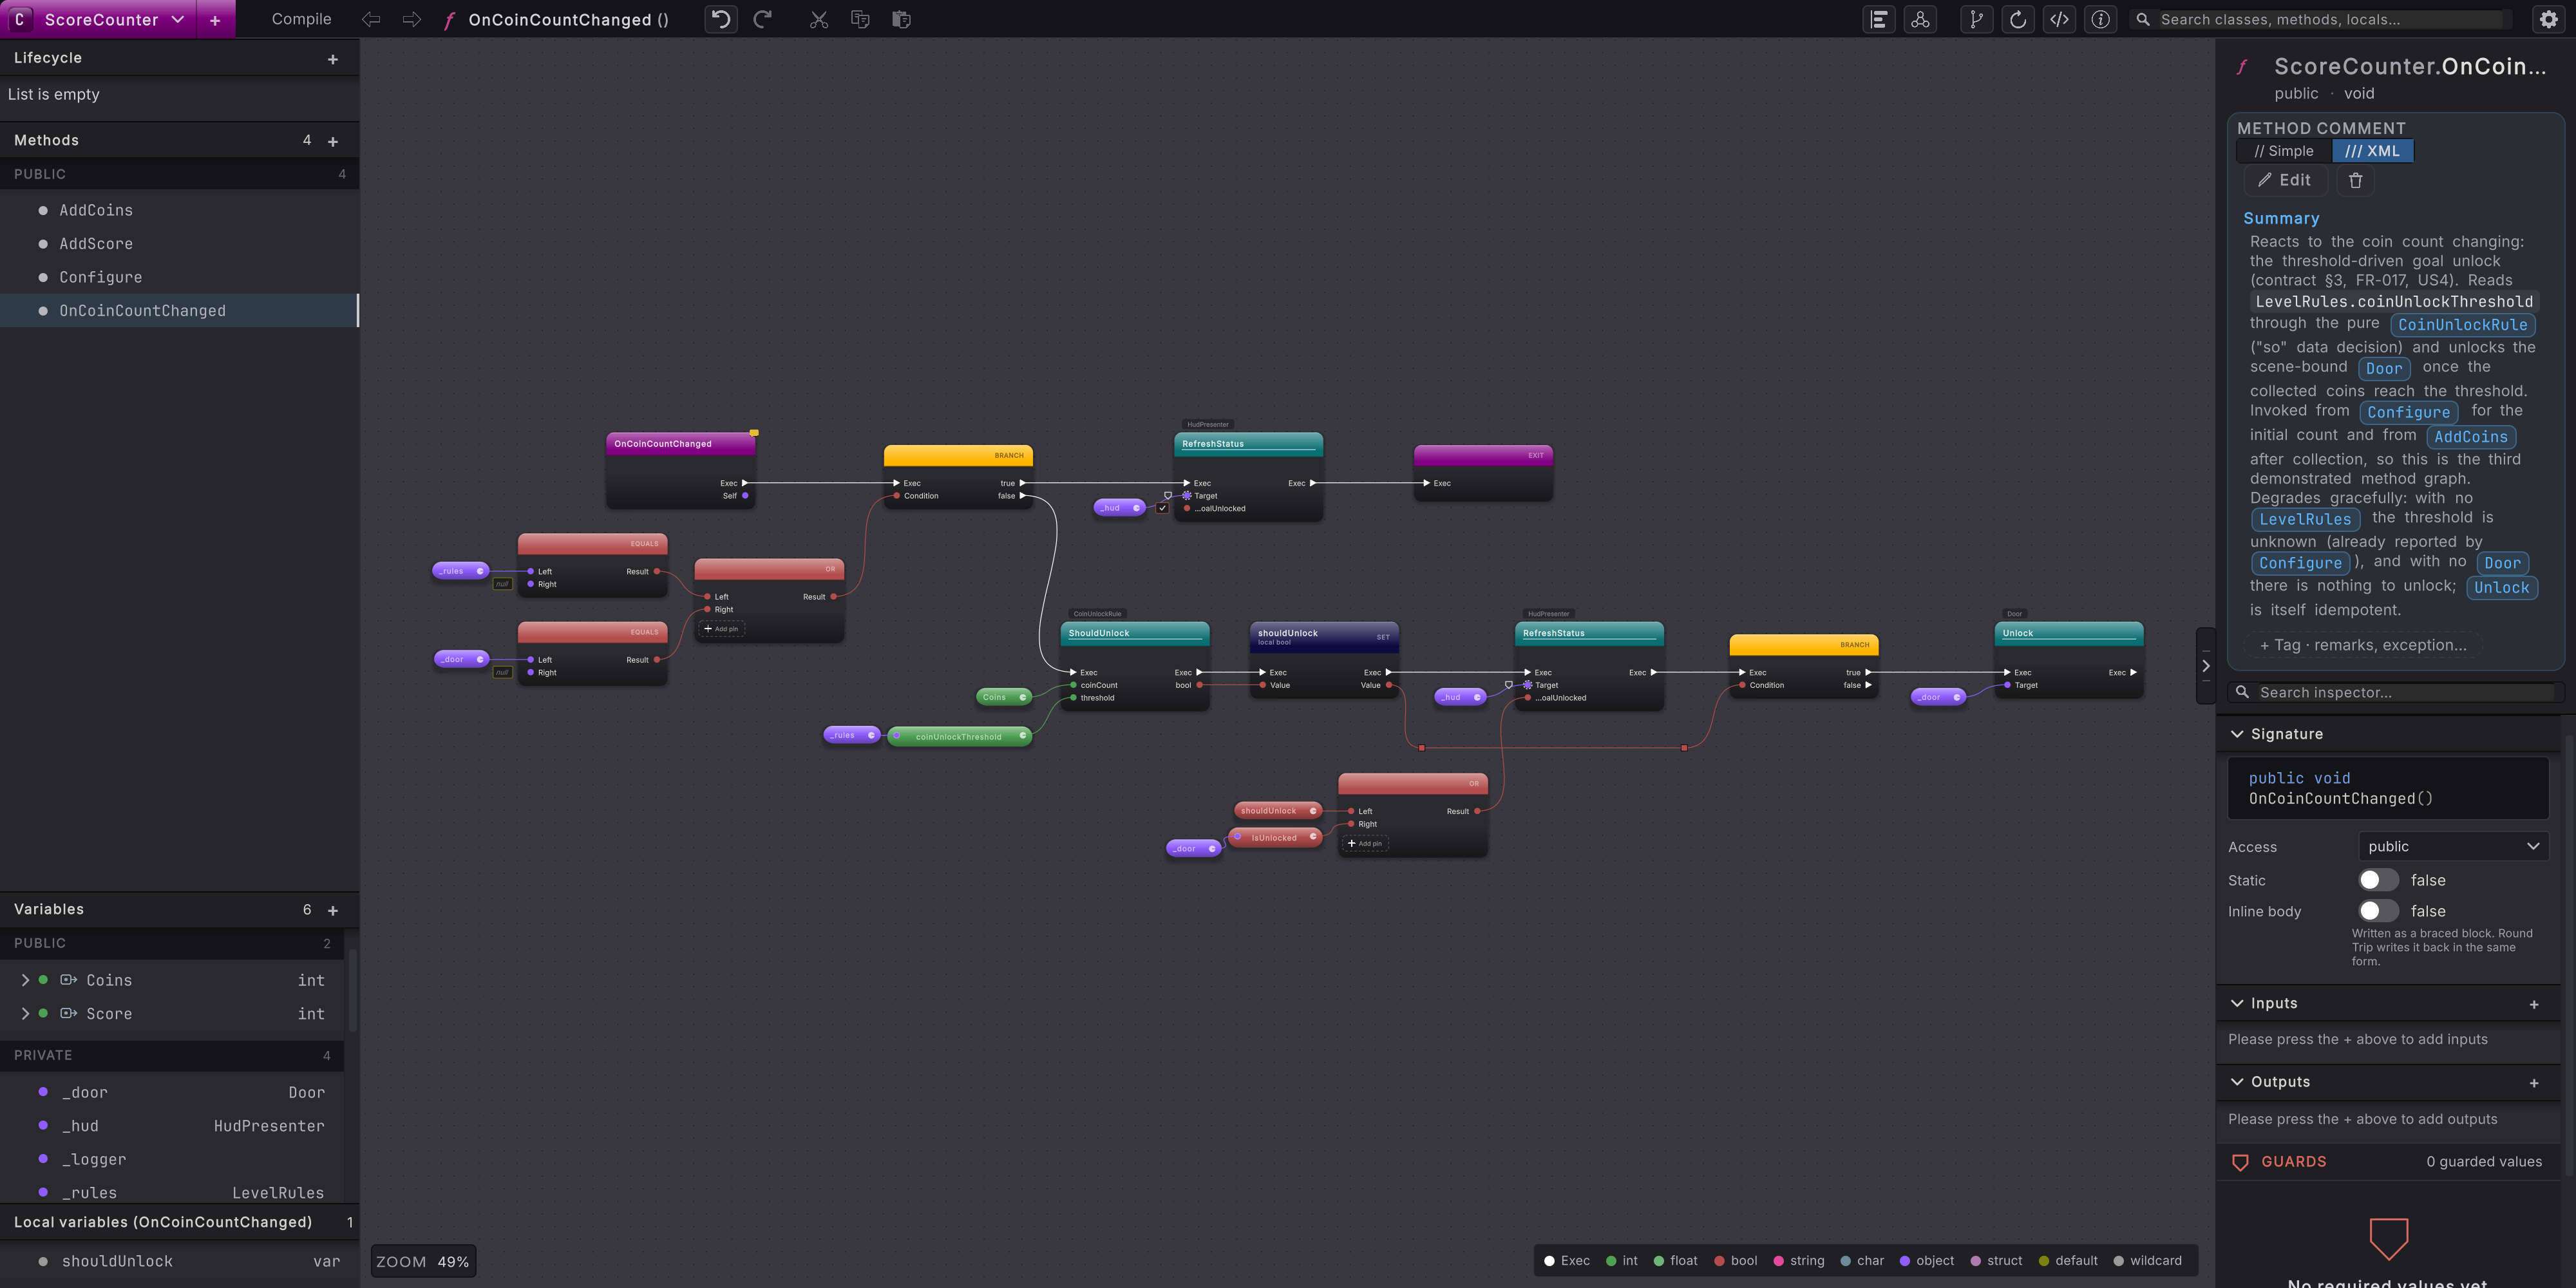
Continue with Read a class you did not write and Build it visually, then Compile.
Work as a team
Section titled “Work as a team”Choose shared layout storage when the arrangement itself is useful review material. Shared layout and configuration files live under <Project>/RoundTrip; local files live under <Project>/UserSettings/RoundTrip and stay specific to one machine. Keep ProjectSettings/RoundTripSettings.asset in version control so the team uses the same include paths and storage scope.
The team workflow, including what to share and what to keep local, is in Work as a team.
- Your first class: build gameplay without writing code.
- Check what the AI did: review a source change through a diff and a diagram.
- Read a class you did not write: bring in existing code and read it visually.
- Work as a team: choose shared or local layout storage.