
Your first class
Make a 2D scene with a square character, create a Movement component in Round Trip, add a Move control and an Update method that walk it with the arrow keys, then add a Jump button that hops it, all as visual scripts.
On this page
Follow these steps to create a simple class that moves a player character in 2D. You will put a square in a scene, create a Movement component in Round Trip, and build it as visual scripts: the arrow keys or W, A, S and D walk the square around, and Space makes it hop. The pictures and clips were recorded on Windows; on macOS use Cmd where they show Ctrl.
The words in this tutorial
Section titled “The words in this tutorial”Every word in this table is something you will see on screen. Skim it now and come back when a step uses a word you have forgotten.
Words used in this tutorial
| Word | What it looks like | What it means |
|---|---|---|
| Class |  | A named bundle of settings and actions, saved as one C# file. Here the class is Movement, and Round Trip draws every part of it. |
| Method | 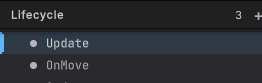 | One named list of actions, such as Update or OnMove. Unity runs a method at a set moment, and the Lifecycle list on the left shows the ones Unity calls for you. |
| Variable | 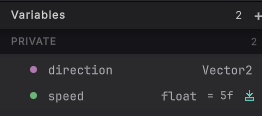 | A named value the class remembers, such as speed or direction. The Variables list on the left holds them. |
| Node | 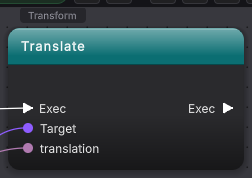 | A box on the canvas. Each node is one action or one fact: start here, set this, call that. |
| Pin |  | A dot on a node's edge. A pin on the left takes something in, and a pin on the right hands something out. Wires connect pins. |
| Exec wire |  | A white wire that sets the order things happen in. It runs from an Exec arrow to the next node's Exec arrow. |
| Data wire | 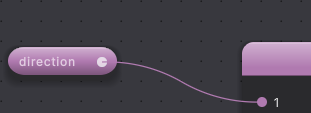 | A colored wire that carries a value from one pin to another, here the direction into a multiplication. |
| Pill |  | A small rounded node that only reads a value, such as a variable. It has no Exec arrow, because it does not do anything. |
| SET card | 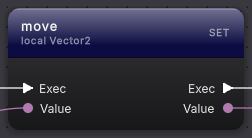 | A navy node that stores a value in a variable. Its name is on the left of the header and SET on the right. |
| Compile |  | The gold button that writes your canvas into the C# file. Nothing in the script changes until you press it. |
What it looks like
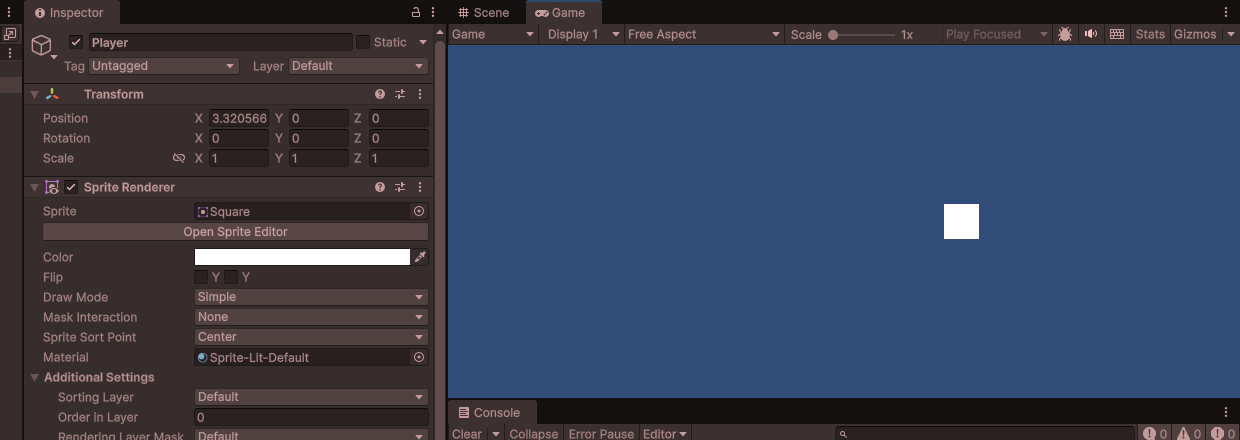
Section titled “What it looks like”The finished result: four directions and a hop
Select a screenshot to enlarge it.
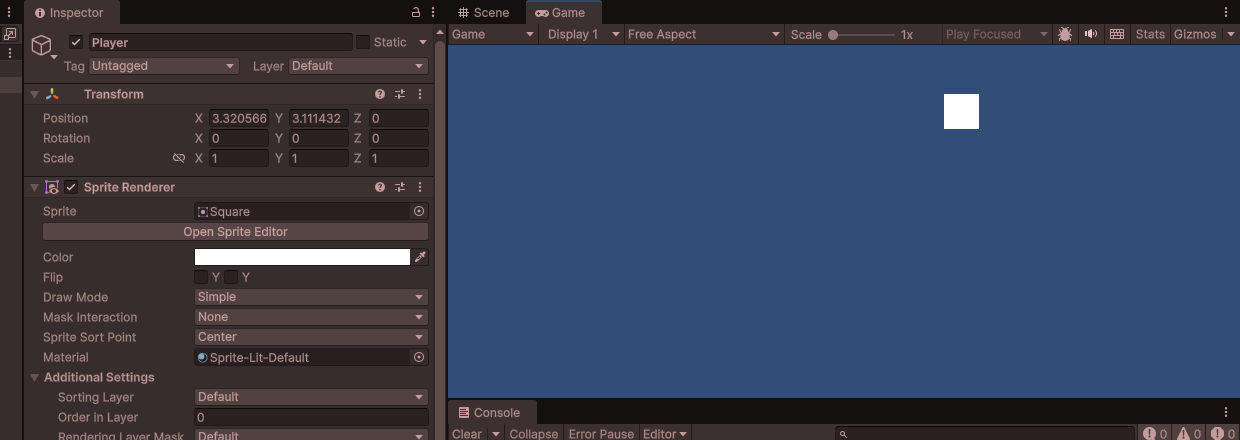
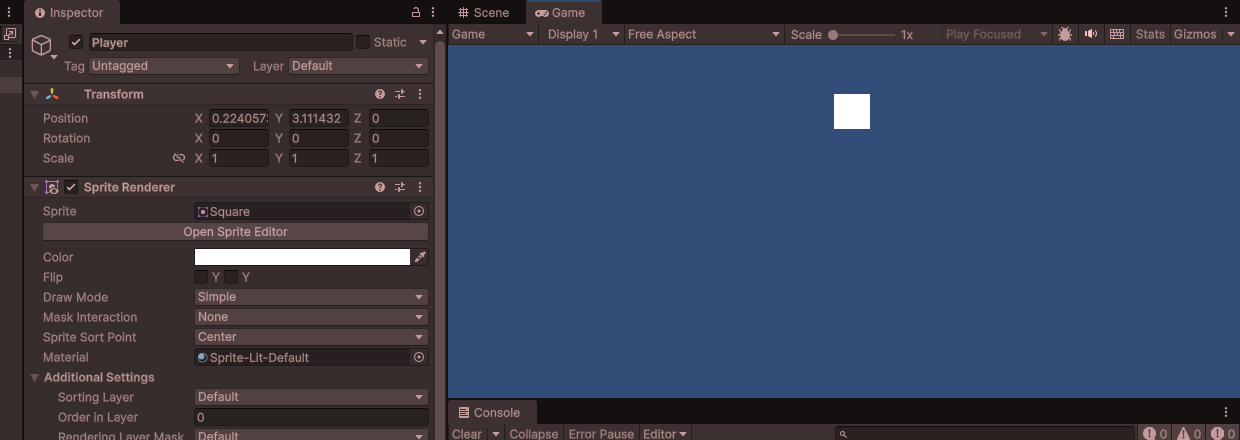
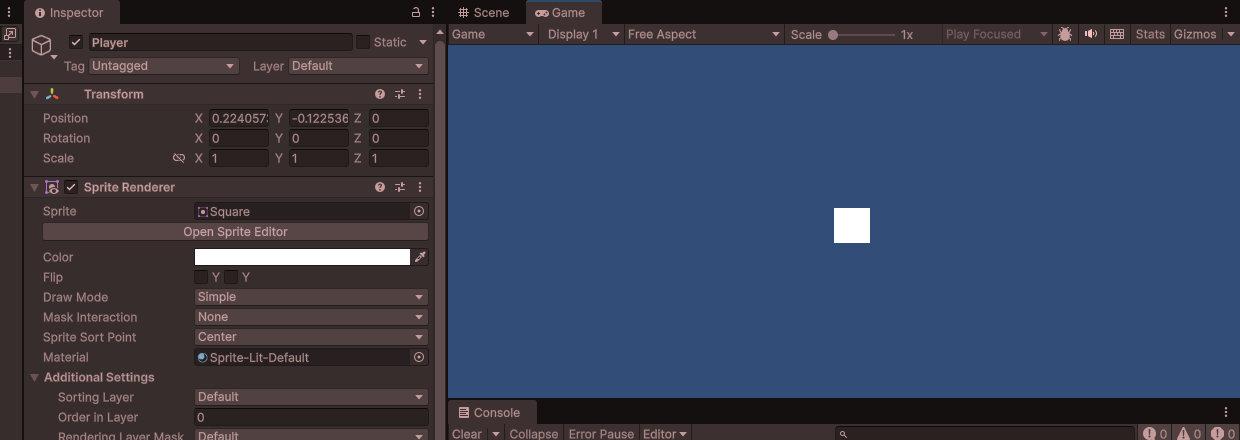
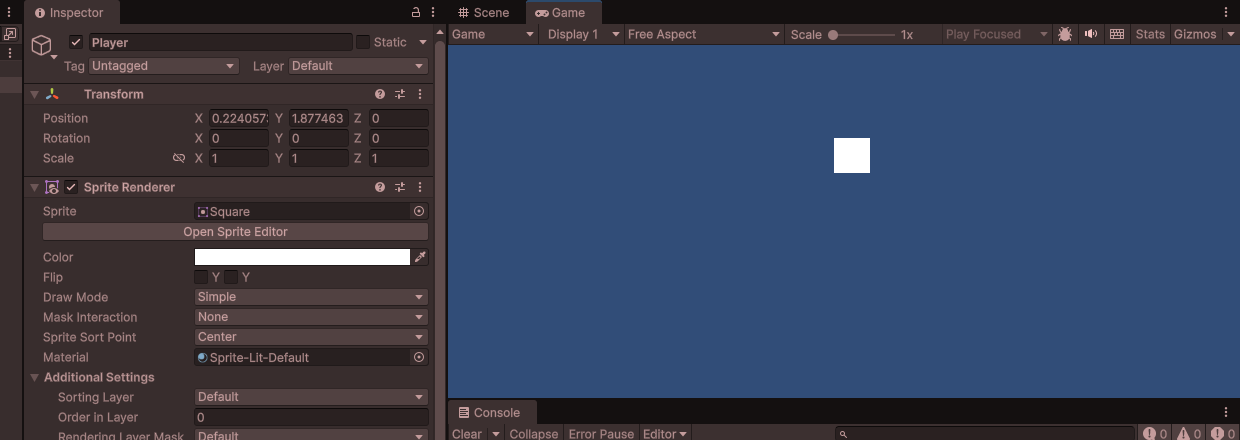
Before you start
Section titled “Before you start”- A Unity 6 project made from a URP template. In Unity Hub, choose New project and pick Universal 2D (or Universal 3D if you prefer). Avoid templates marked (Built-in / Deprecated): Unity no longer develops that renderer. Both Universal templates already contain the Input System package and a file of ready-made controls,
InputSystem_Actions, including the Move and Jump this tutorial uses. You do not set up any keys yourself. - The 2D Sprite package, if you chose Universal 3D. The square you add in step 5 comes from Unity’s 2D Sprite package. Universal 2D projects already have it. In a Universal 3D project, the 2D Object menu shows only Pixel Perfect Camera (URP) until you add it:
- Choose Window > Package Management > Package Manager (Window > Package Manager in Unity 6.0).
- Select Unity Registry on the left and type
2D Spritein the search box. - Select 2D Sprite and click Install. When Unity finishes importing, 2D Object > Sprites appears in the Hierarchy’s right-click menu.
- Round Trip installed, with a script folder chosen. Install Round Trip and follow the Setup Wizard. This tutorial keeps its script in
Assets/Scripts, so create that folder and choose it as a source folder in the wizard. - A clean Console, if Unity reports In App Purchasing as deprecated. The Universal templates include Unity’s In App Purchasing package, and Unity 6.5 reports it in the Console as deprecated (a yellow warning, also shown in the status bar at the bottom of the editor). This tutorial does not use it, so remove it and the Console starts empty:
- Choose Window > Package Management > Package Manager. Project > All Packages lists every package in the project; In App Purchasing carries a red mark and a Deprecated tag.
- Select In App Purchasing, open Manage and choose Remove.
- Unity asks Are you sure you want to remove this package? Click Remove. Unity reloads, and the warning is gone.
Remove In App Purchasing
Select a screenshot to enlarge it.
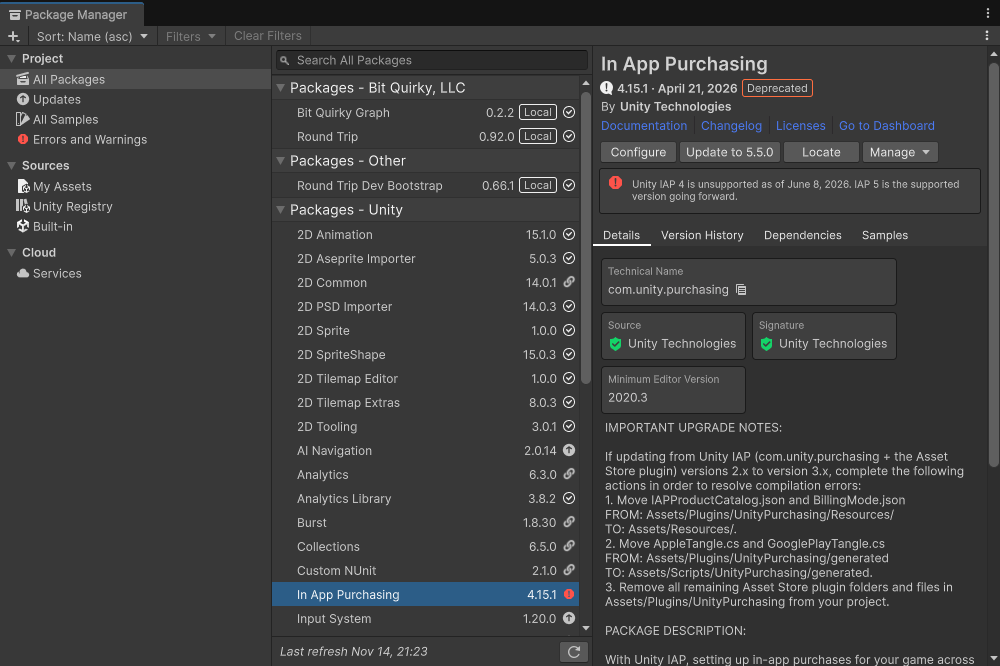
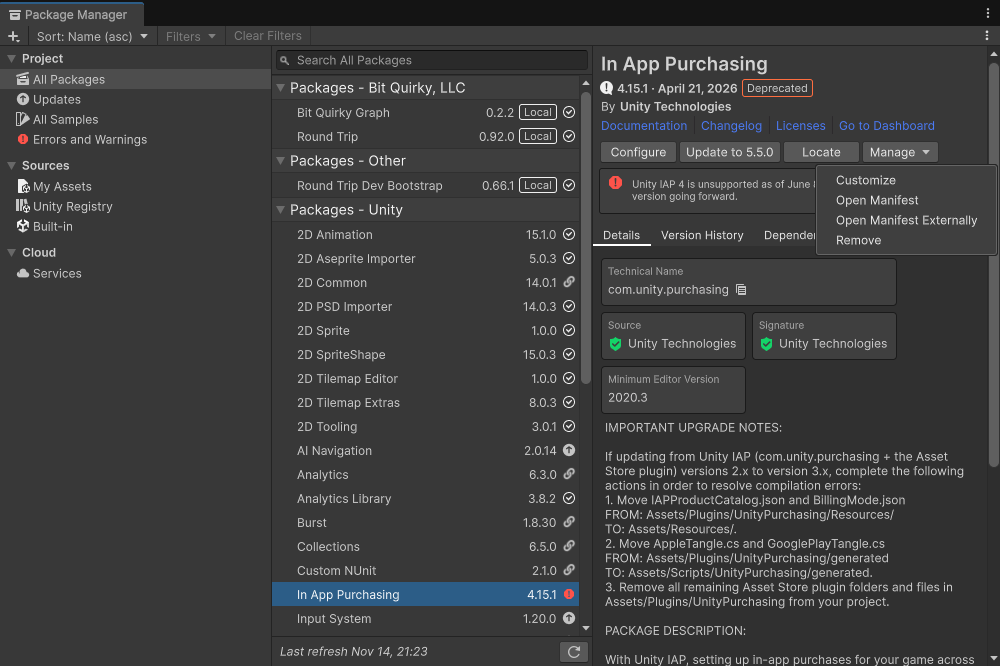
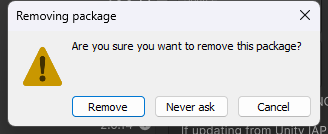
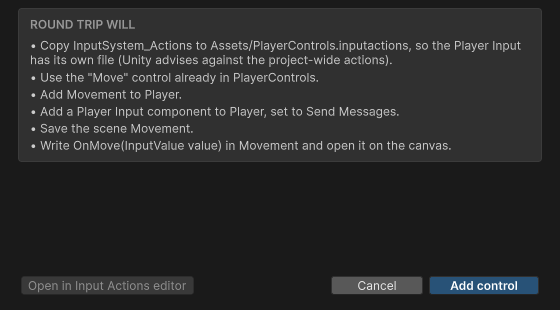
A brand-new practice project is the safest place to try this. The steps create a script and a scene and add components to Player. The Universal template already has Move and Jump in InputSystem_Actions, Unity’s project-wide actions file. Round Trip copies that file once to Assets/PlayerControls.inputactions for the Player Input and reuses the actions in the copy; the template’s own file is not changed.
Steps and boxes look different on purpose. A numbered step is something you do. A box marked with an i and For information explains what you just did, so you can read it or skip it.
1. Make a scene
Section titled “1. Make a scene”A scene is one place in your game: a menu, a level, a test room. Round Trip does not change how scenes work; this is the same scene you would make for any Unity project.
Make and open a 2D scene
Create a scene
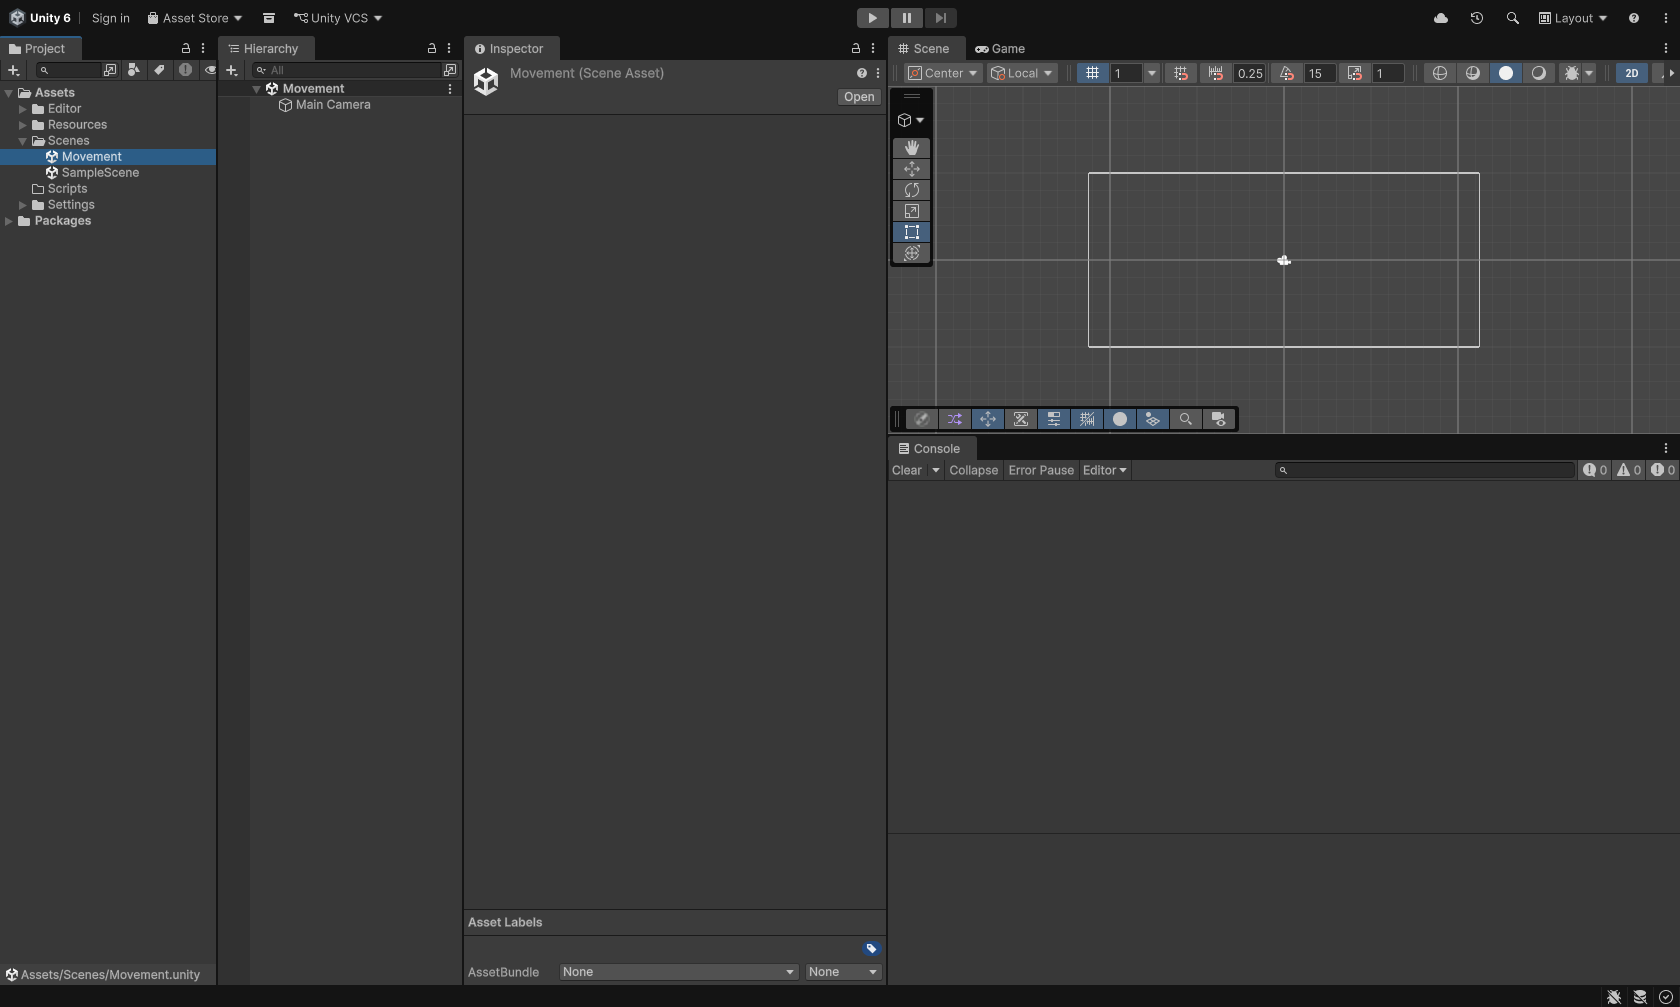
In the Project window, select the
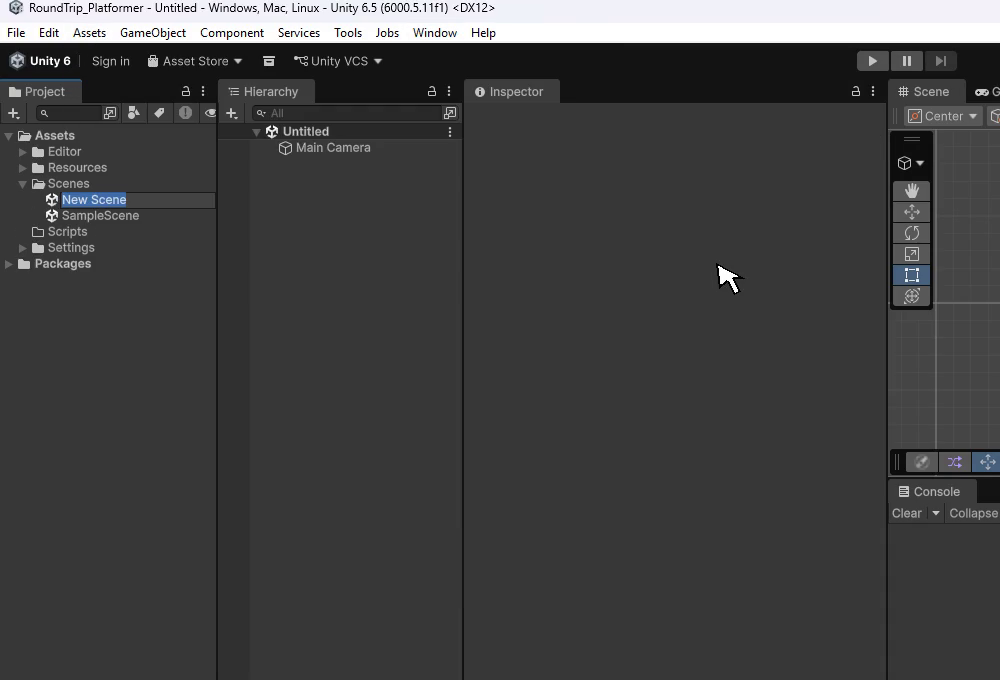
Assets/Scenesfolder, then choose Assets > Create > Scene > Scene from the menu bar. Right-clicking the folder opens the same Create menu.Name it Movement
Type
Movementas the scene name and press Enter.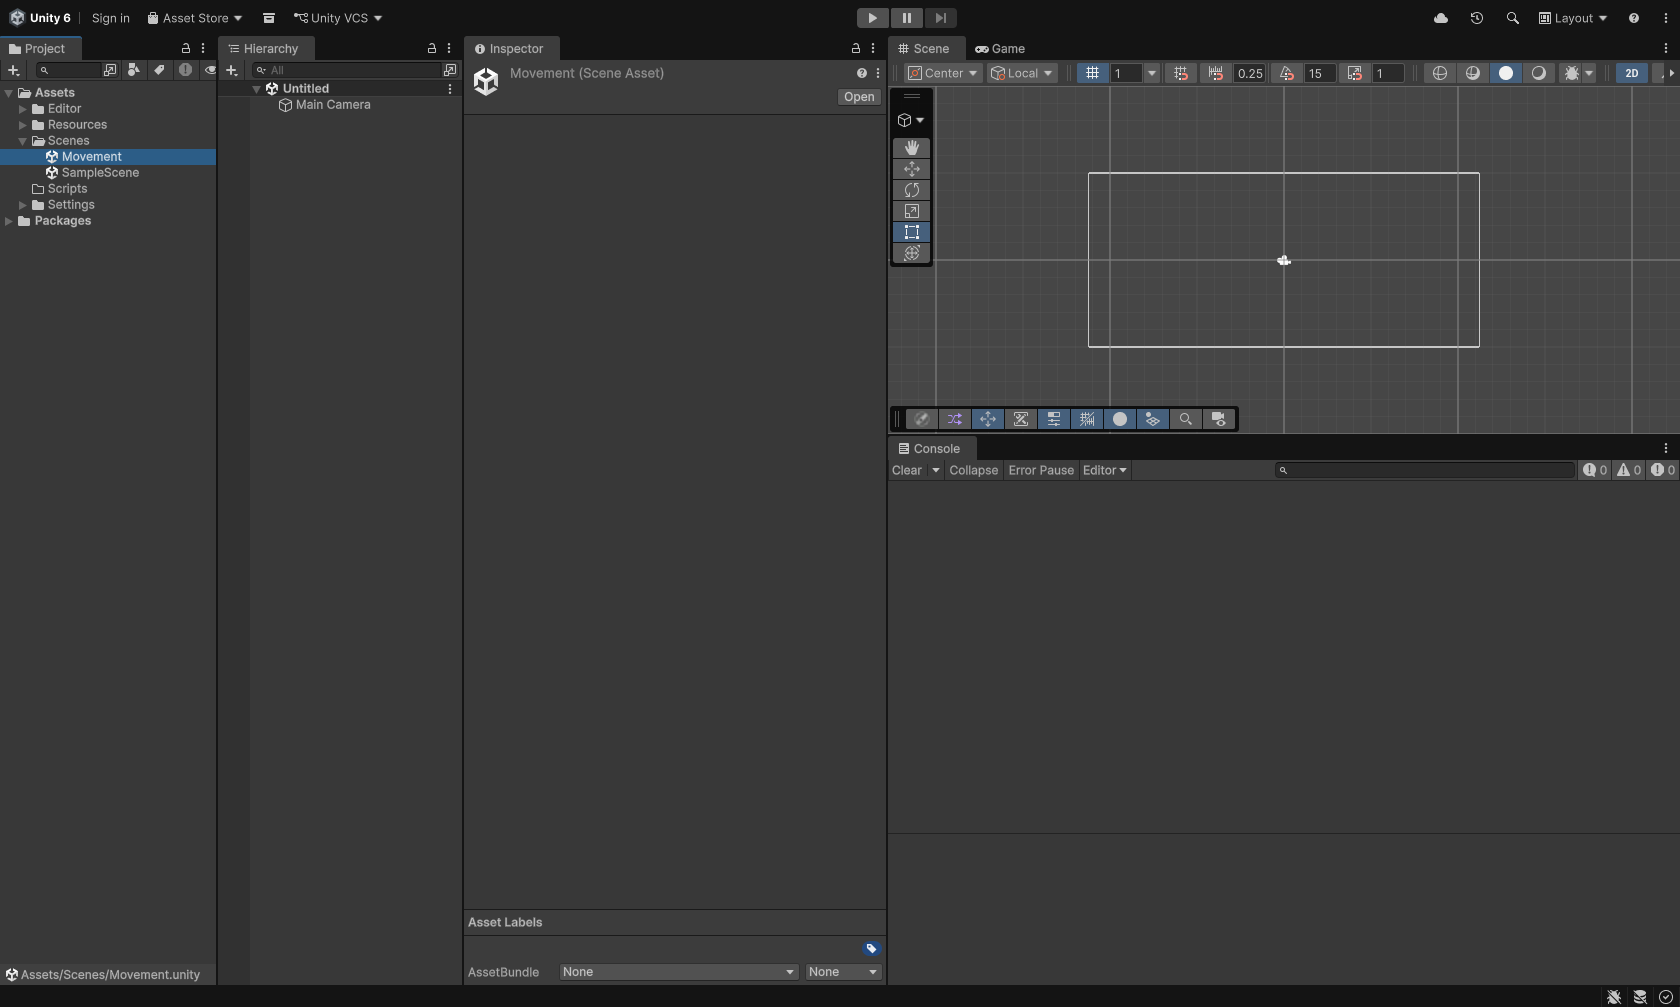
Open it
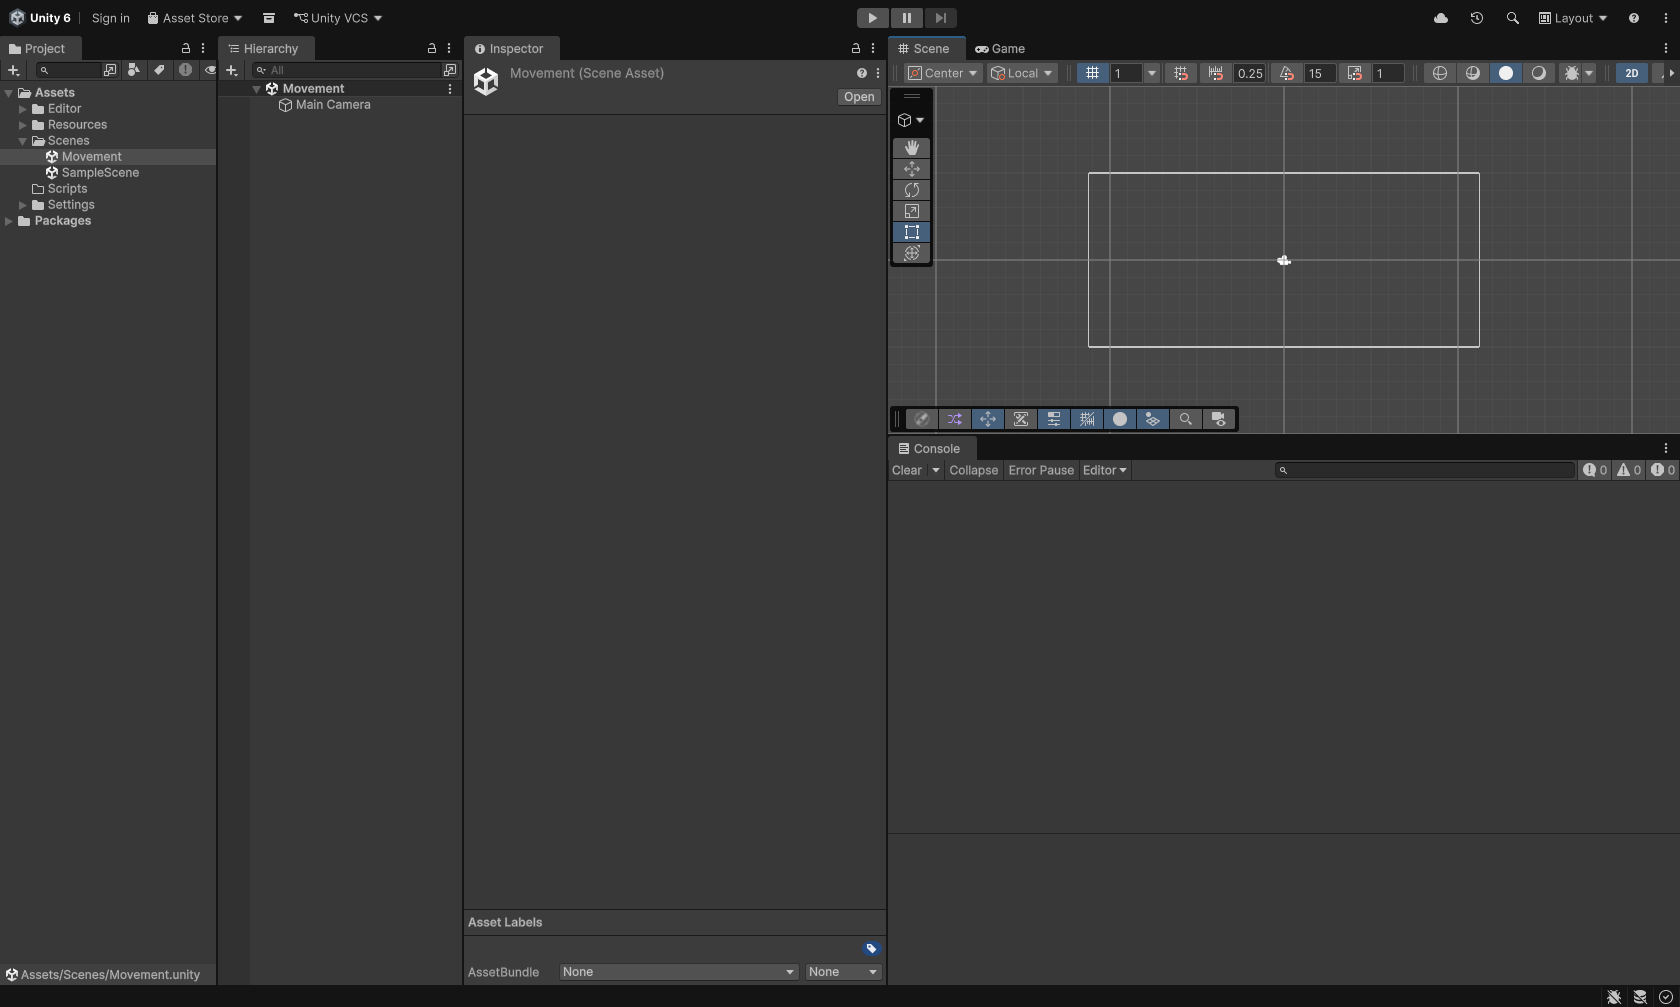
Double-click the new scene to open it. Its name appears at the top of the Hierarchy, above a Main Camera.
View it in 2D
Make sure the 2D button in the Scene view toolbar is on.
2. Add a character
Section titled “2. Add a character”You need something to move. Unity has simple built-in shapes, so you do not need any art.
A square called Player
Add a square
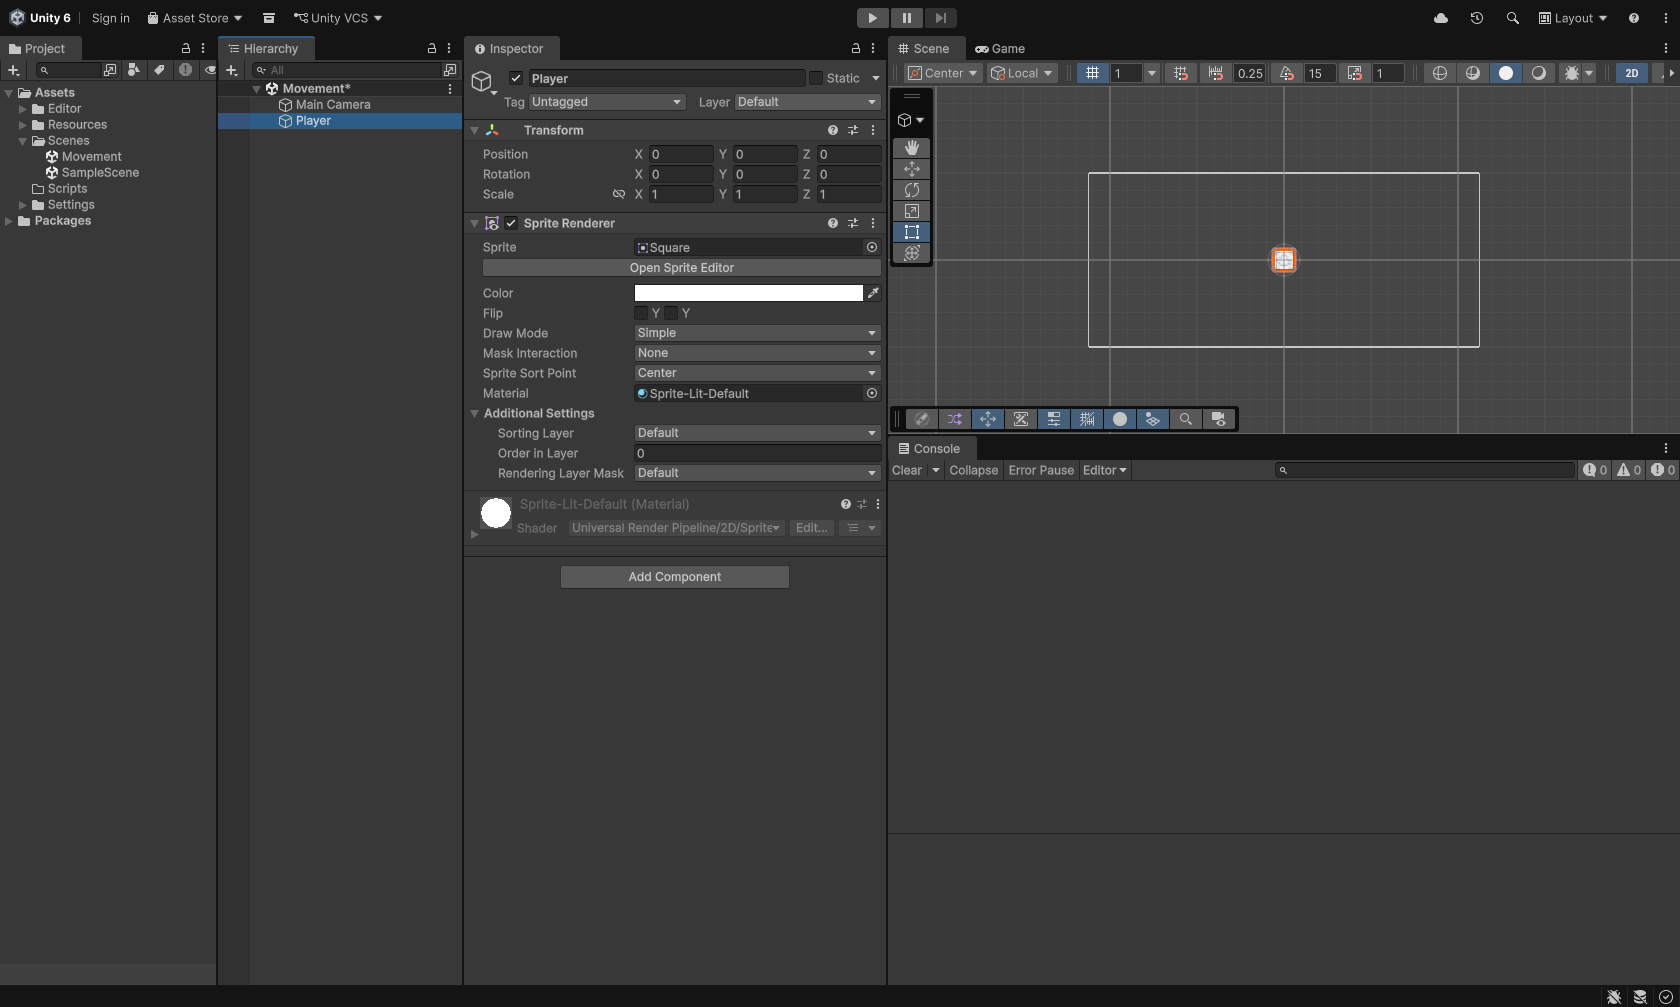
Choose GameObject > 2D Object > Sprites > Square from the menu bar, or right-click an empty part of the Hierarchy and choose the same items. A white square appears in the middle of the scene.
2D Object shows only Pixel Perfect Camera (URP)? Your project does not have the 2D Sprite package yet, which happens in projects made from the Universal 3D template. Install it as described in Before you start, then come back to this step.
Name it Player and reset its position
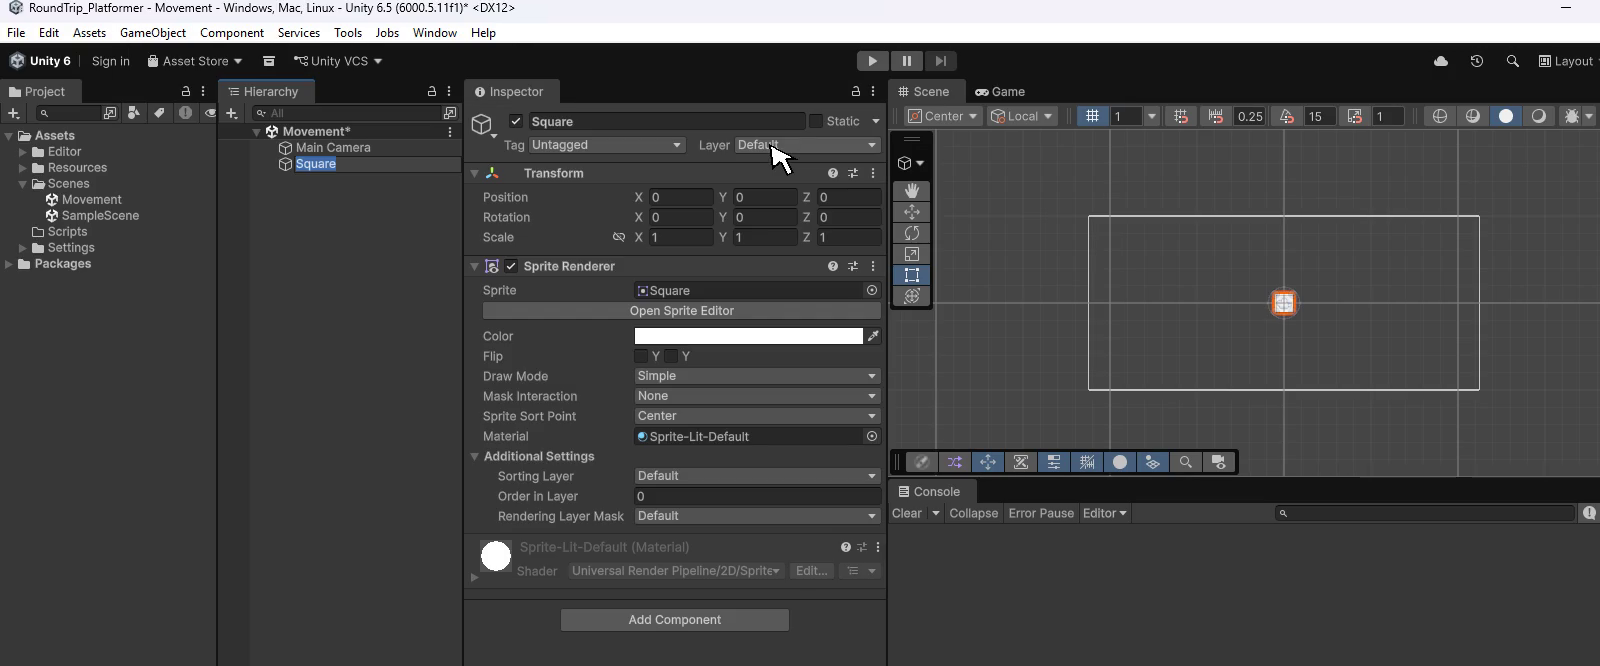
With the square selected, press F2 (Enter on macOS), type
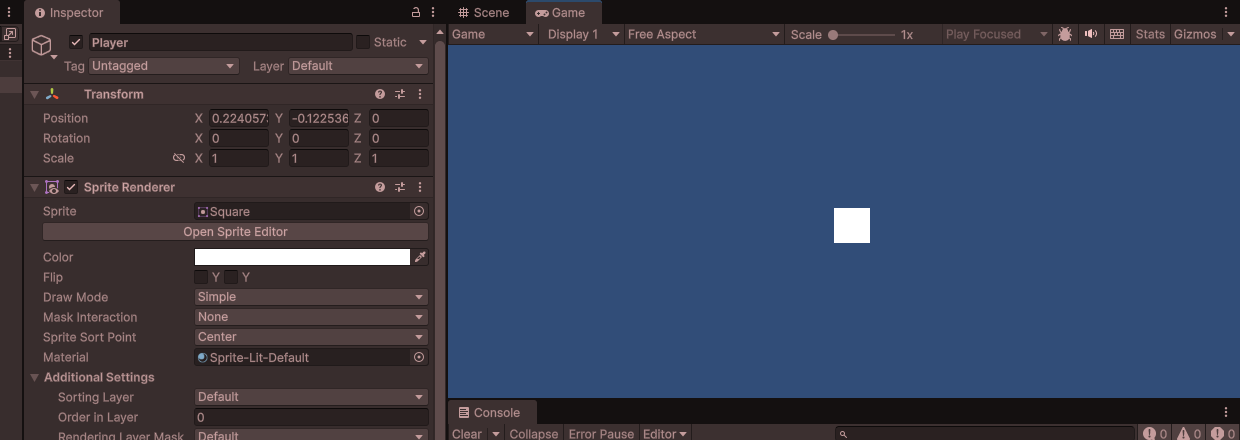
Player, and press Enter. The name changes in the Hierarchy and at the top of the Inspector.Then reset its position. In the Inspector, click the ⋮ button at the right of the Transform header (or right-click the header) and choose Reset. Position now reads 0, 0, 0, so Player starts in the middle of what the camera sees.
3. Create the Movement class
Section titled “3. Create the Movement class”Everything a GameObject does comes from its components, and every component is a class: a named bundle of settings and actions saved in one C# file. You will make a new one.
Create a MonoBehaviour called Movement
Open Graph view
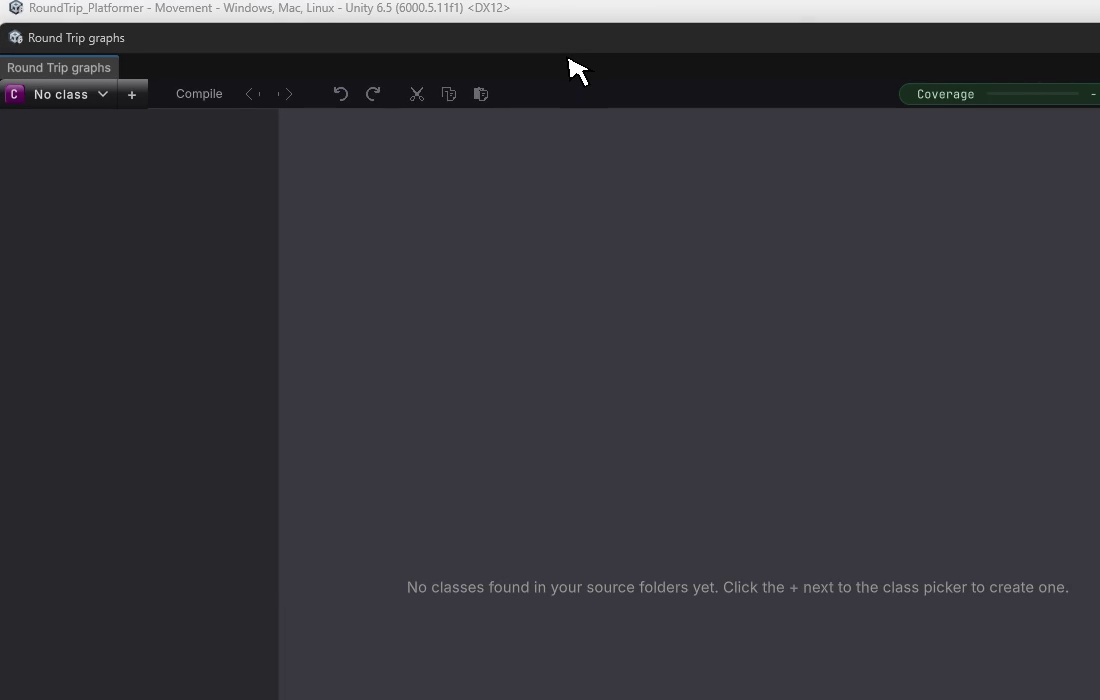
Choose Tools > Round Trip > Graph view. The Round Trip graphs window opens.
Press +
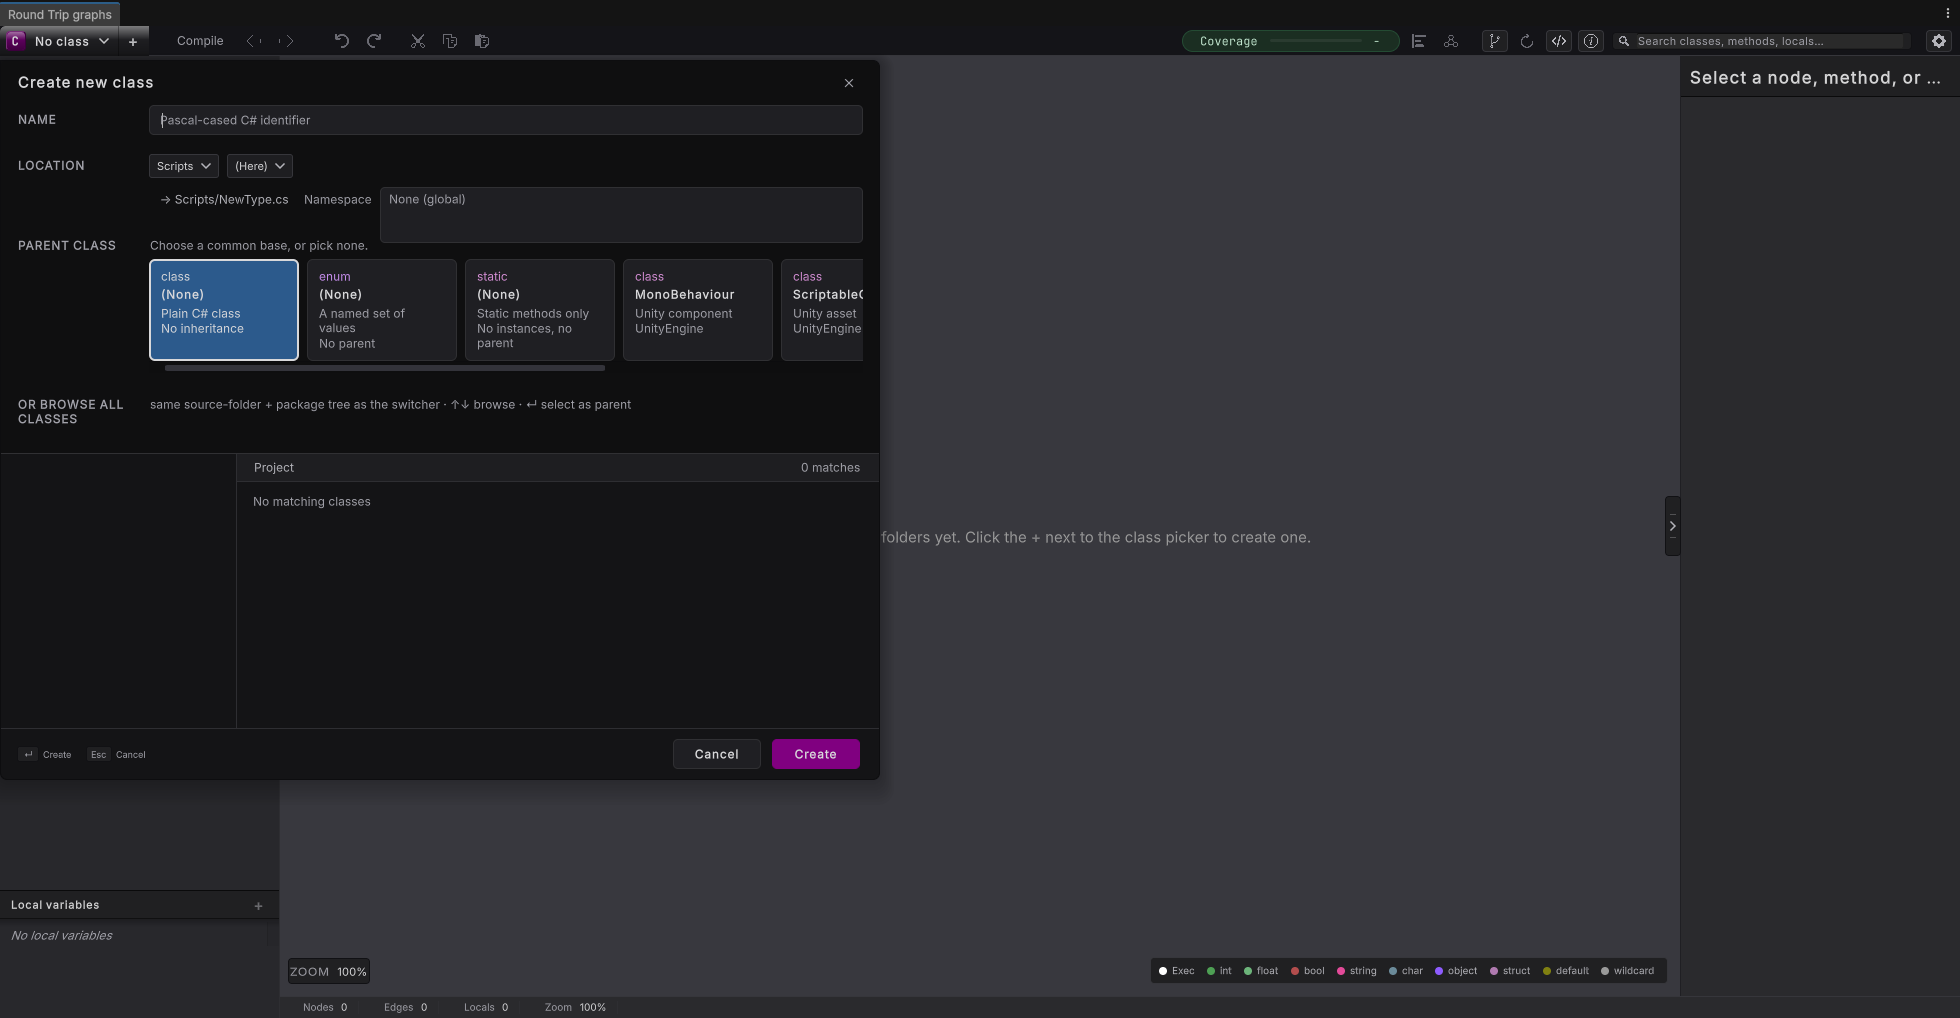
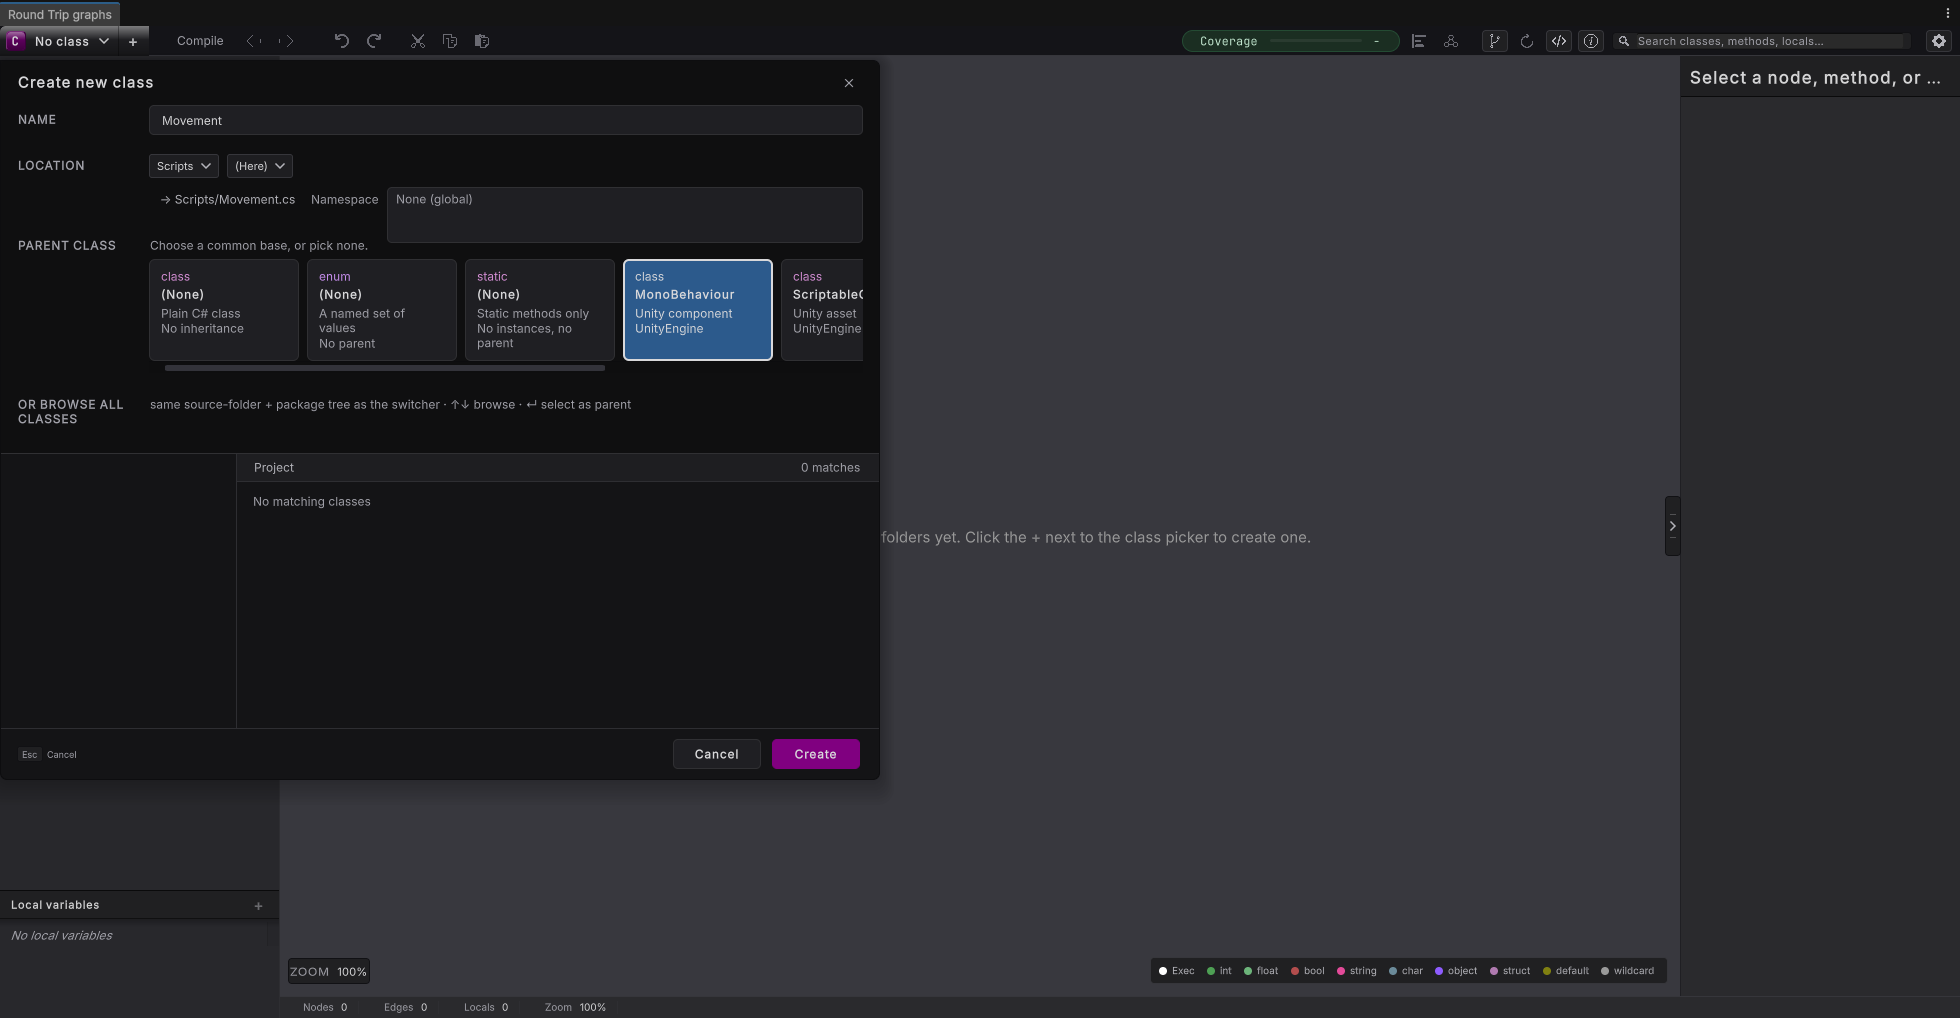
Press the + next to the class chip in the top-left corner. The Create new class form opens.
Name it Movement
Type
Movementunder NAME. Leave LOCATION on yourScriptsfolder.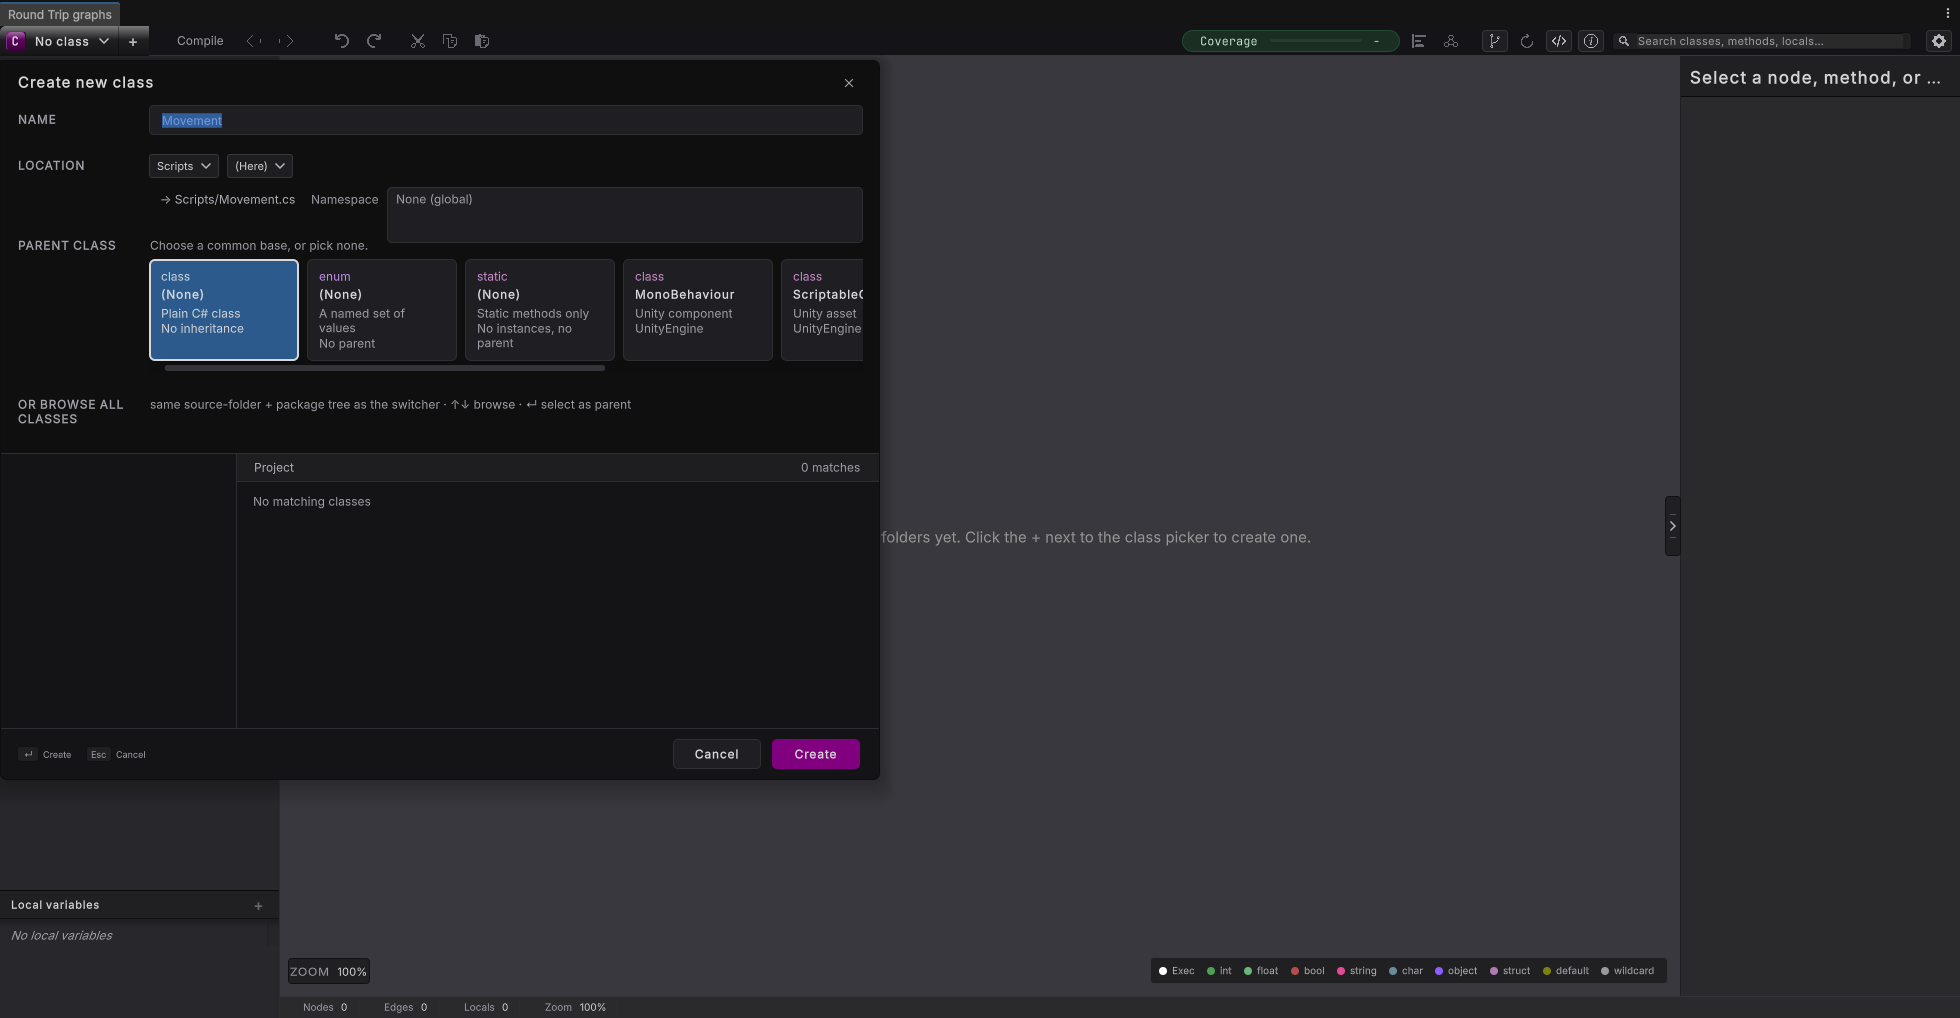
Choose MonoBehaviour
Under PARENT CLASS, pick MonoBehaviour, because Movement belongs on the Player.
Create
Press Create. Round Trip writes
Assets/Scripts/Movement.csstraight away and opens it. The class chip now reads Movement.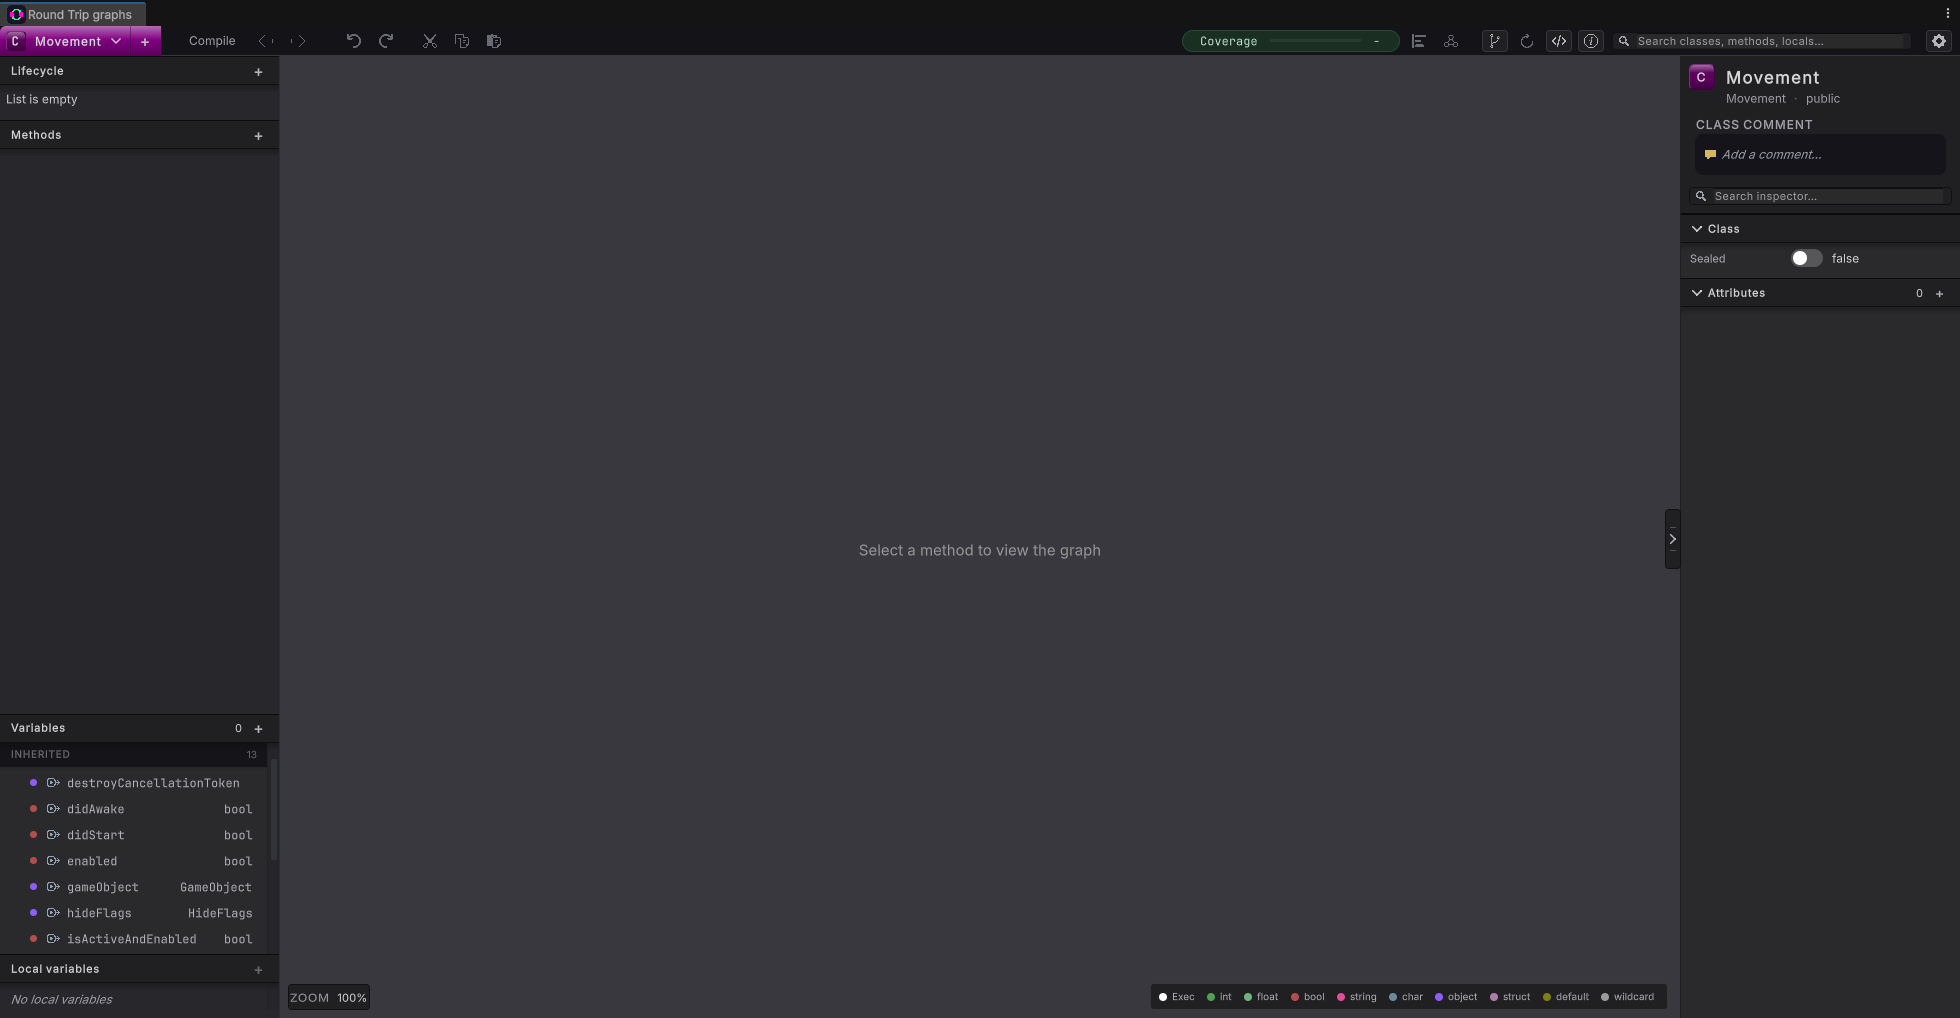
4. Add a speed setting
Section titled “4. Add a speed setting”A setting that shows in the Inspector lets the designer change how fast the square moves without touching the visual script.
A speed the designer can tune
Add a variable
Press the + on Variables. A new row appears with its name ready to type. Type
speedand press Enter.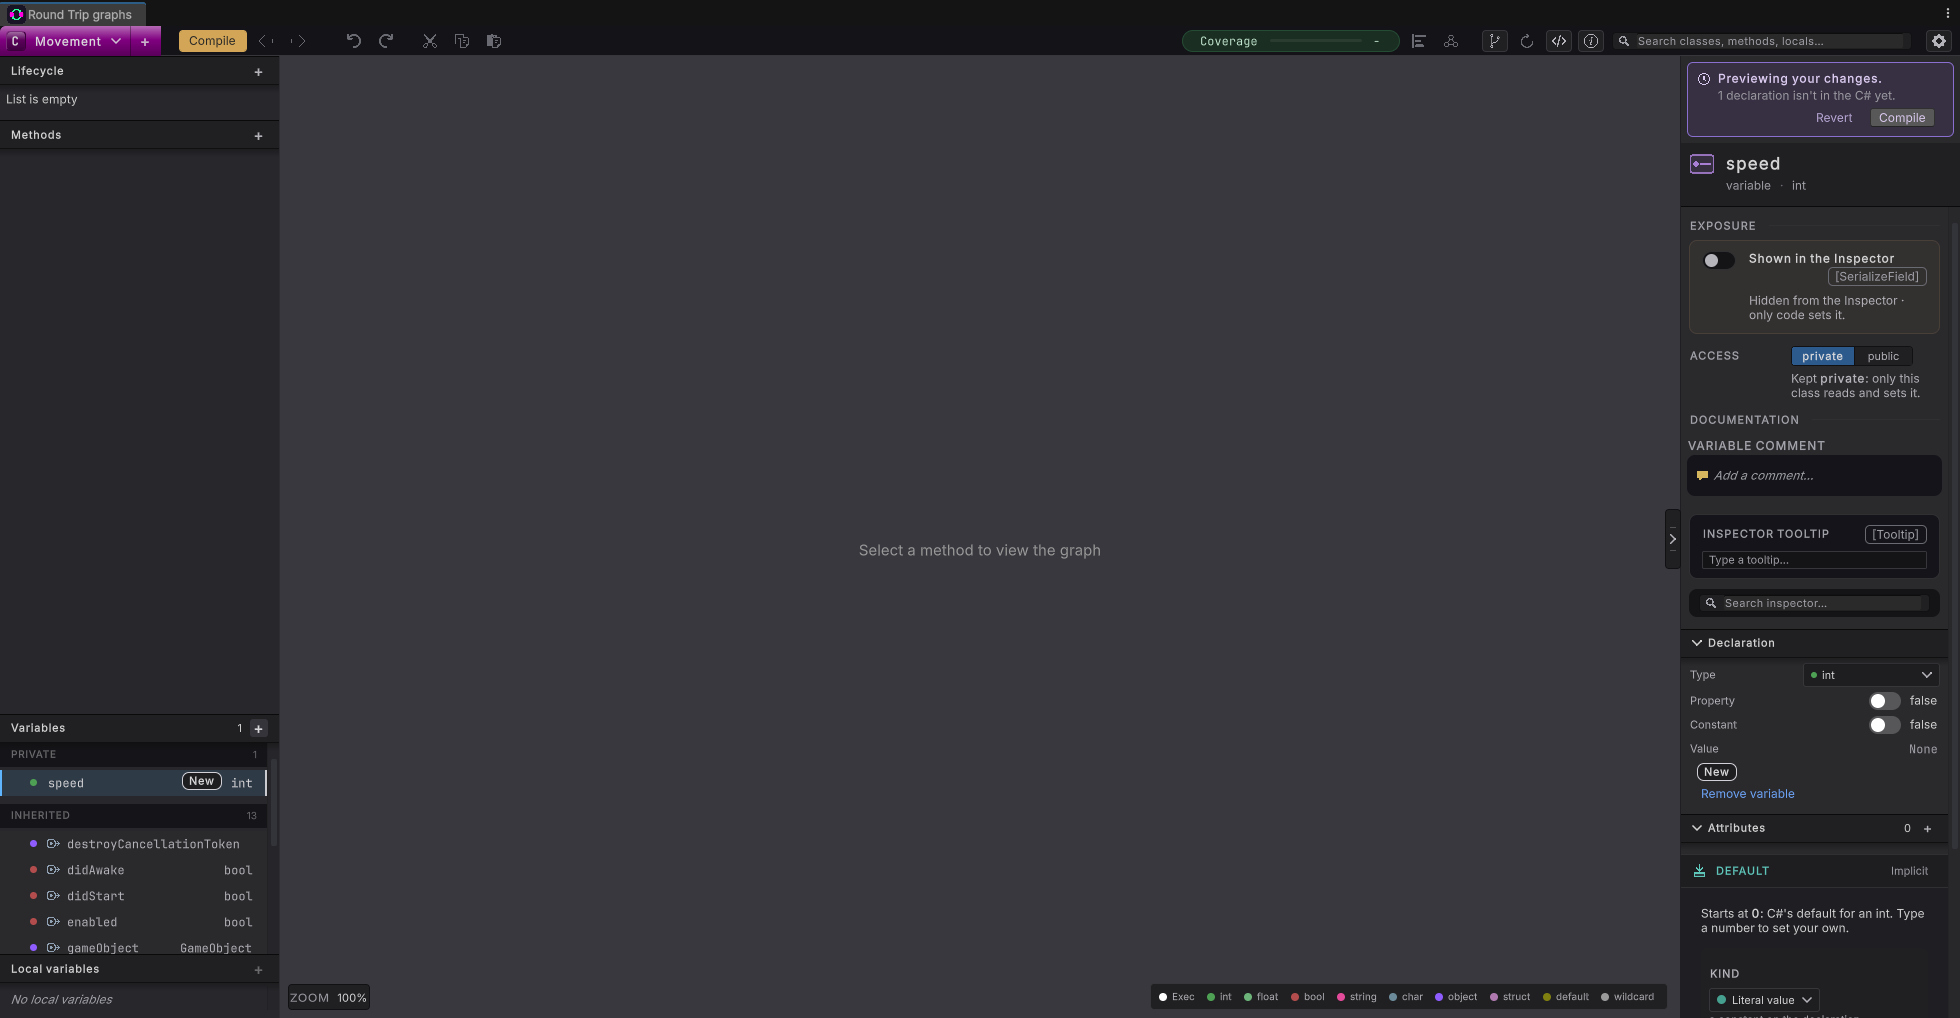
Show it in the Inspector
In the right-hand panel, turn on Shown in the Inspector. The switch can take a moment to change the first time, so press it once and wait.
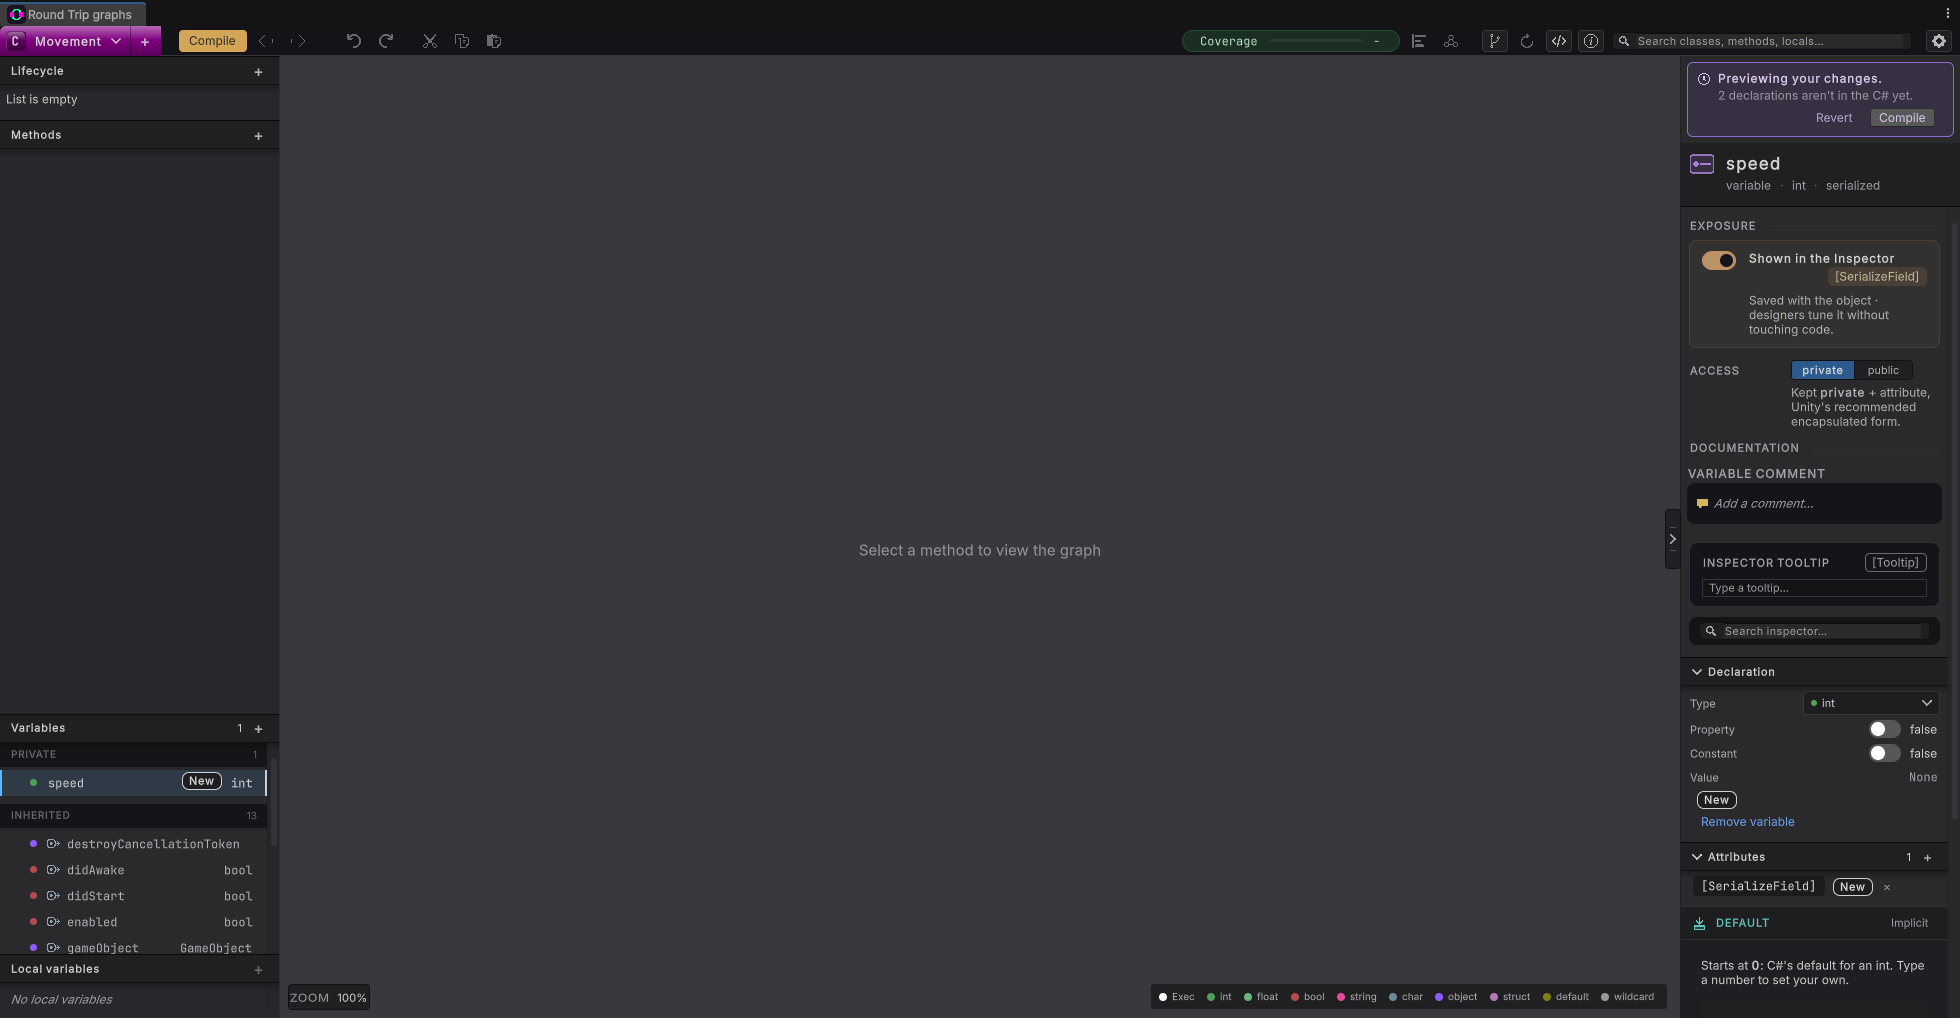
Make it a float of 5
Under Declaration, click Type. In the type list that opens, type
floatin the search box and choose float (a number that can have a decimal point). Then scroll down the panel to the Default card and type5into its VALUE row. That is 5 units per second.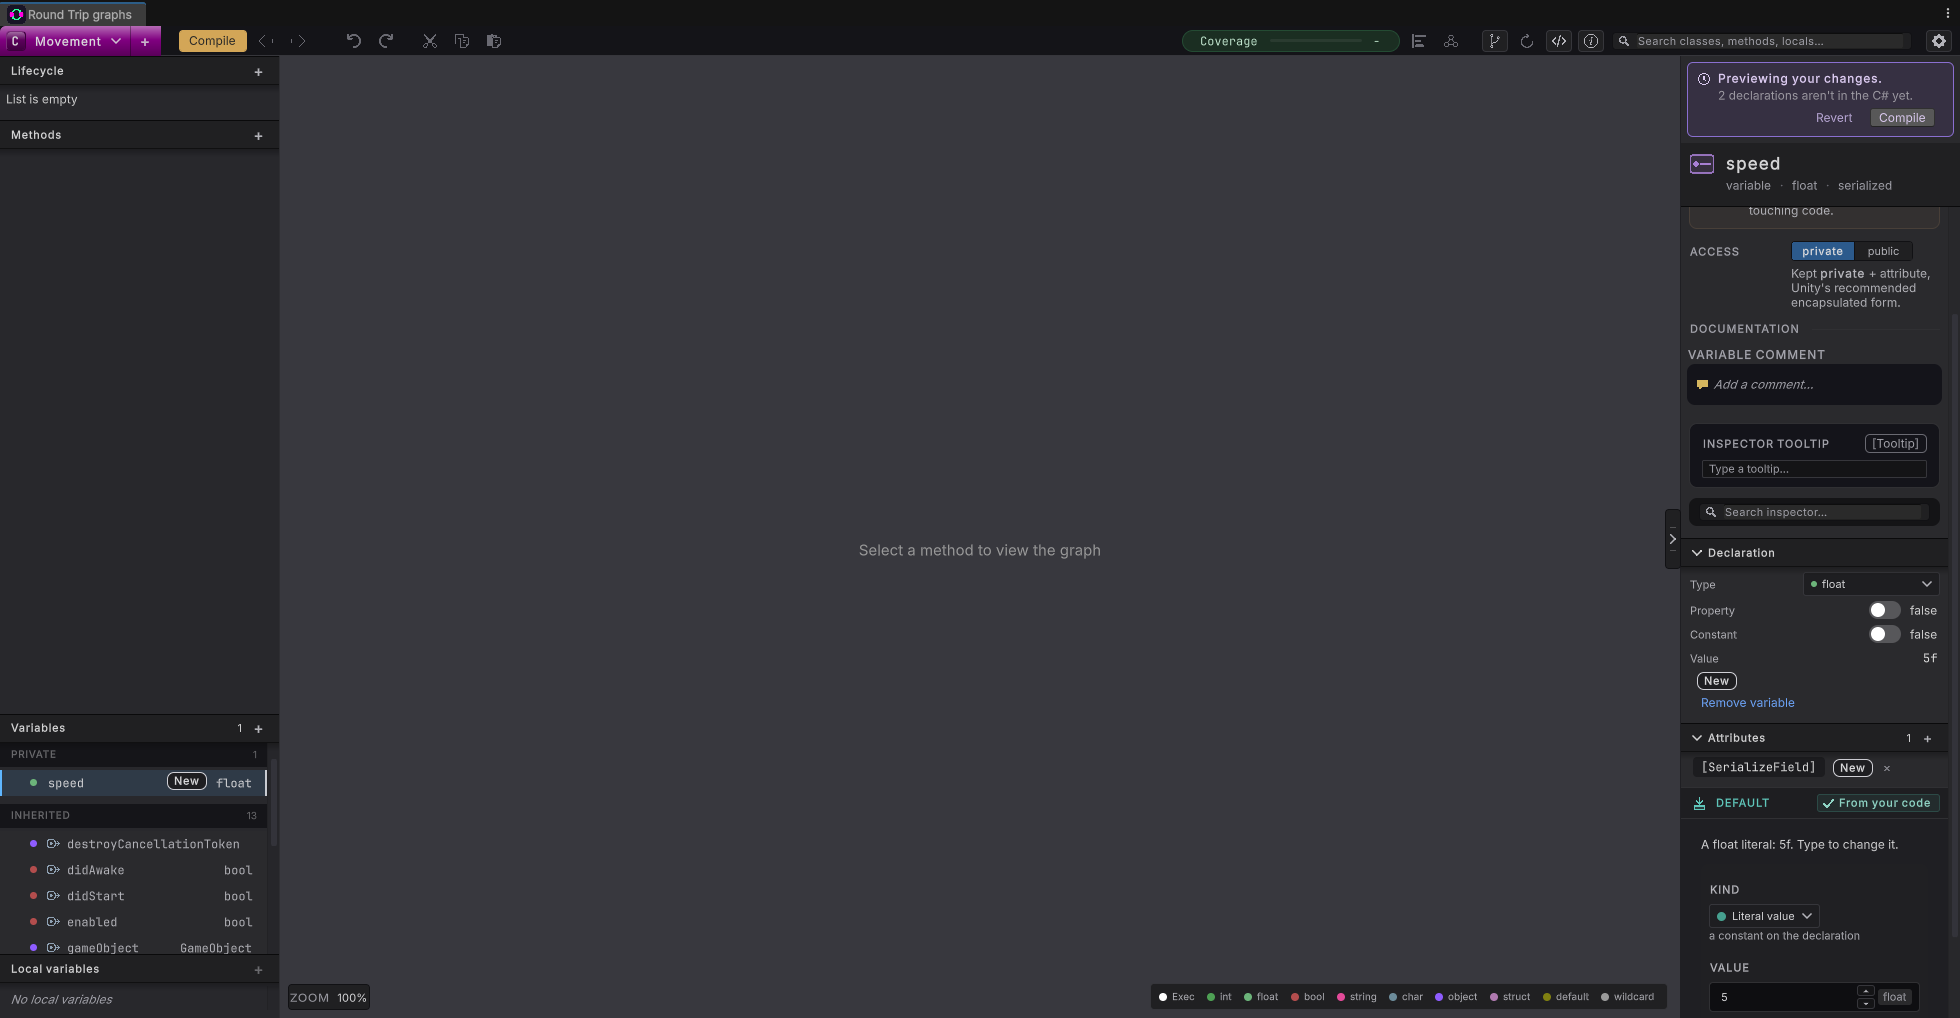
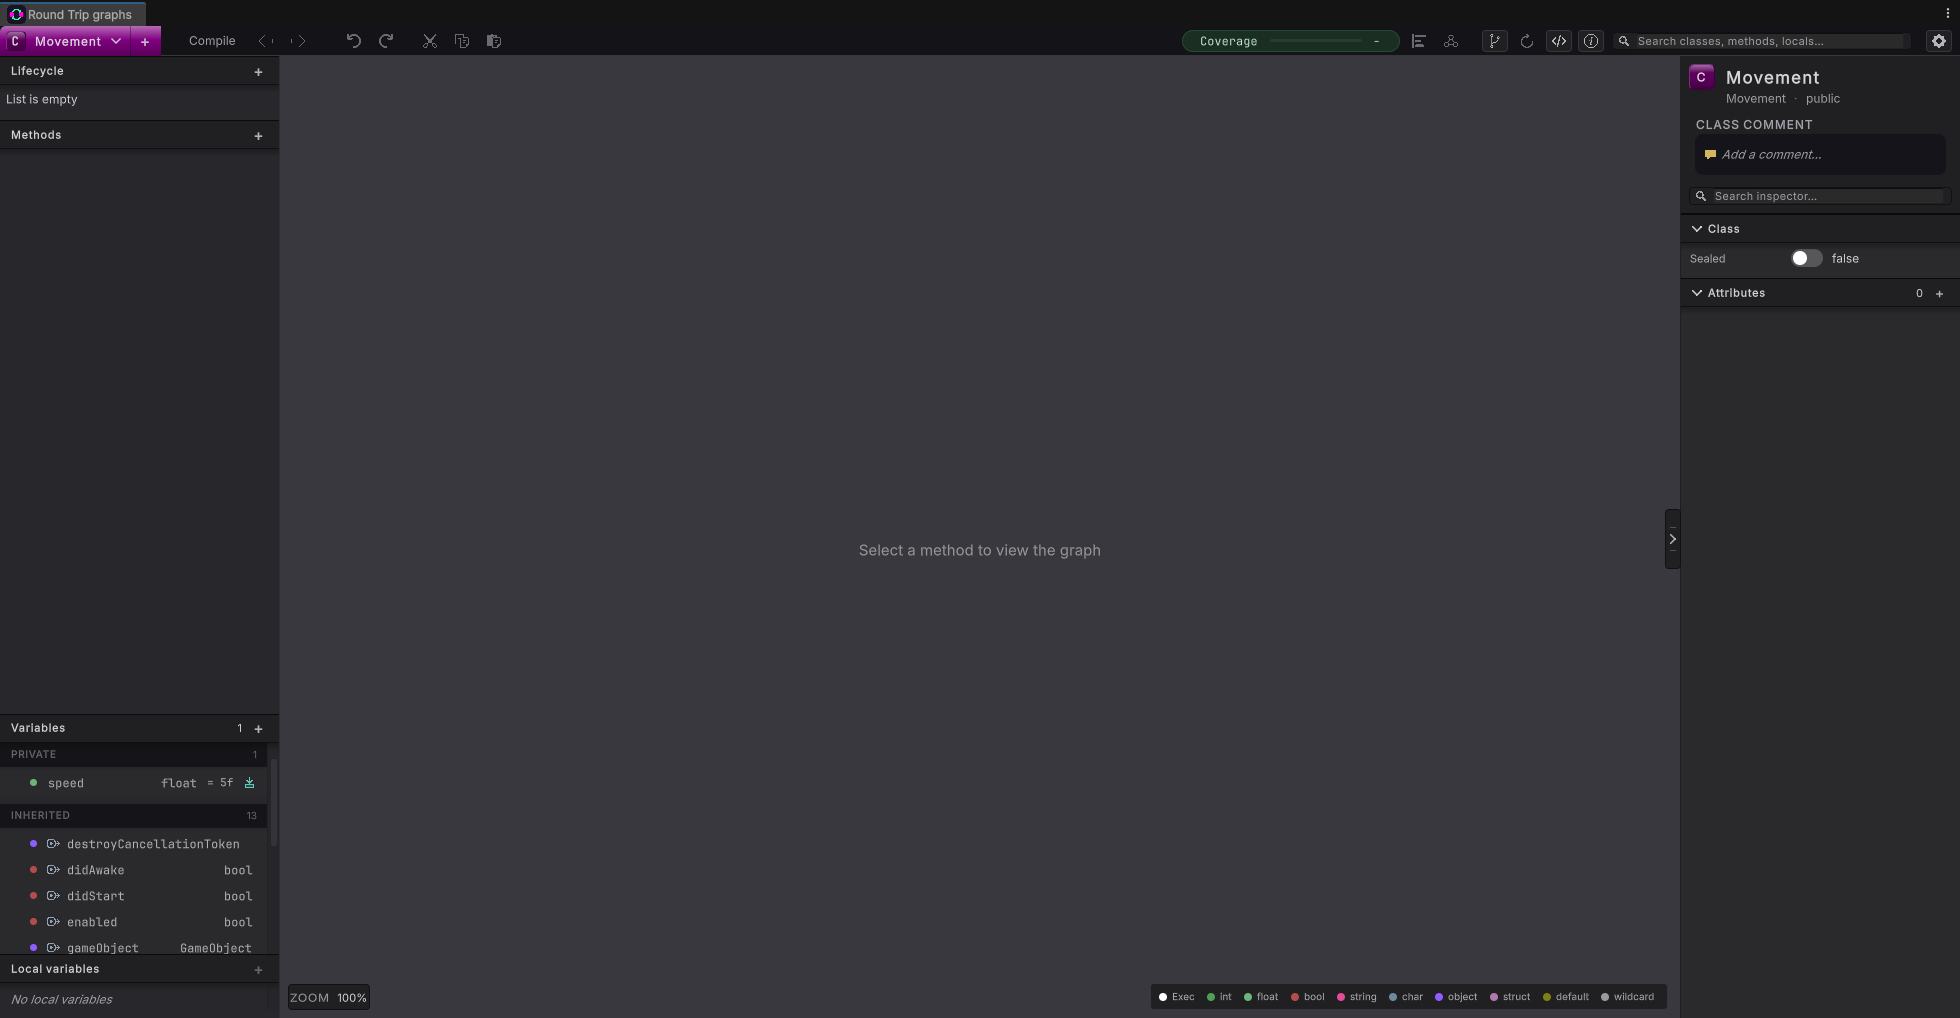
Compile
Press the gold Compile button at the top left, beside the class chip. Wait for Unity to finish compiling. Compile turns gray again.
5. Add a Move control
Section titled “5. Add a Move control”The keys reach your script through Unity’s Input System. Round Trip connects four parts of it in one step.
Add Move
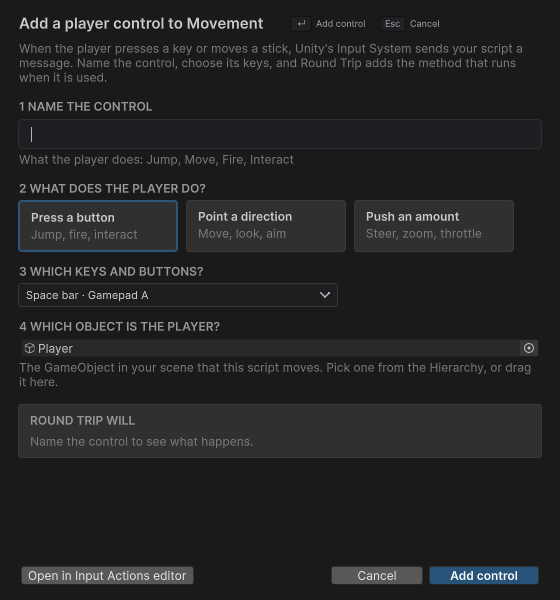
Pick New player control
Press the + on Lifecycle. In the filter box, type
input, then click New player control…. The Add a player control to Movement window opens.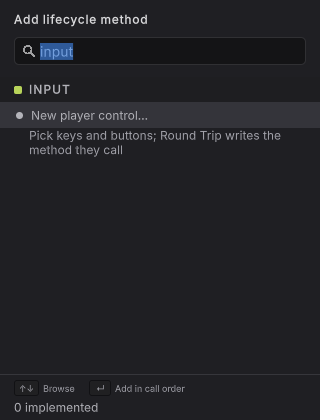
Name it Move
Type
Movein Name the control. Under the box, Round Trip shows the method it will write:OnMove(InputValue value).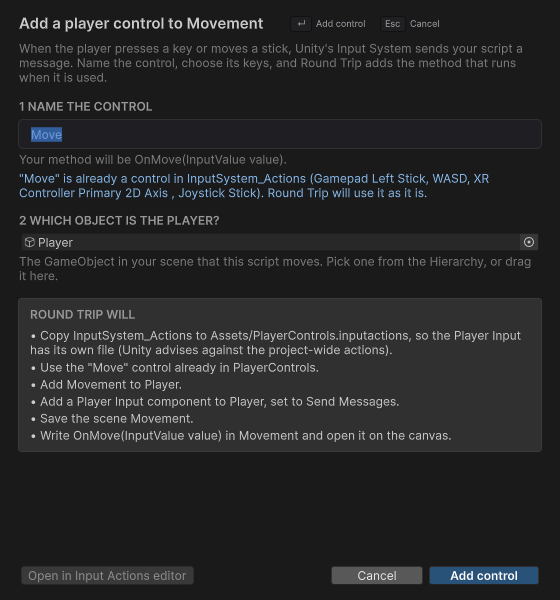
Add control
Press Add control (or Enter).
6. What Round Trip set up
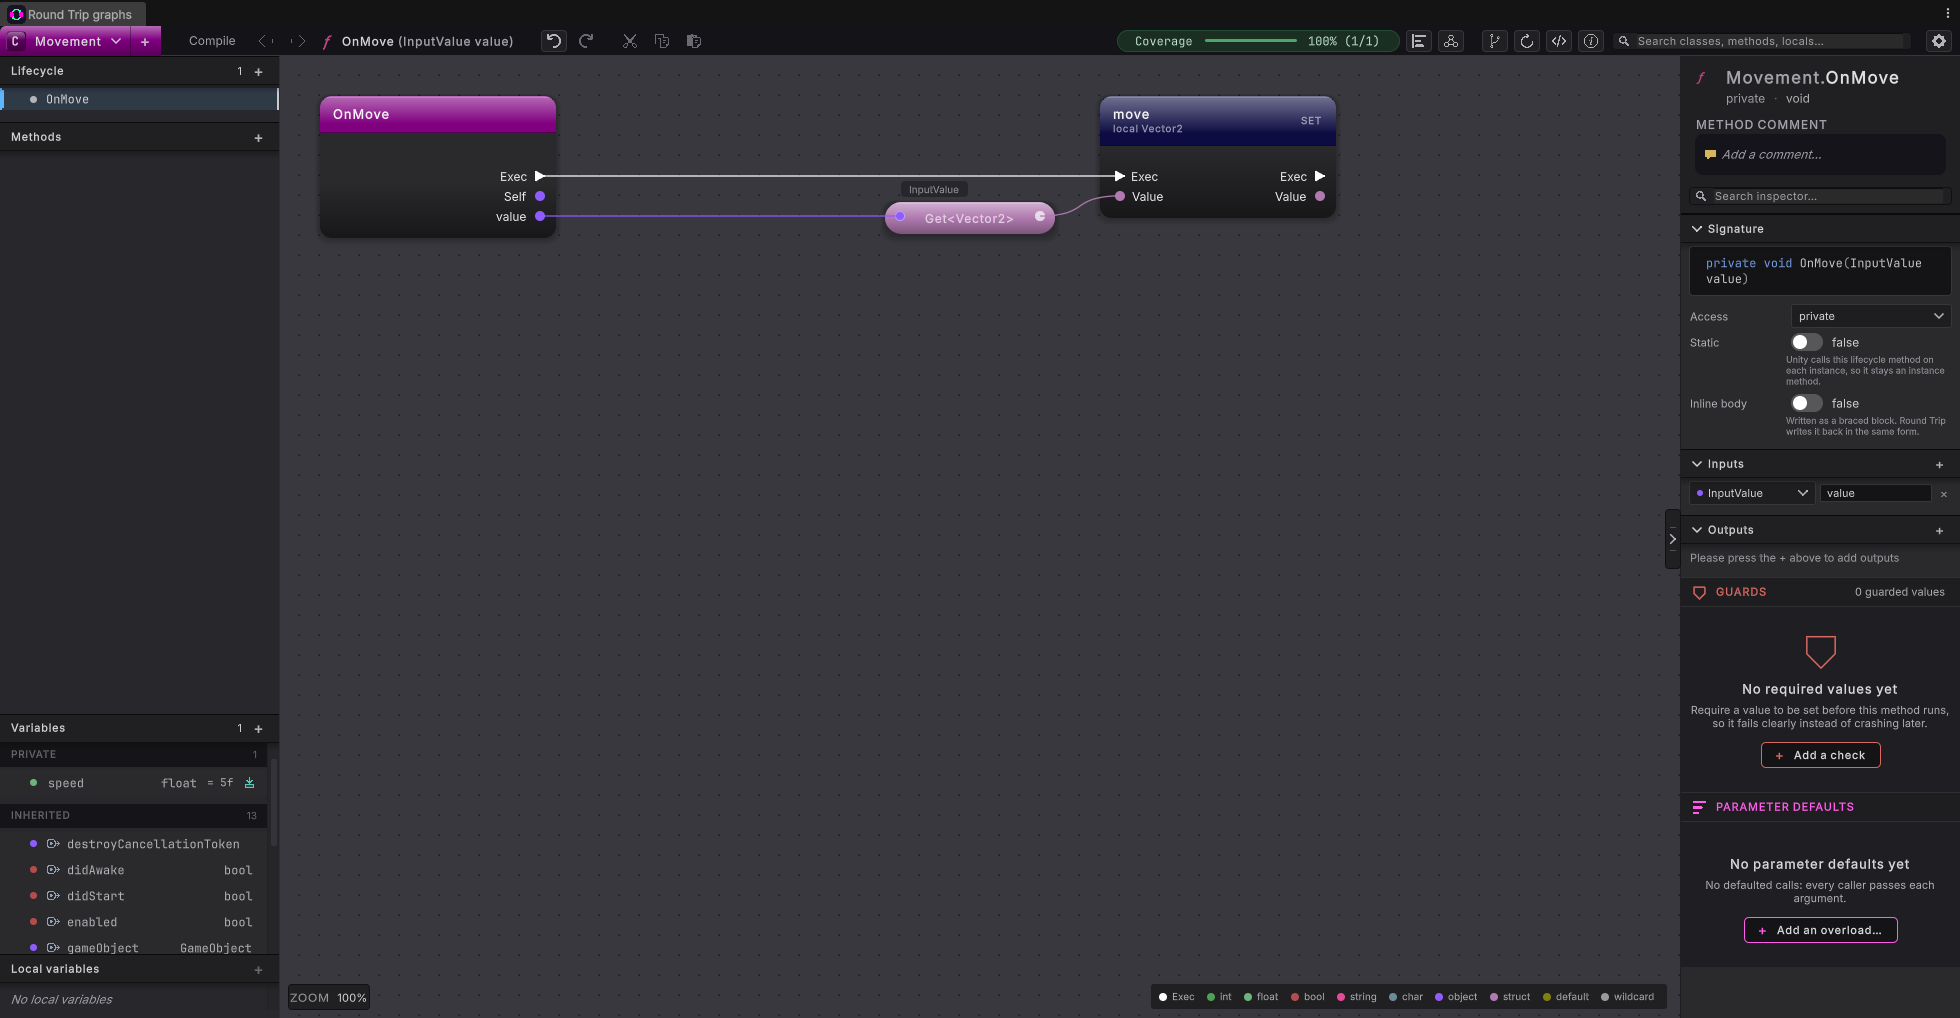
Section titled “6. What Round Trip set up”Round Trip closes the window, writes OnMove into Movement.cs, and opens it on the canvas.
What Round Trip added
Select Player
Select Player in the Hierarchy. Movement (Script) is on it with Speed set to 5, and a Player Input sits under it.
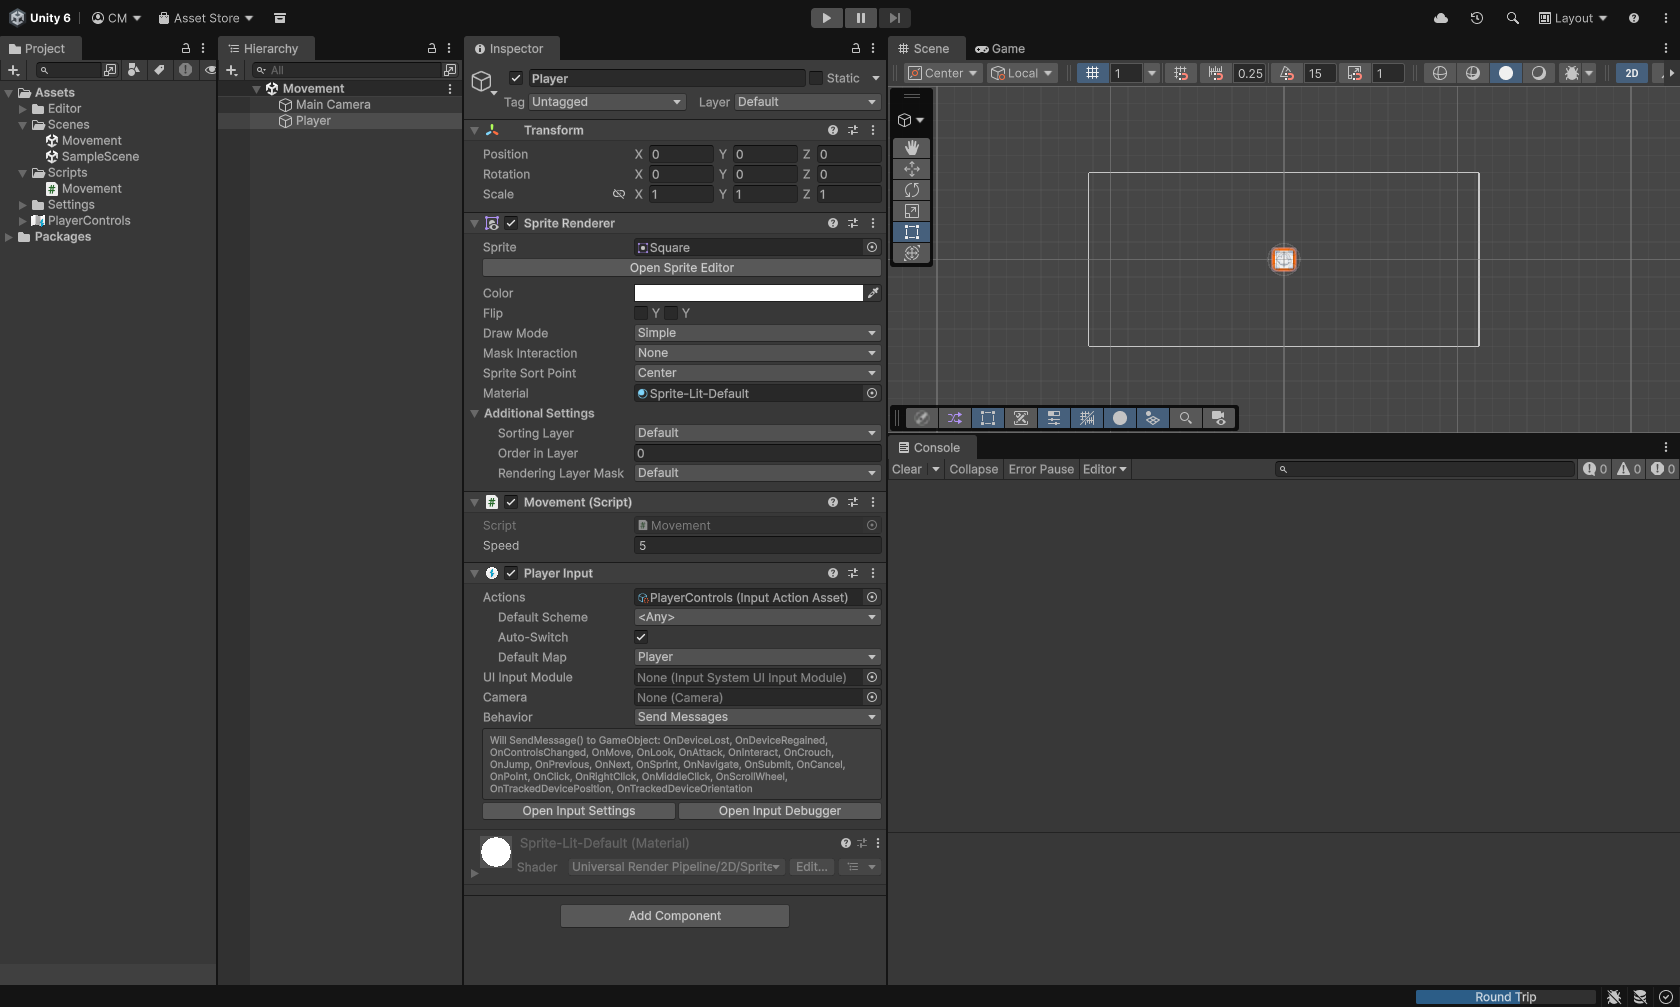
Open the Scripts folder
In the Project window, open the
Scriptsfolder by clicking the arrow beside it. Movement is the C# file Round Trip wrote.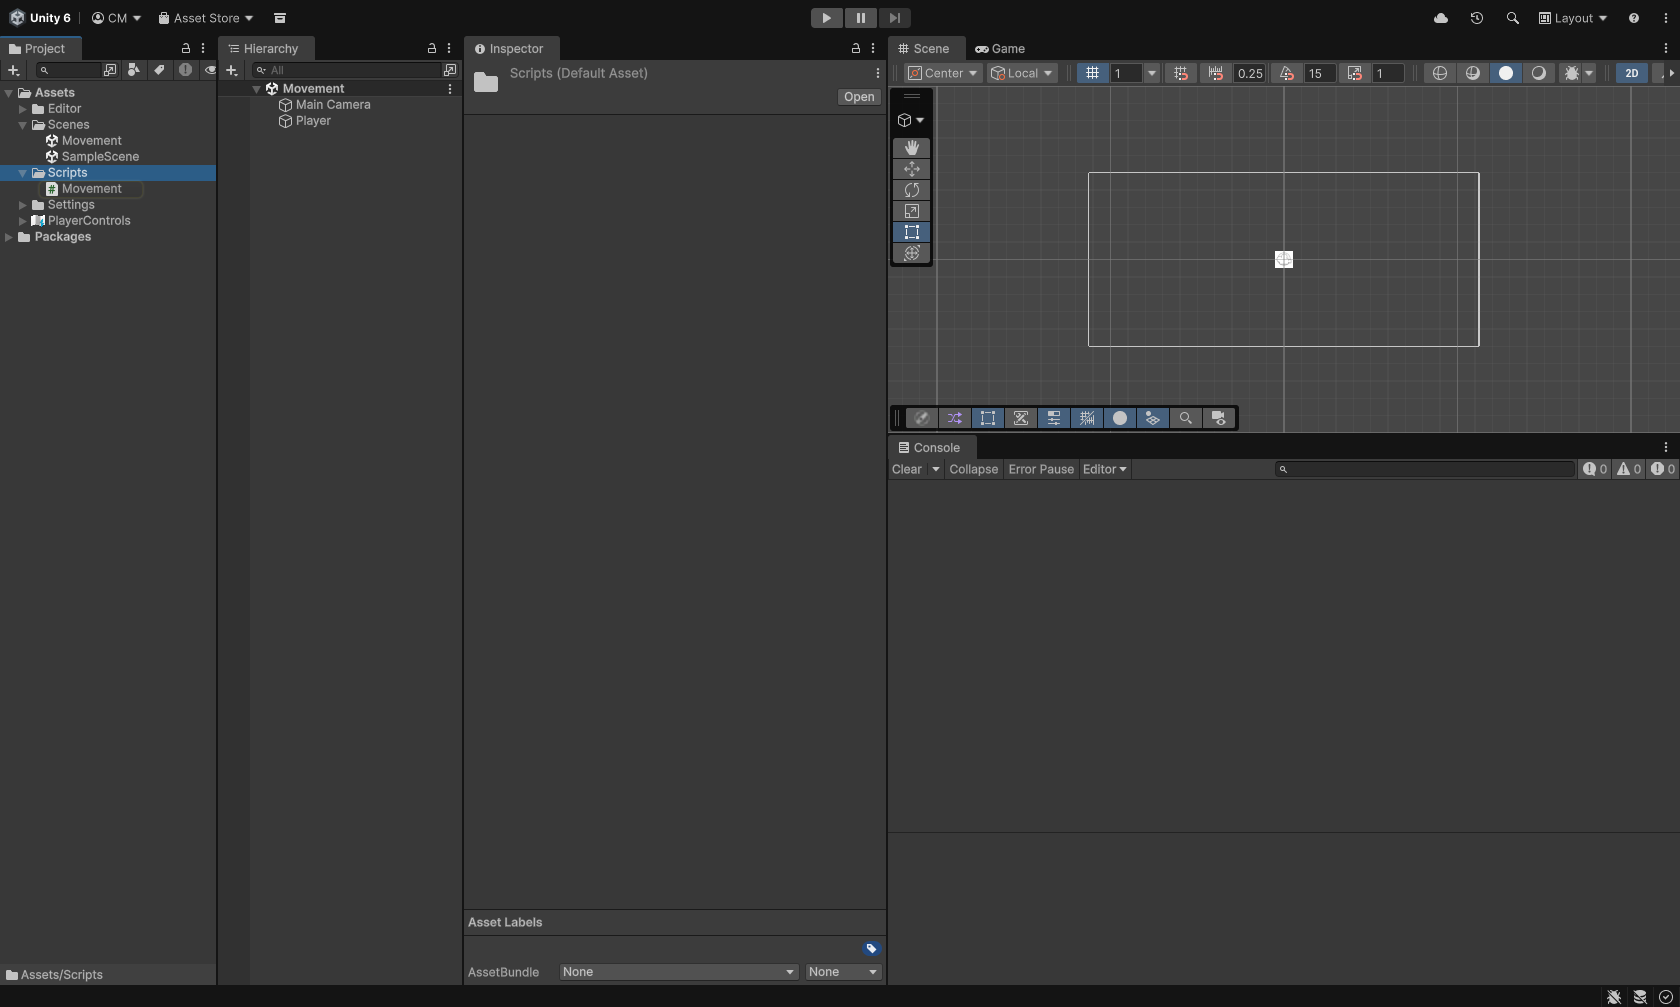
Go back to Graph view and click OnMove
If you switched to the main Unity window or to a code editor, choose Tools > Round Trip > Graph view to come back. Then click OnMove in the Lifecycle list.
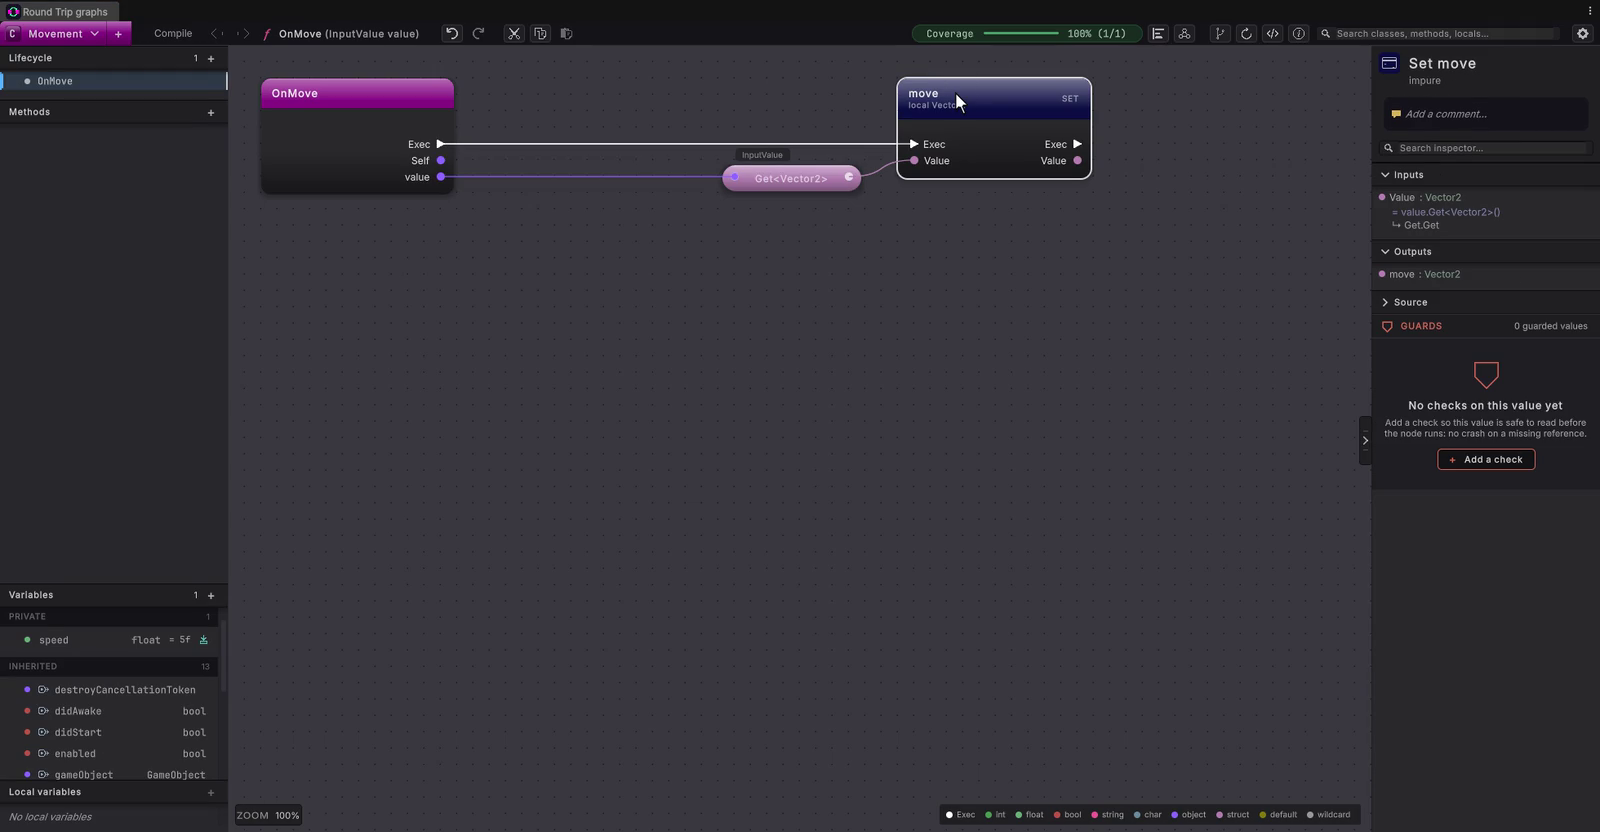
Double-click a node to see its C#
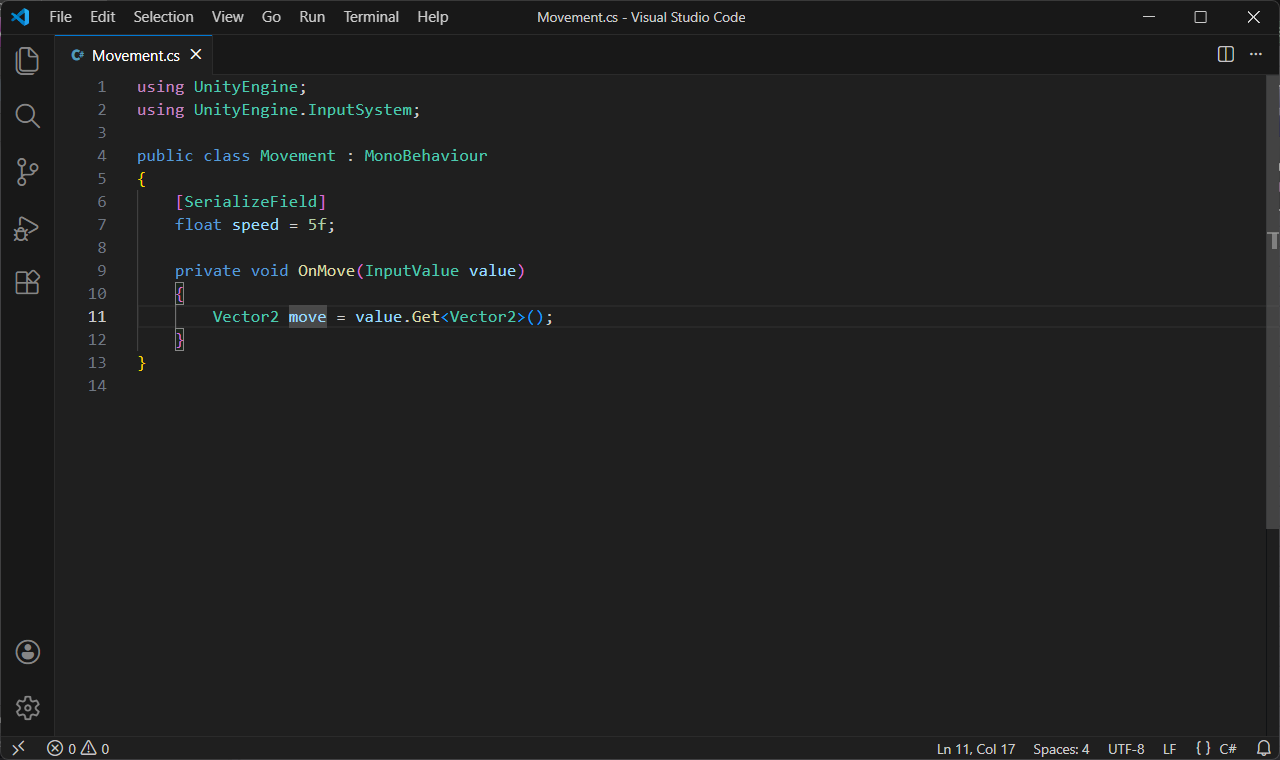
Double-click the move node. Your code editor opens
Movement.csat that node’s line.
7. Remember the direction
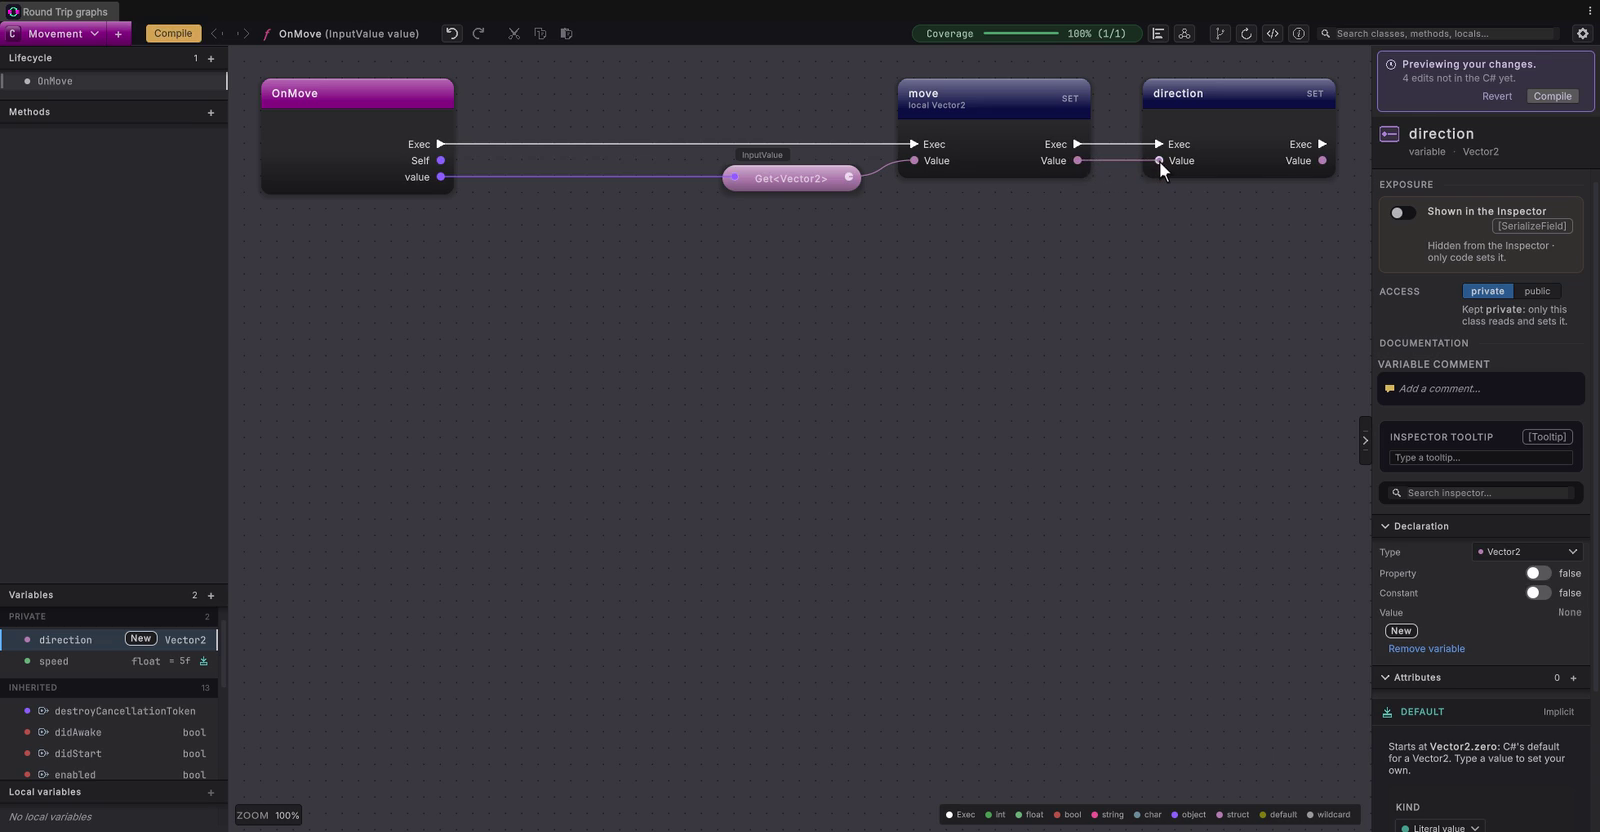
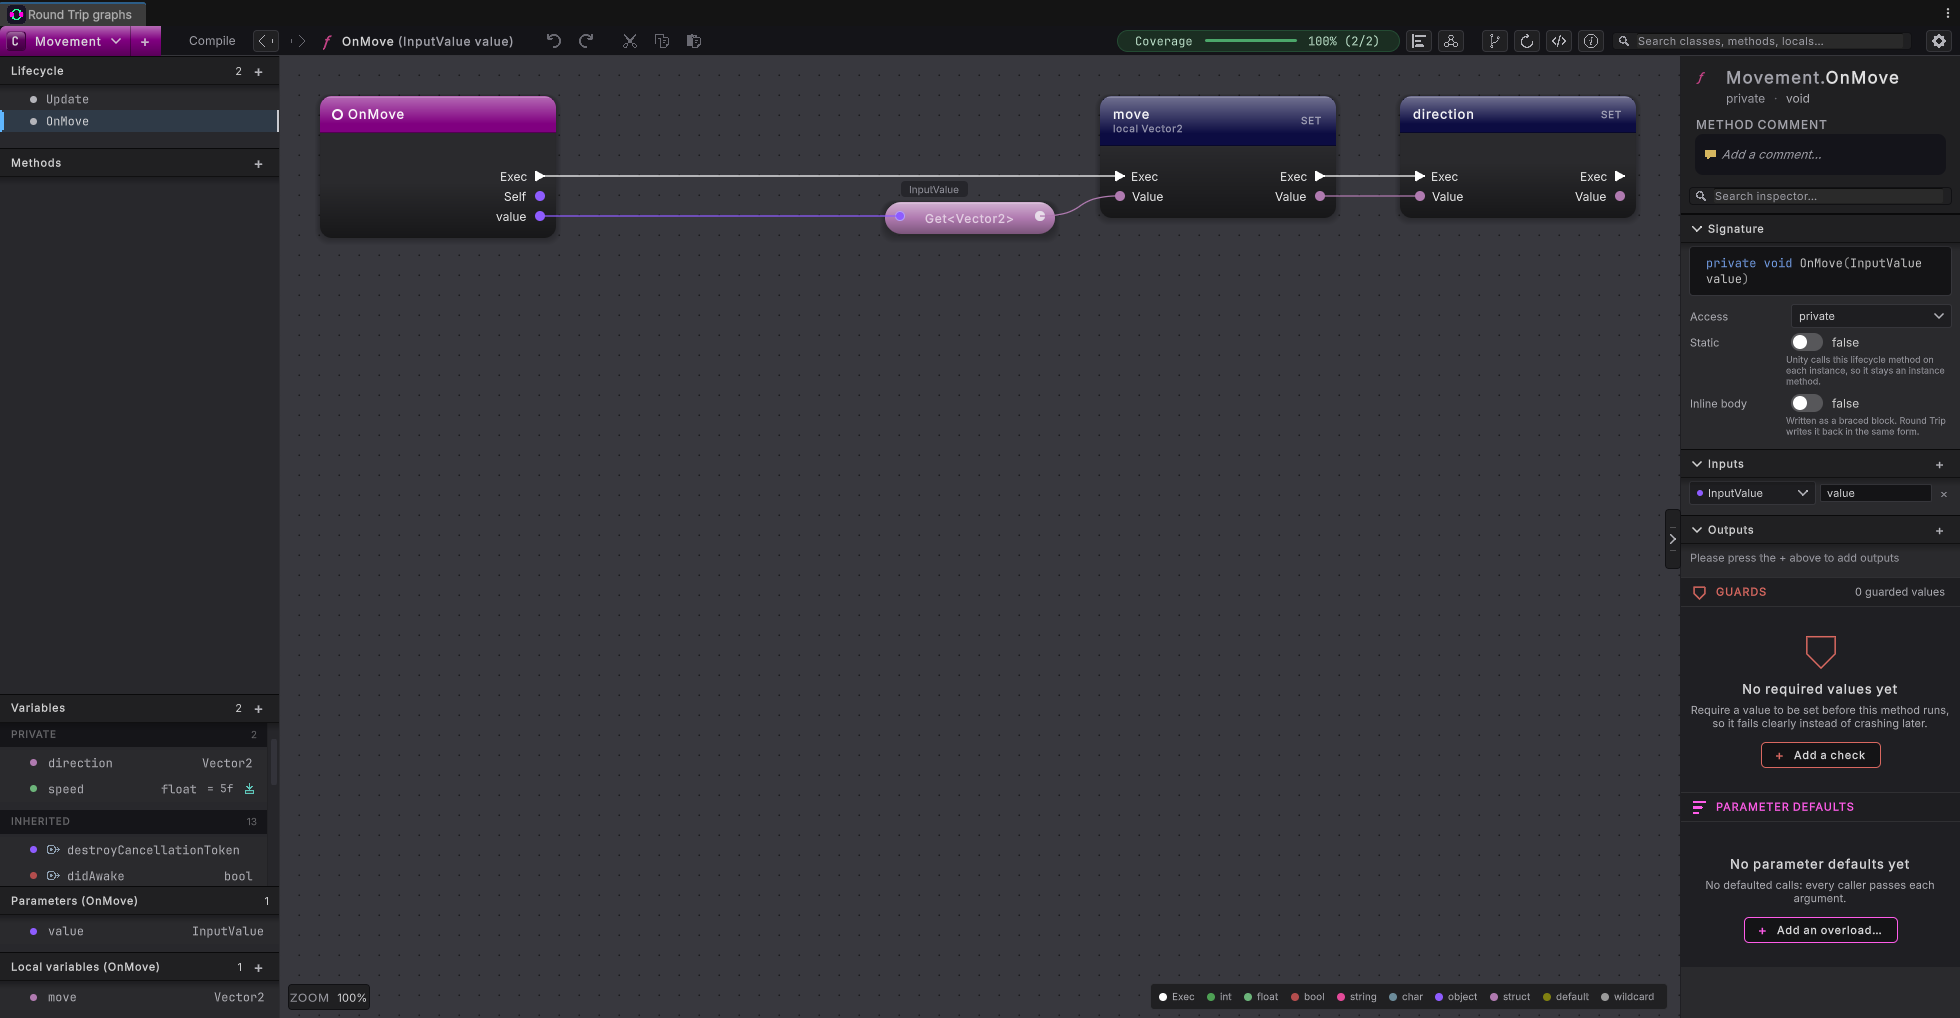
Section titled “7. Remember the direction”OnMove runs only when the direction changes: when you press a key, let go, or press another. It does not run every frame while you hold a key. So OnMove keeps the direction in a variable, and the next section moves the square by it every frame.
Keep the direction
Add direction
Press the + on Variables, type
direction, and press Enter. In the right-hand panel, under Declaration, click Type, typeVector2in the search box and choose Vector2 (the one in UnityEngine).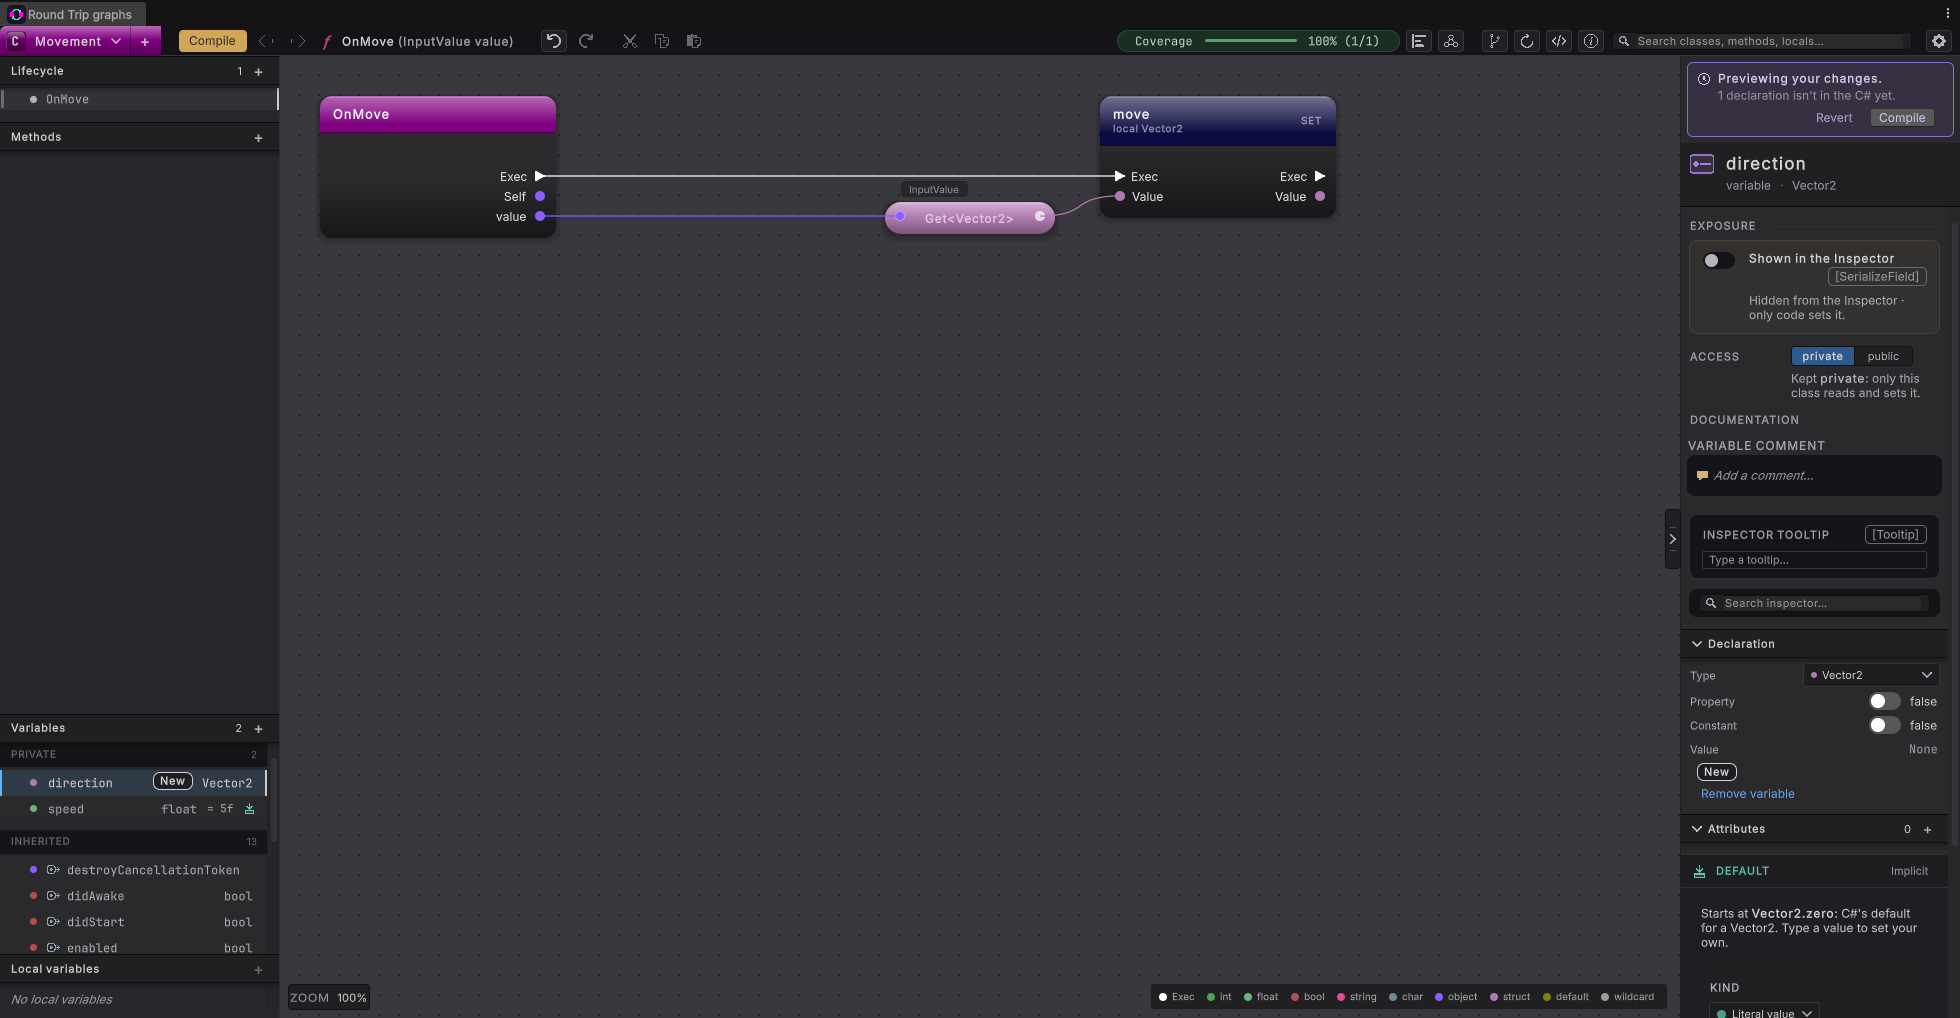
Set it
Drag direction from Variables onto the canvas, to the right of move, and choose set direction. A navy direction SET node appears.
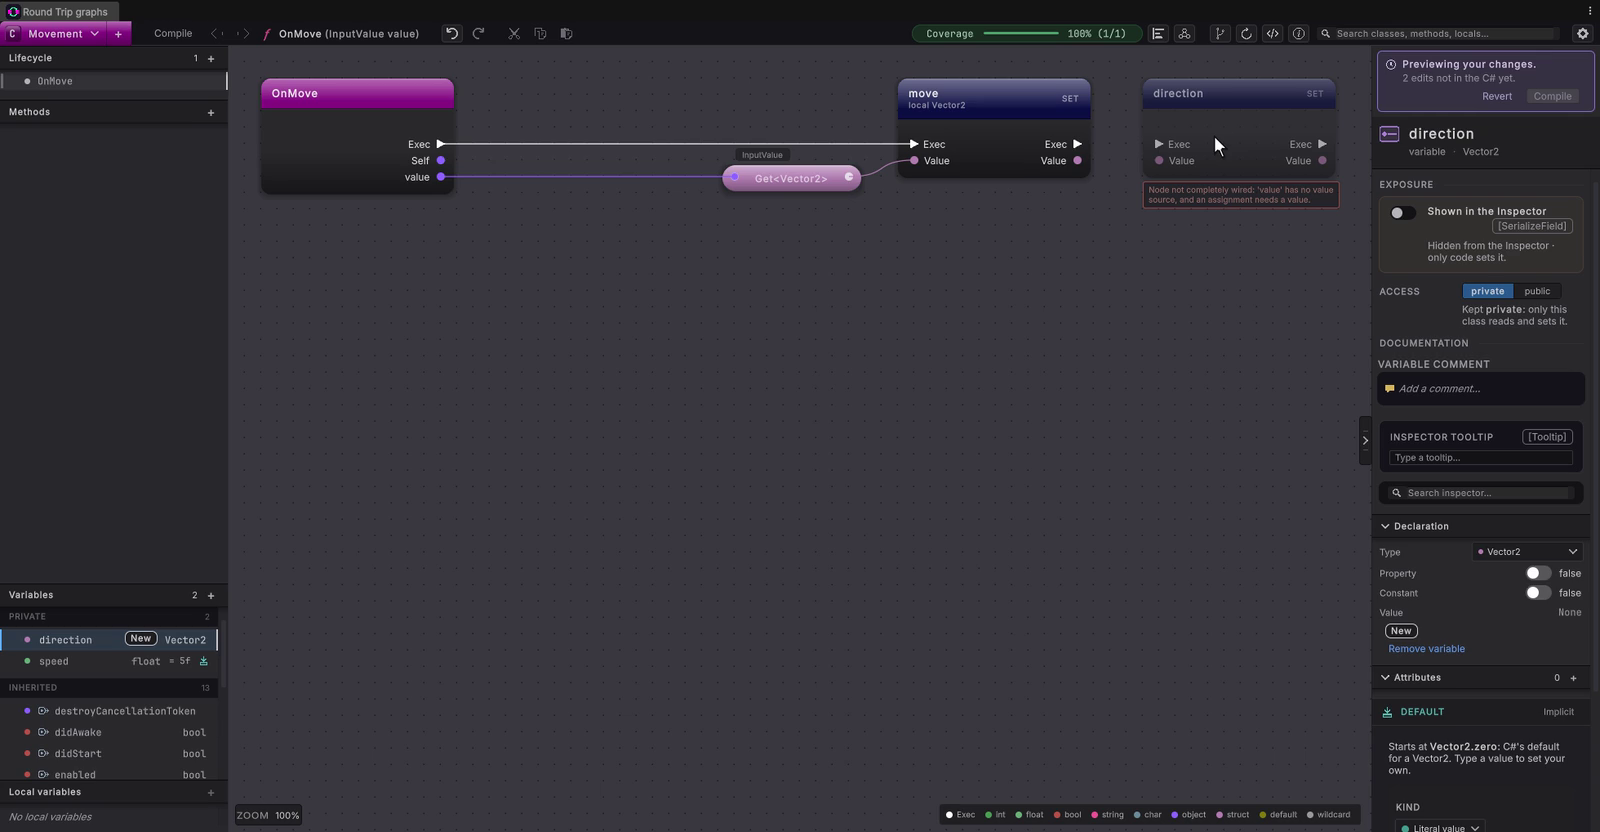
Wire it from move
Connect the move SET’s white Exec arrow to the direction SET’s Exec, and the move SET’s Value output to the direction SET’s Value input.
Compile
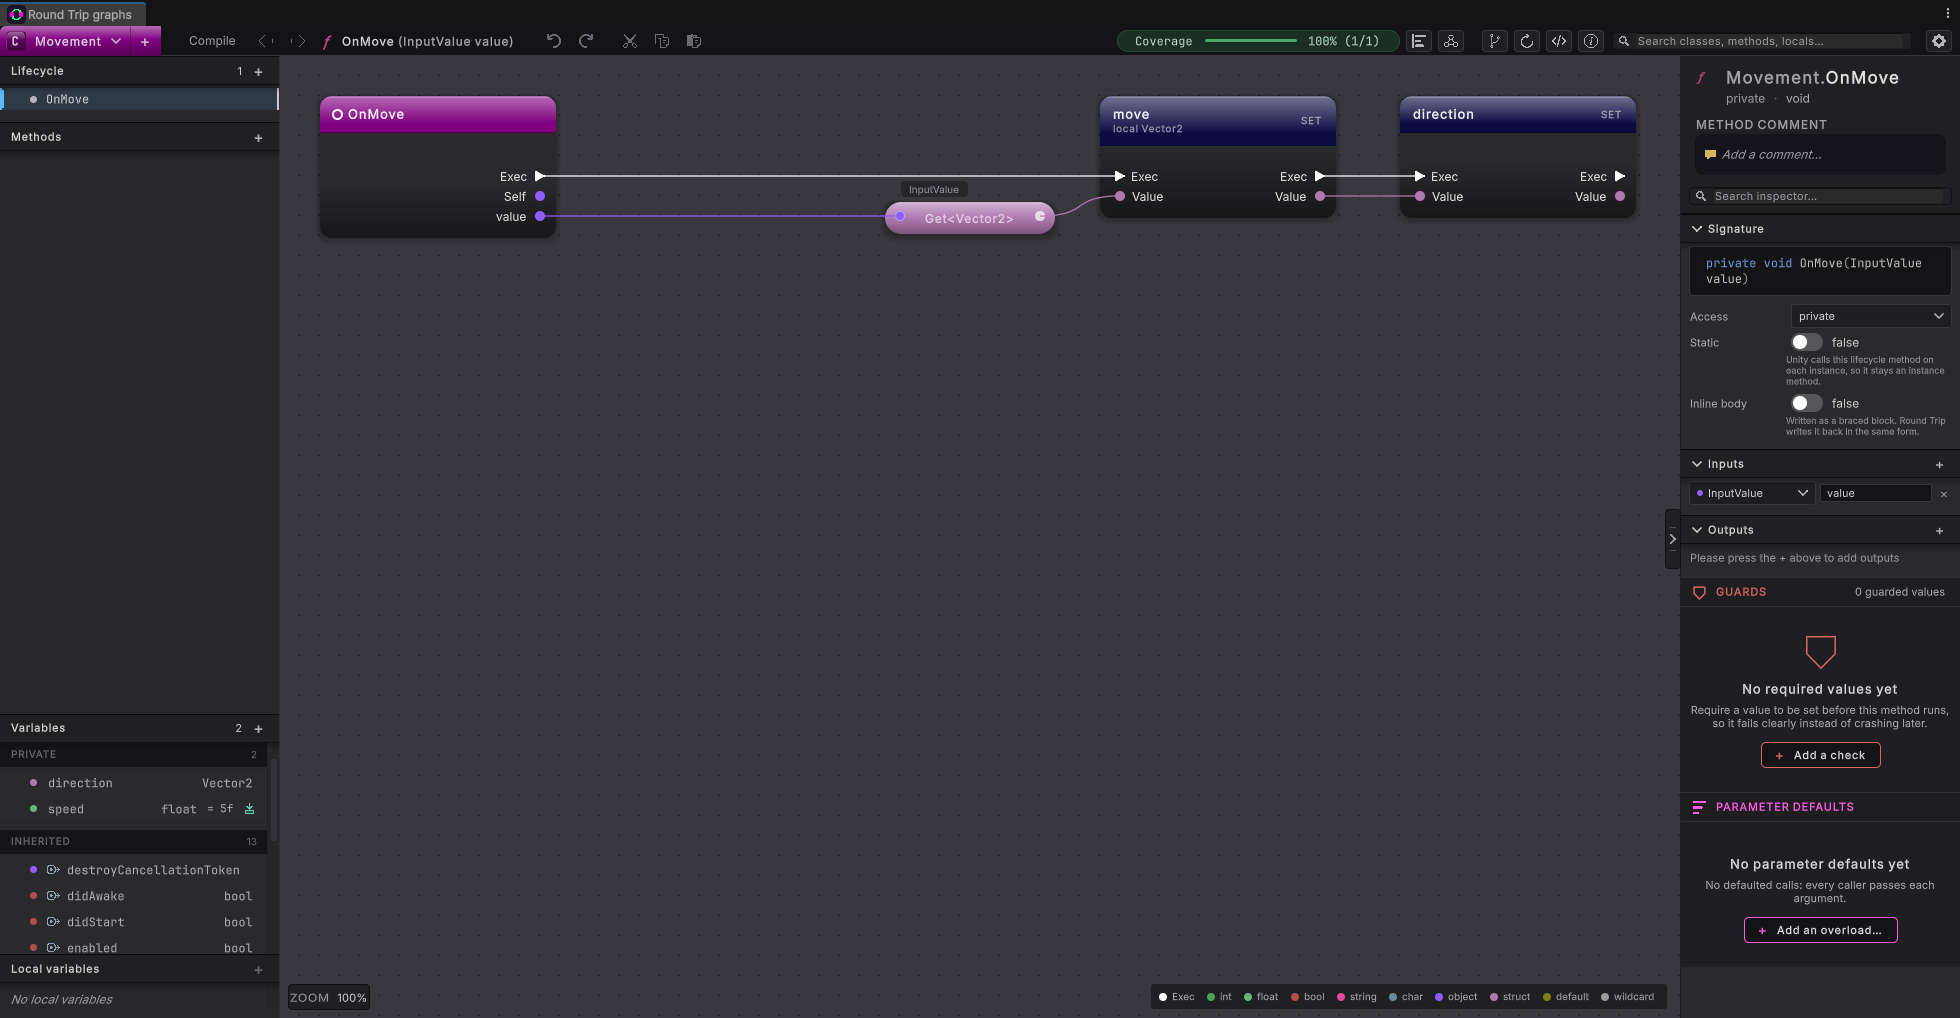
Press Compile. Round Trip writes
direction = move;intoOnMove.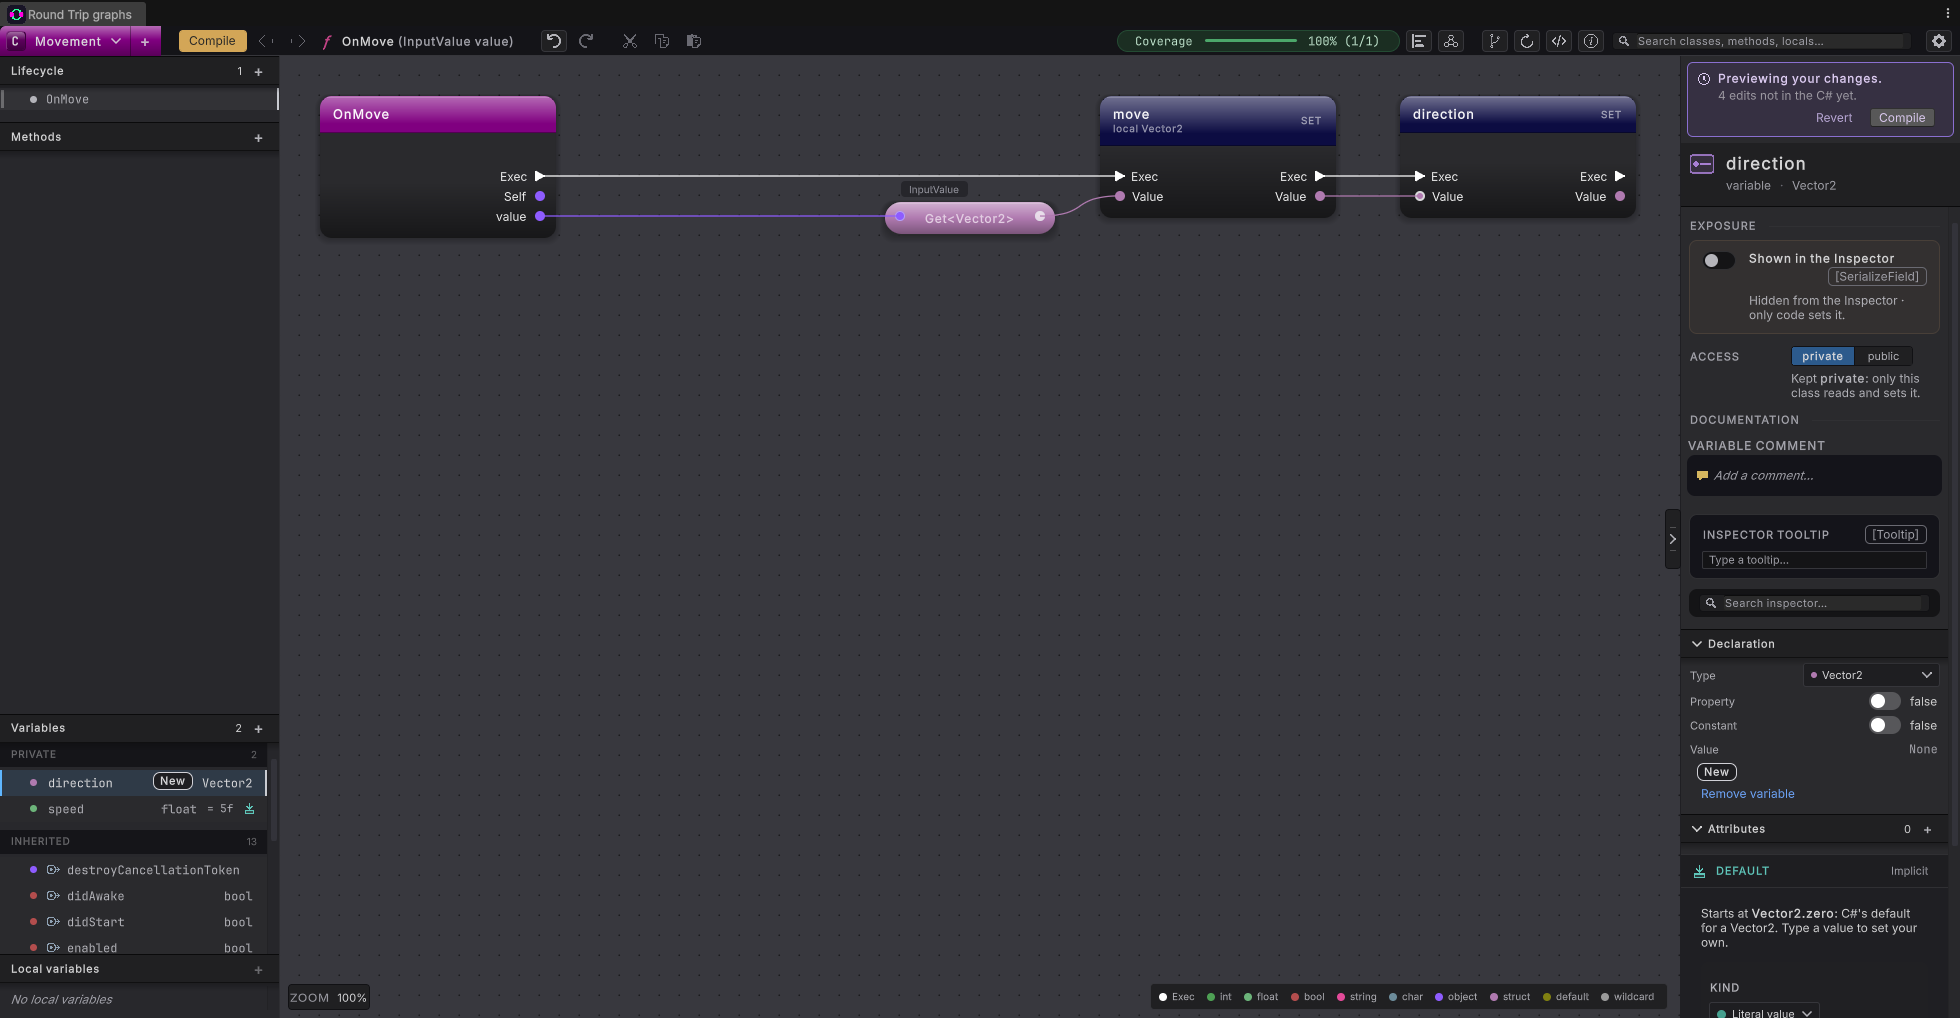
8. Move every frame
Section titled “8. Move every frame”Unity calls Update once every frame, so whatever you connect after its white Exec arrow happens every frame. Here it moves the square by the stored direction, scaled by speed and by the time since the last frame.
Build Update
Add Update
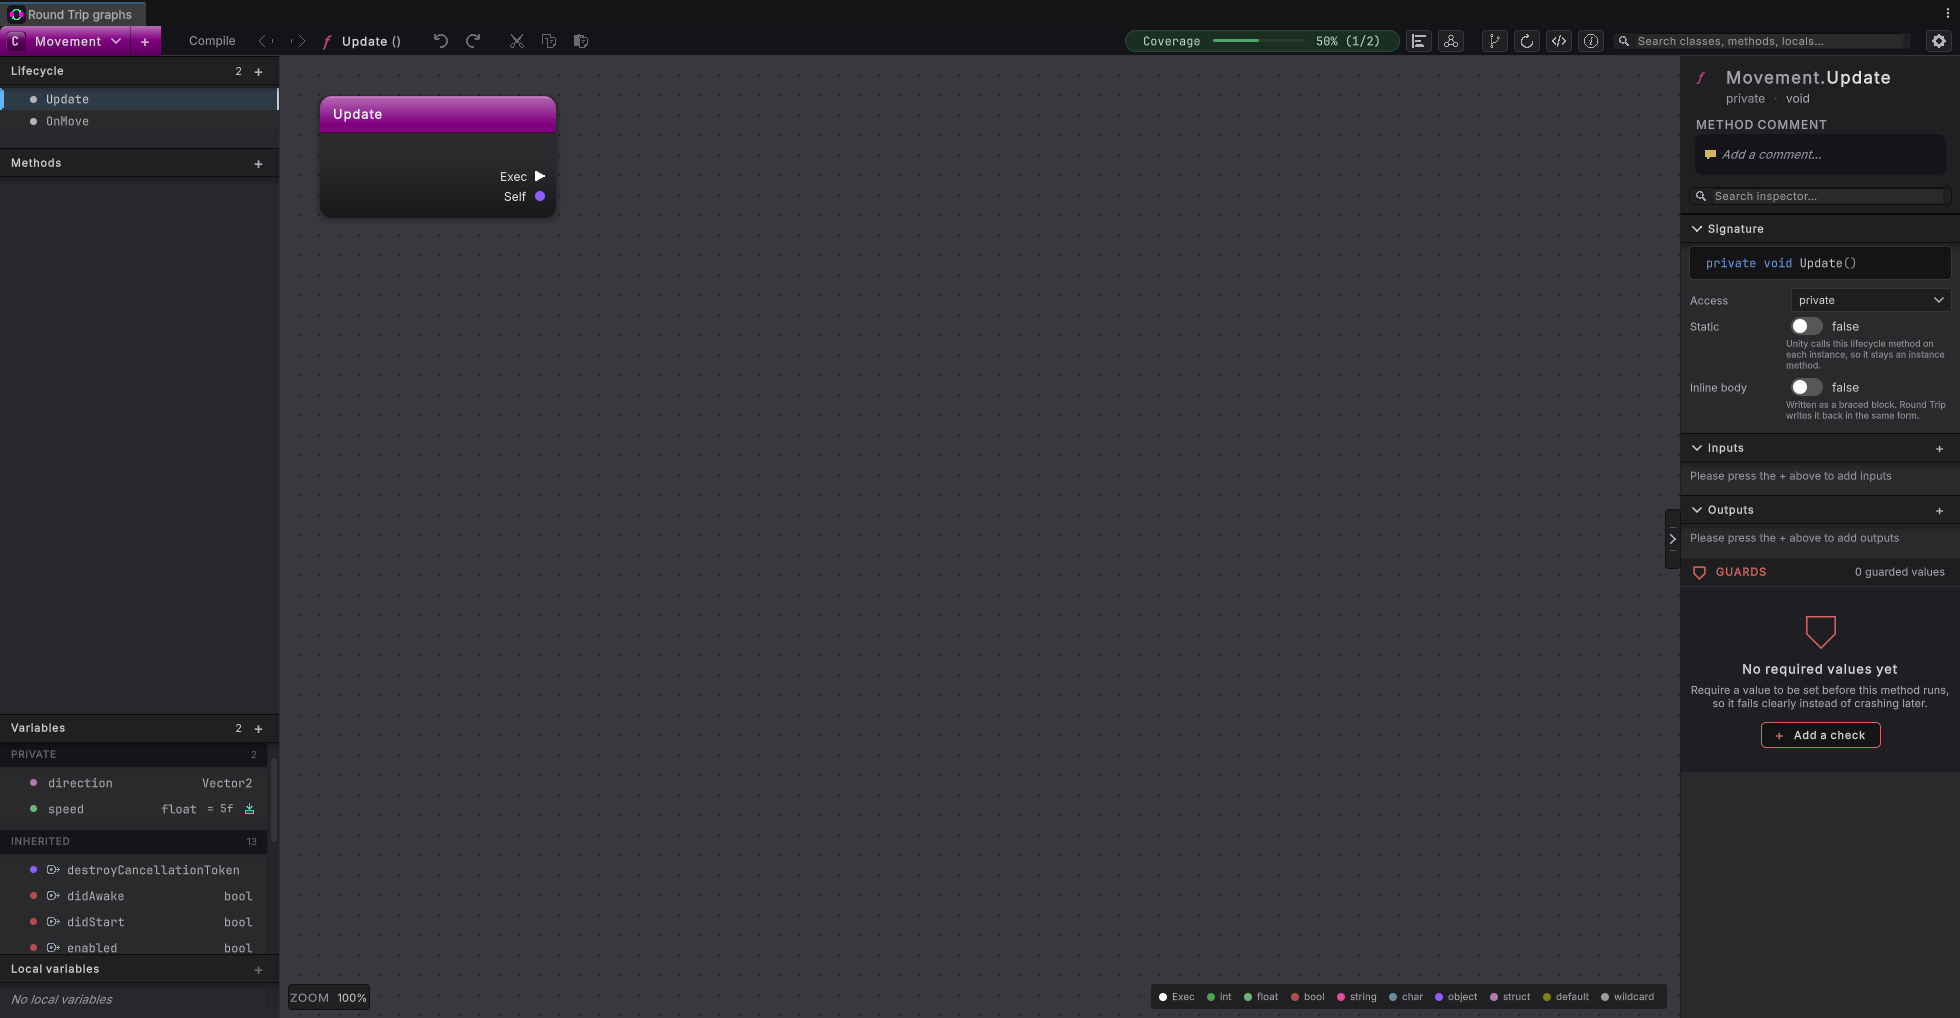
Press the + on Lifecycle and choose Update() under CORE. A magenta Update box appears on the canvas.
Click OnMove, then Update
Click OnMove in the Lifecycle list. The method you compiled is still there, exactly as you left it. Then click Update to carry on.
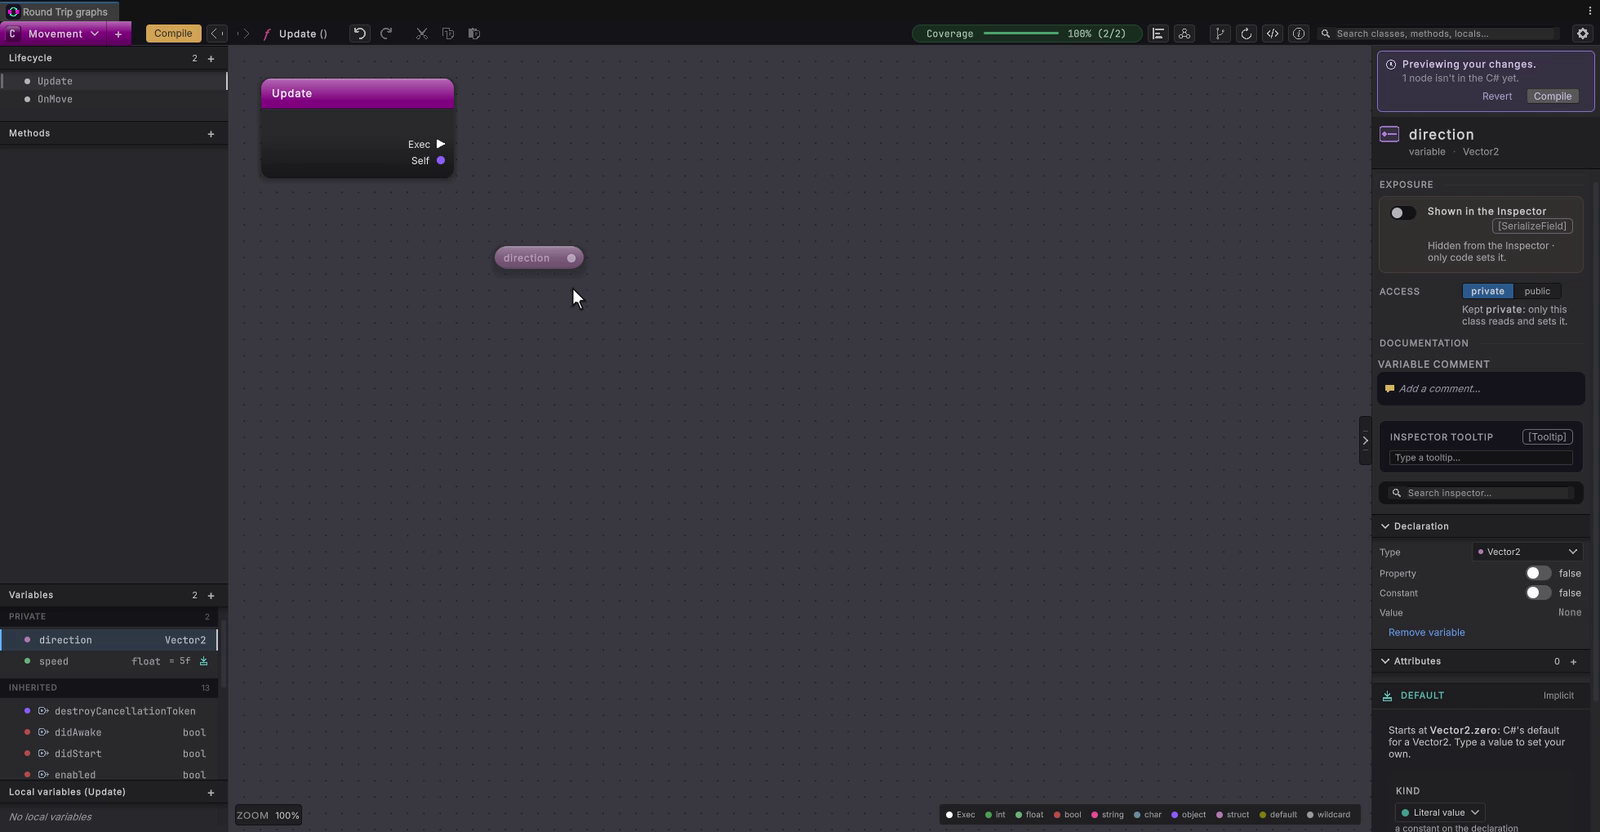
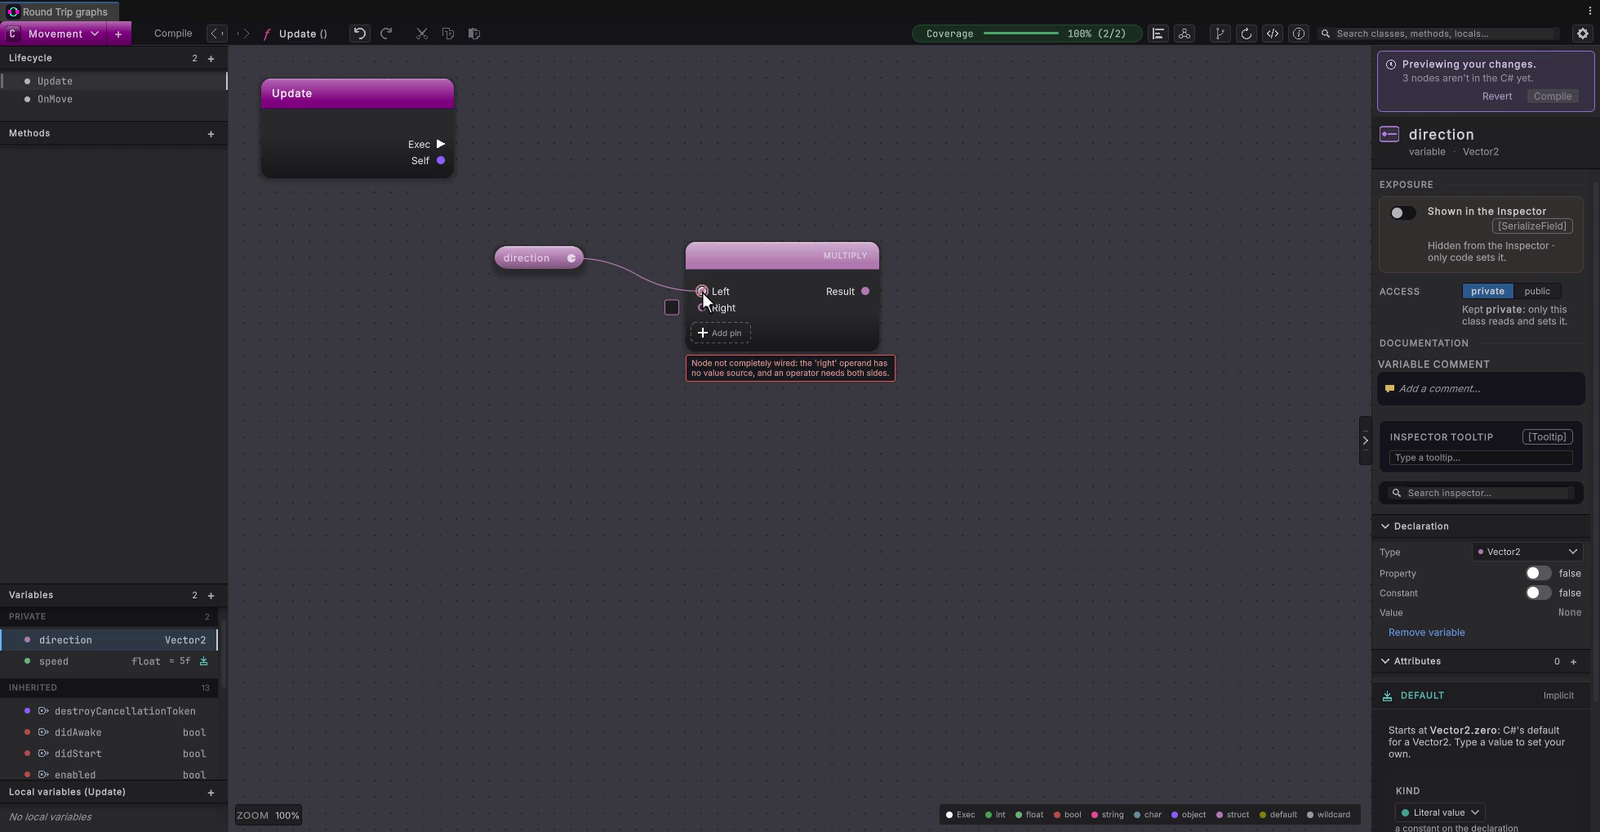
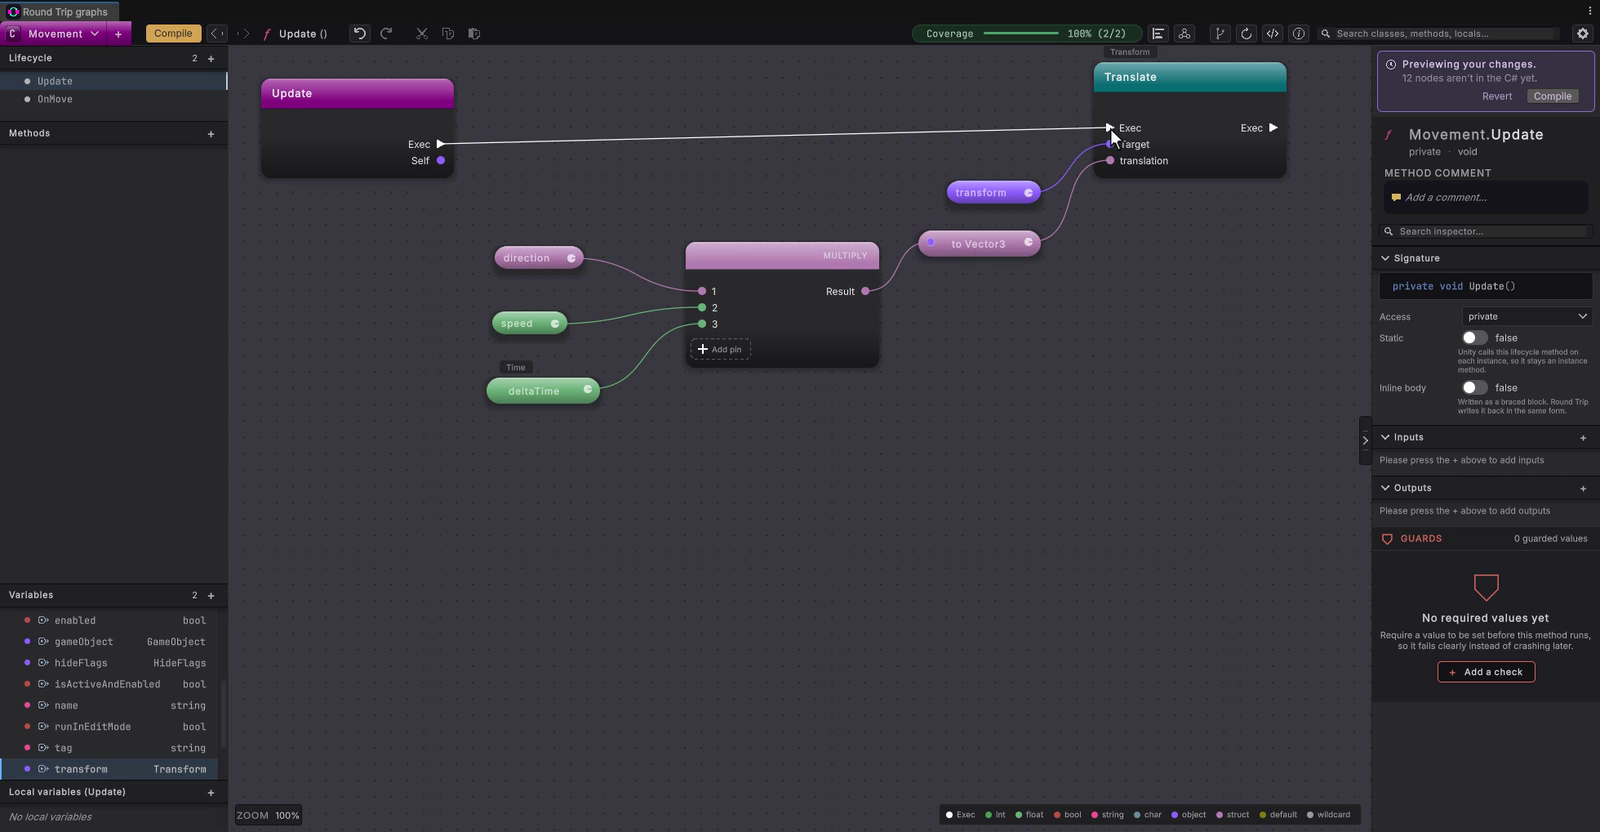
Get direction
Drag direction from Variables onto the canvas and choose get direction.
Add Multiply
Right-click empty canvas, type
Multiply, and choose the Multiply row with the ✖ icon. Wire direction into its first input.Add speed
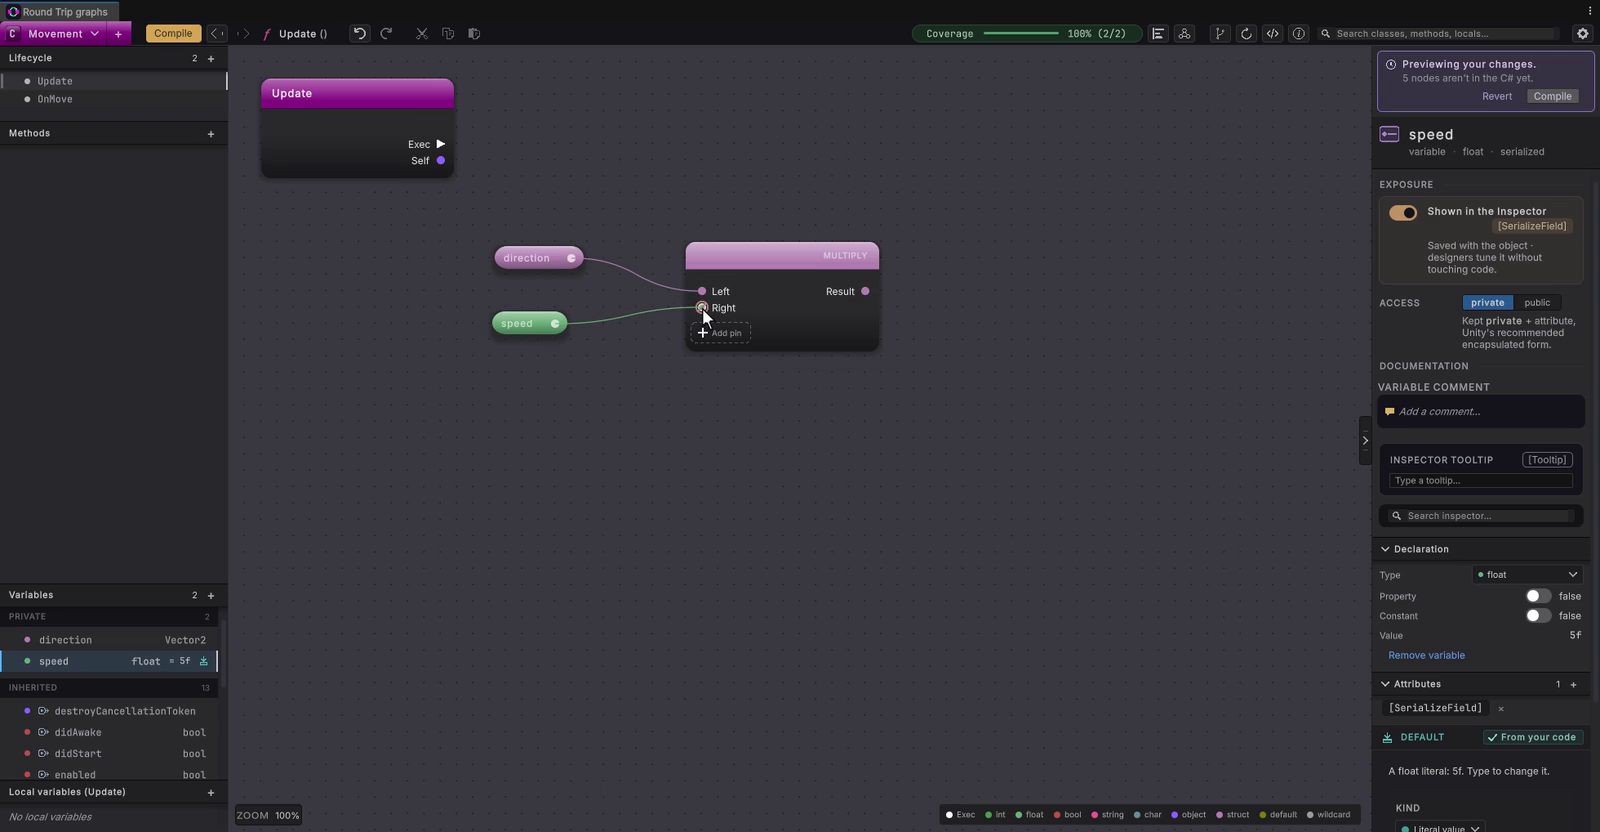
Drag speed from Variables onto the canvas, choose get speed, and wire the green pill into the second input.
Add Time.deltaTime
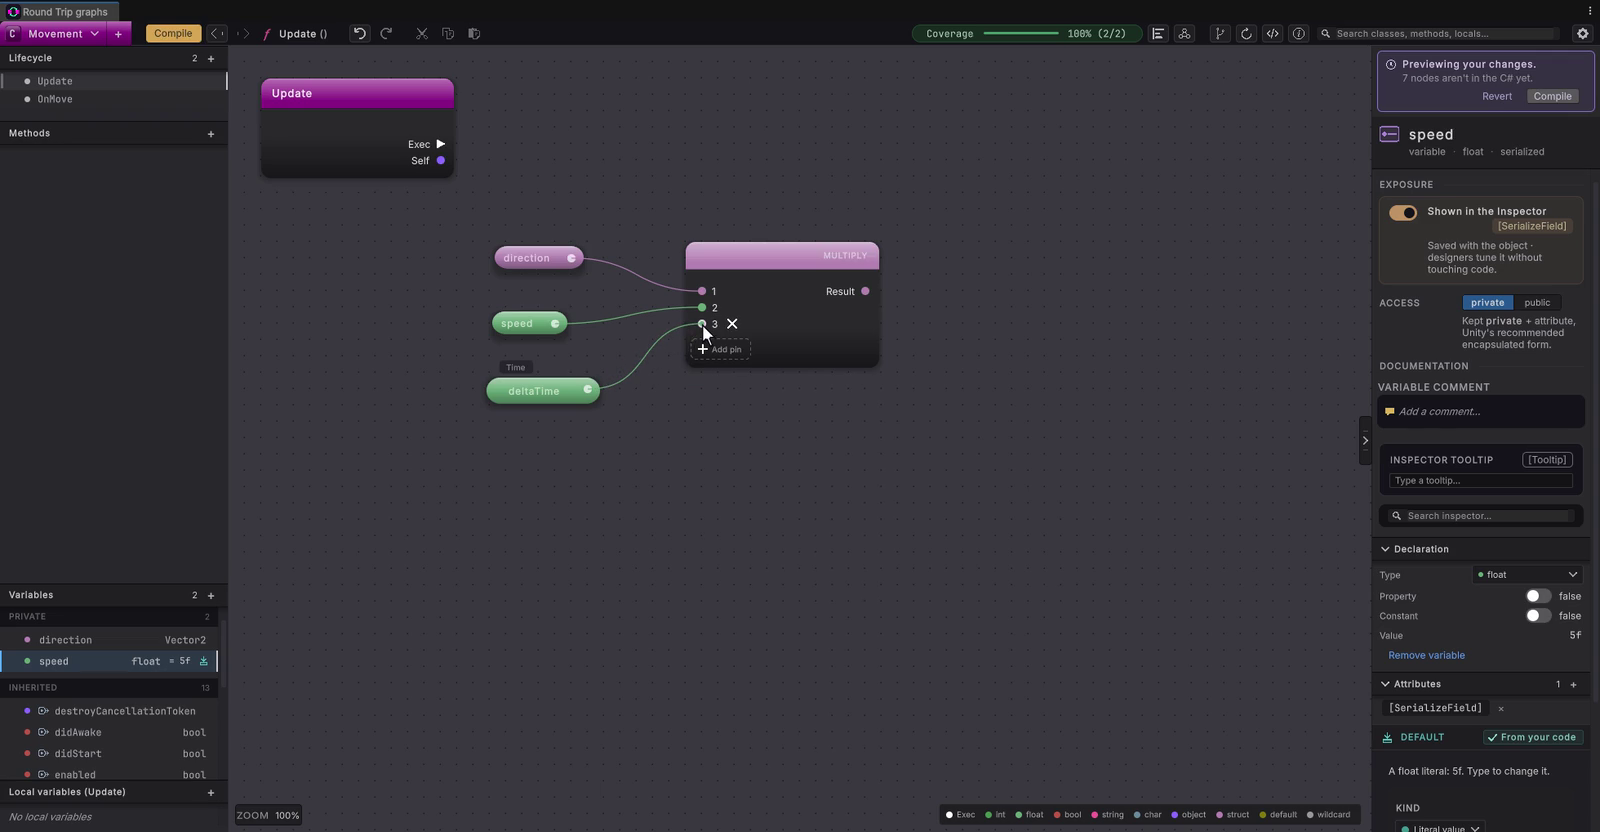
Click Add pin under the Multiply’s inputs to give it a third input. Right-click empty canvas, type
deltaTime, choose Time.deltaTime, and wire it into the third input.Get the transform
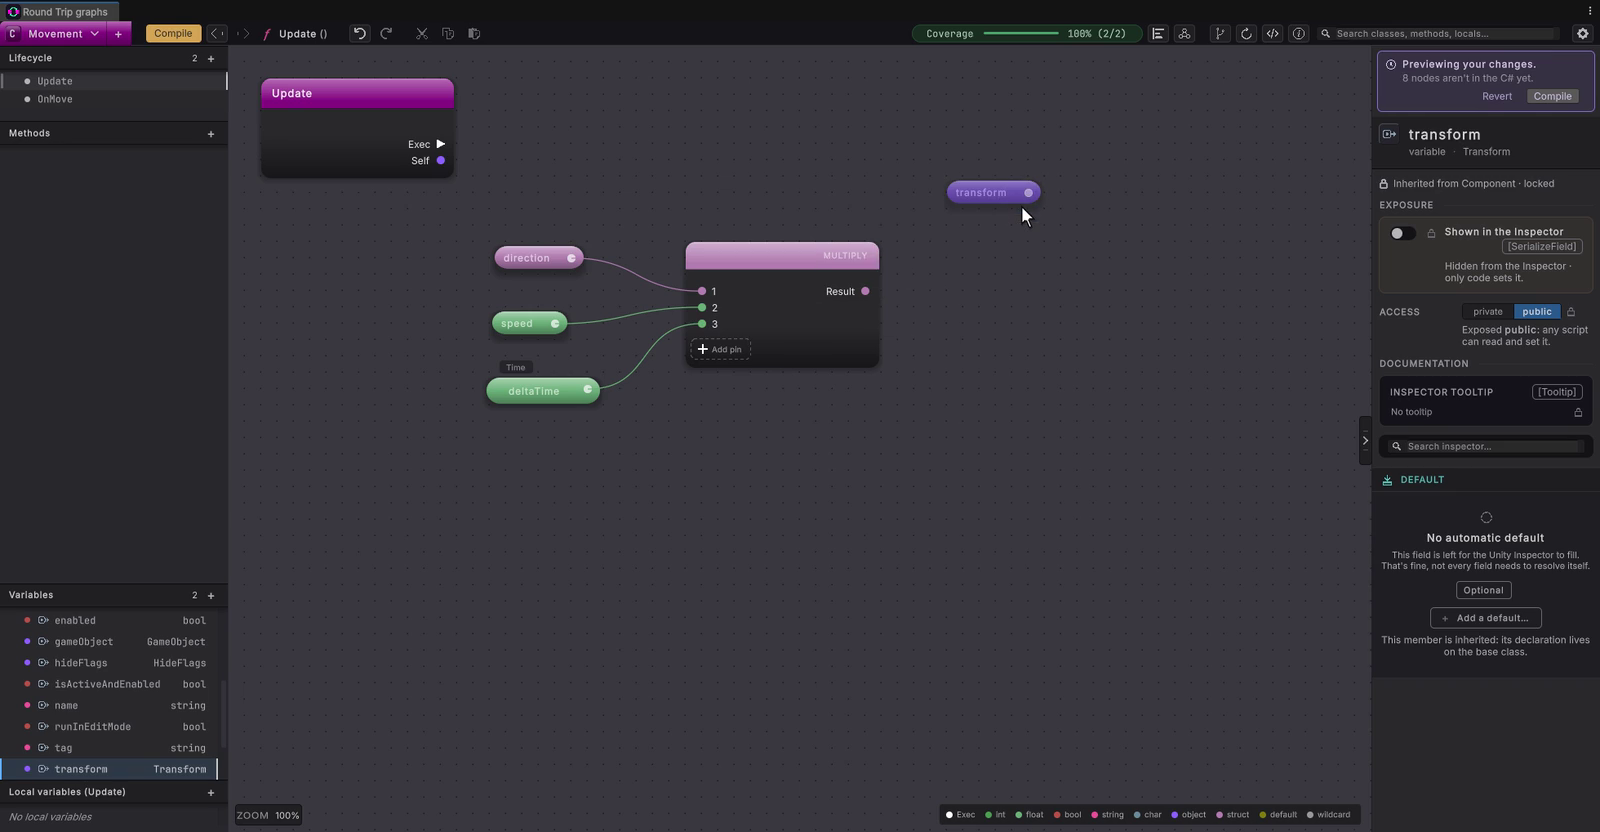
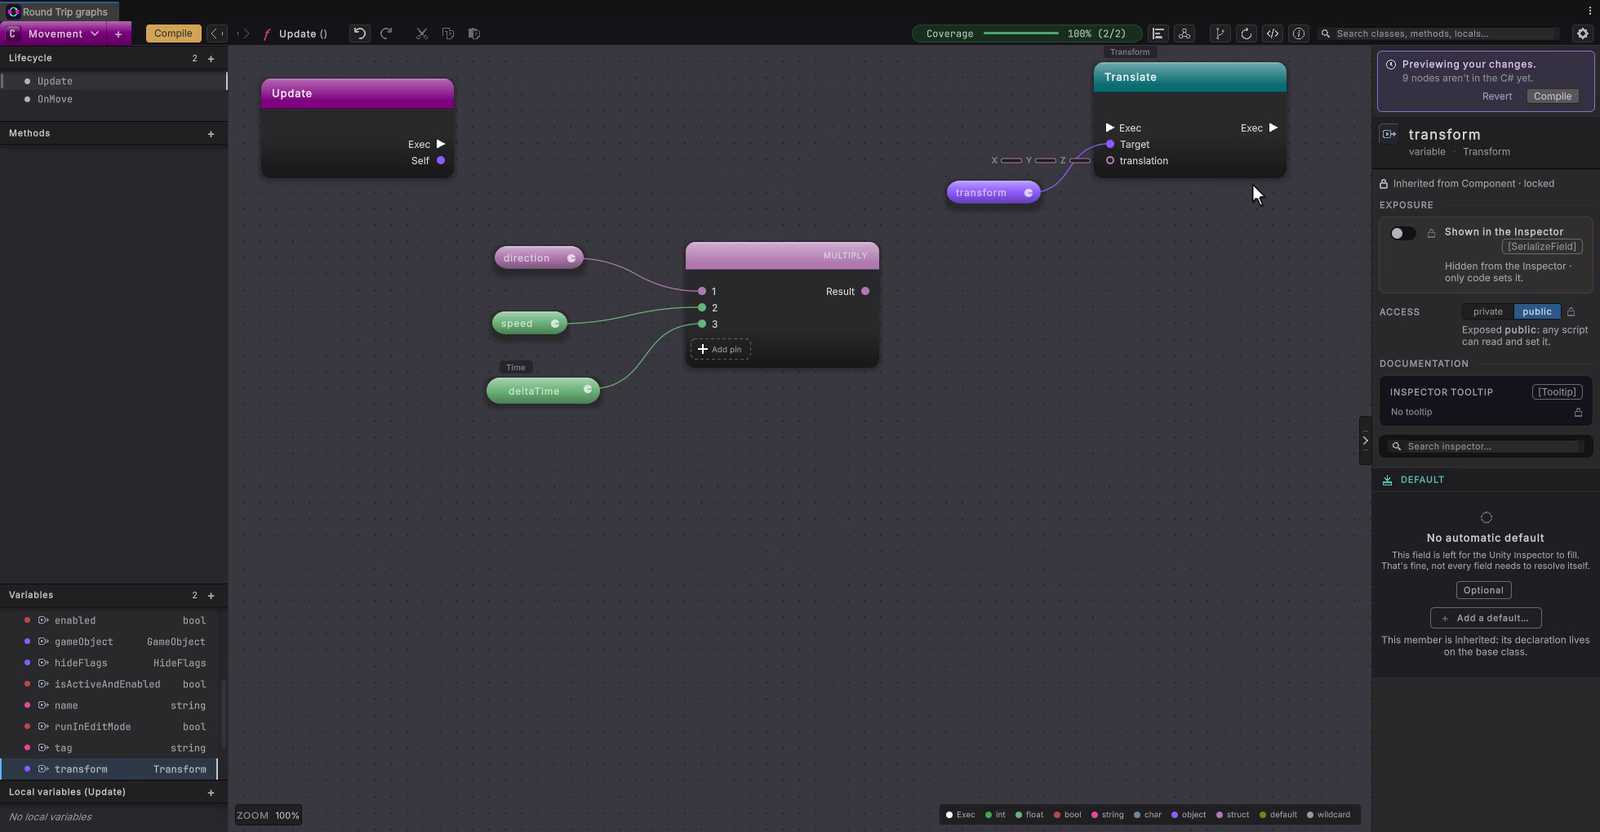
In Variables, scroll to transform under INHERITED, drag it onto the canvas and choose get transform.
Drag from the transform pill
Drag from the
transformpill: press on the circle on its right edge, highlighted in the clip, and pull the wire onto empty canvas. Do not right-click the canvas for this one. Let go, typeTranslate, and click Translate(Vector3 translation).Wire it up
Wire the Multiply’s Result into translation, then connect the white Exec arrow of Update to the Exec pin of Translate. Round Trip parks the new to Vector3 pill low on the canvas, so drag it up under the transform pill, as in the clip, to keep its wires short.
9. Compile
Section titled “9. Compile”Write it to C#
Compile
Press Compile. Round Trip writes Update into
Movement.cs, Unity compiles it, and the canvas reloads from the saved file. Compile turns gray again because the file now matches the canvas.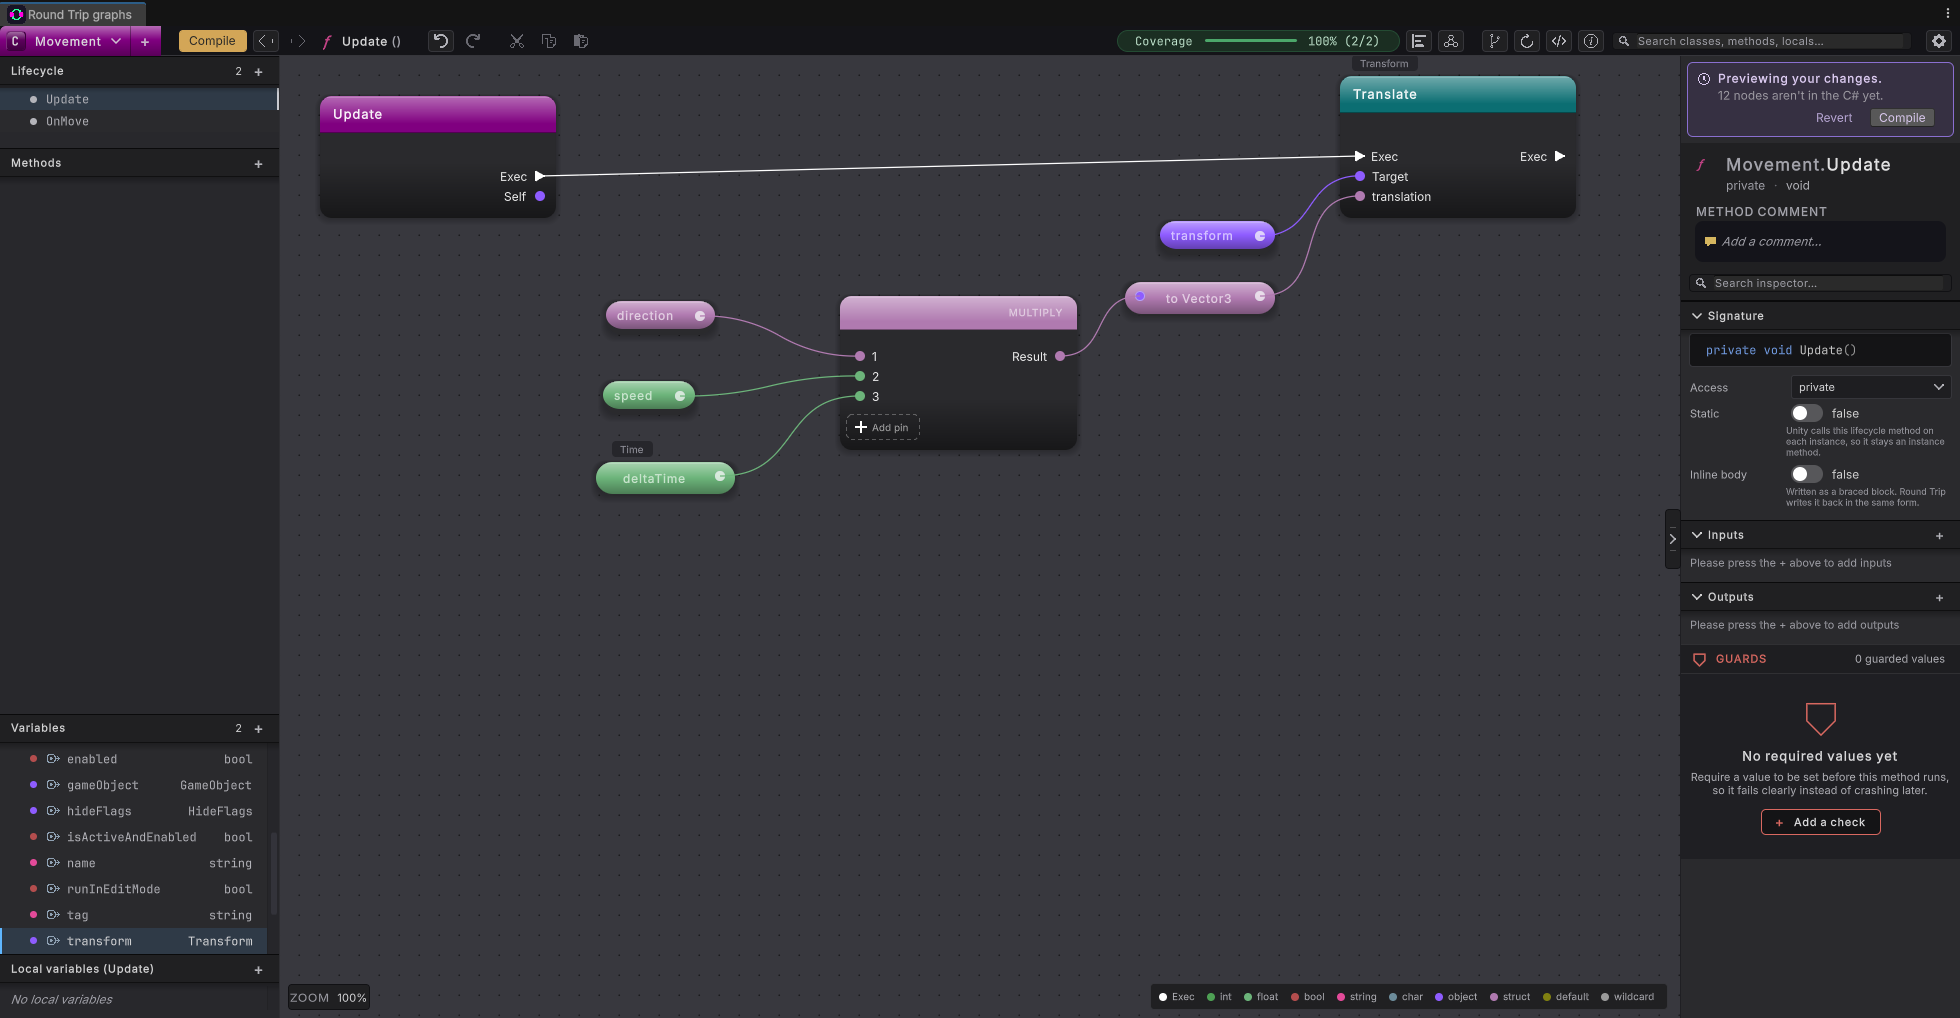
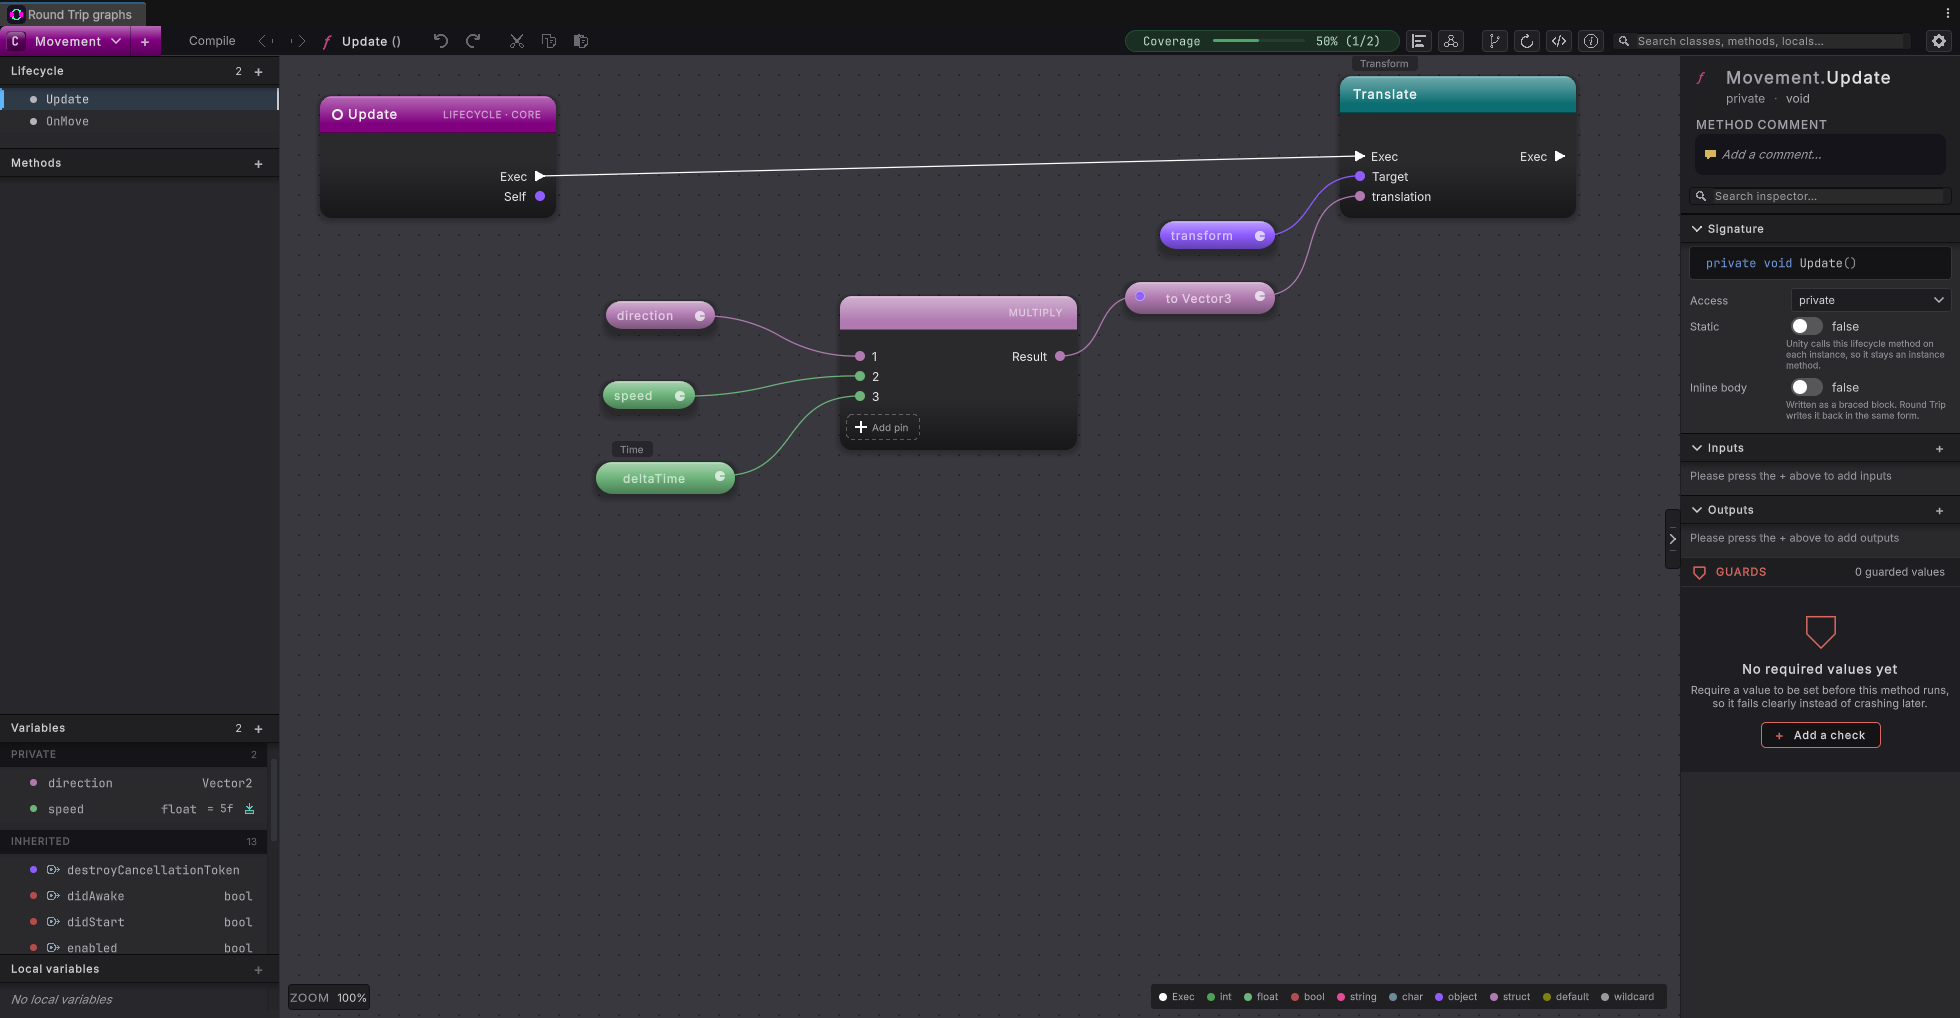
You never need to open the file, but this is what Round Trip saved in Assets/Scripts/Movement.cs so far. A programmer on your team can read and change it like any other script, and Round Trip will draw their changes as a visual script.
There is no namespace line because the namespace box was empty. Round Trip fills that box from the folder’s assembly definition, then from the namespace the scripts already in the folder use, then from Project Settings > Editor > Root Namespace; in a new project with an empty Scripts folder none of these names one. Round Trip only writes C# it can draw again; Supported C# lists what that covers.
10. Add a Jump button
Section titled “10. Add a Jump button”Jump is added the same way as Move.
Add Jump
Pick New player control
Press the + on Lifecycle, type
input, scroll to the bottom of the list and click New player control….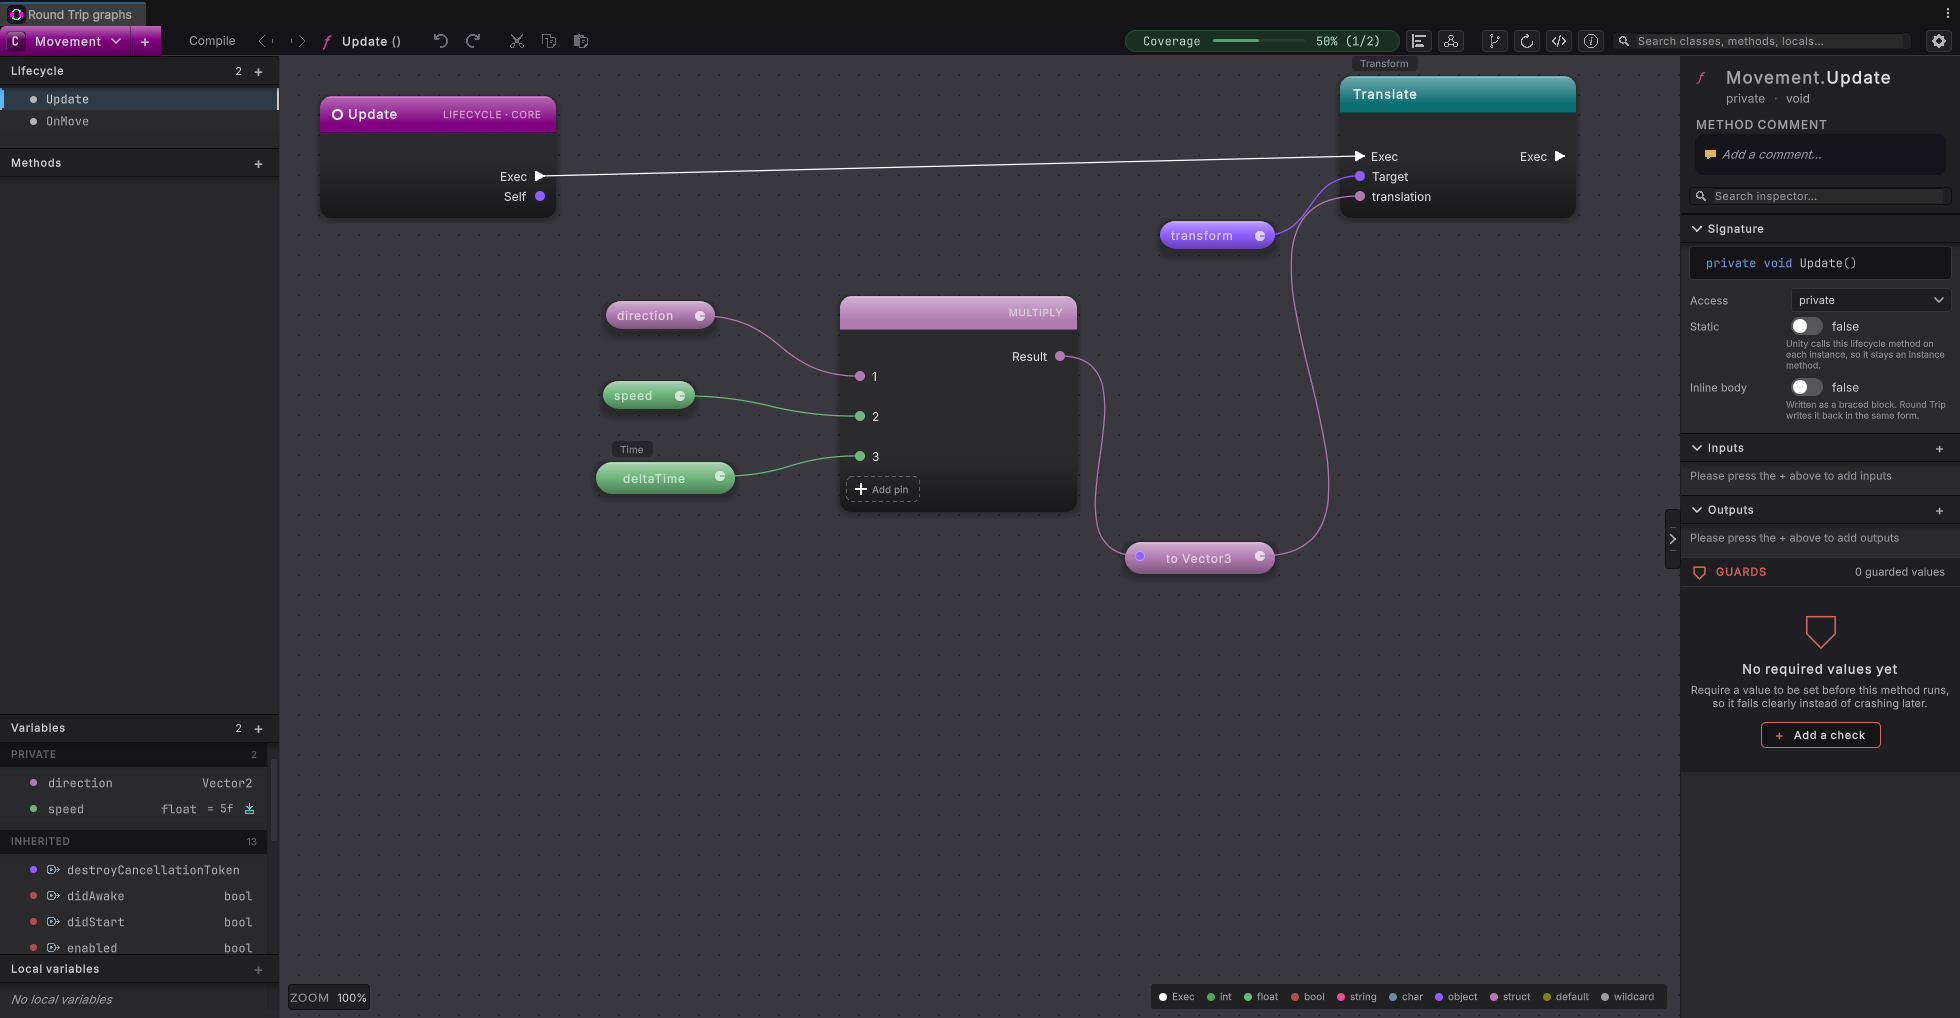
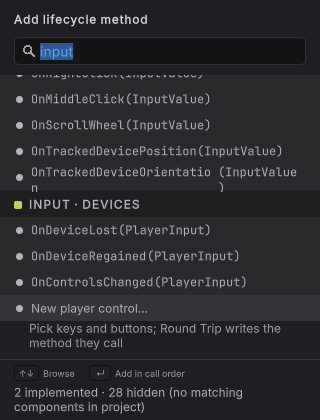
Name it Jump
Type
Jump.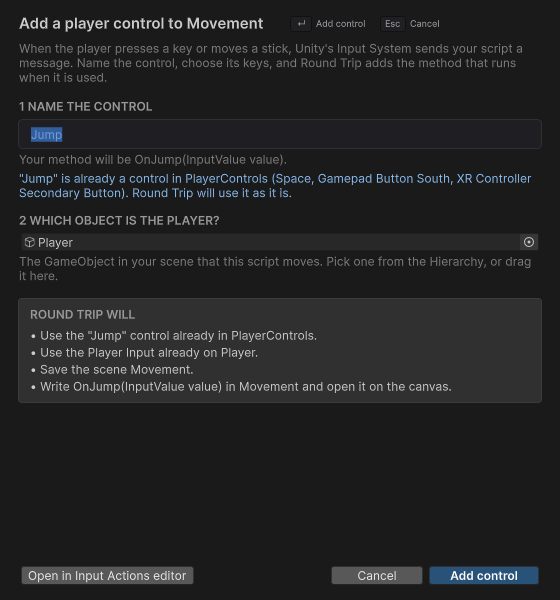
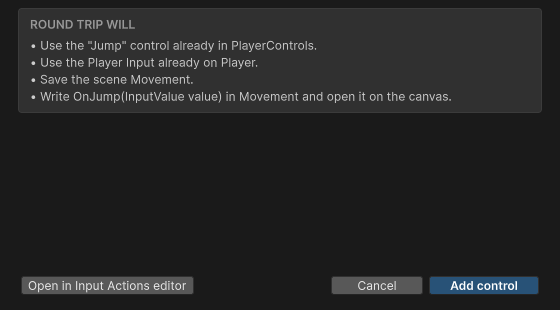
Add control
Press Add control.
11. Build the hop
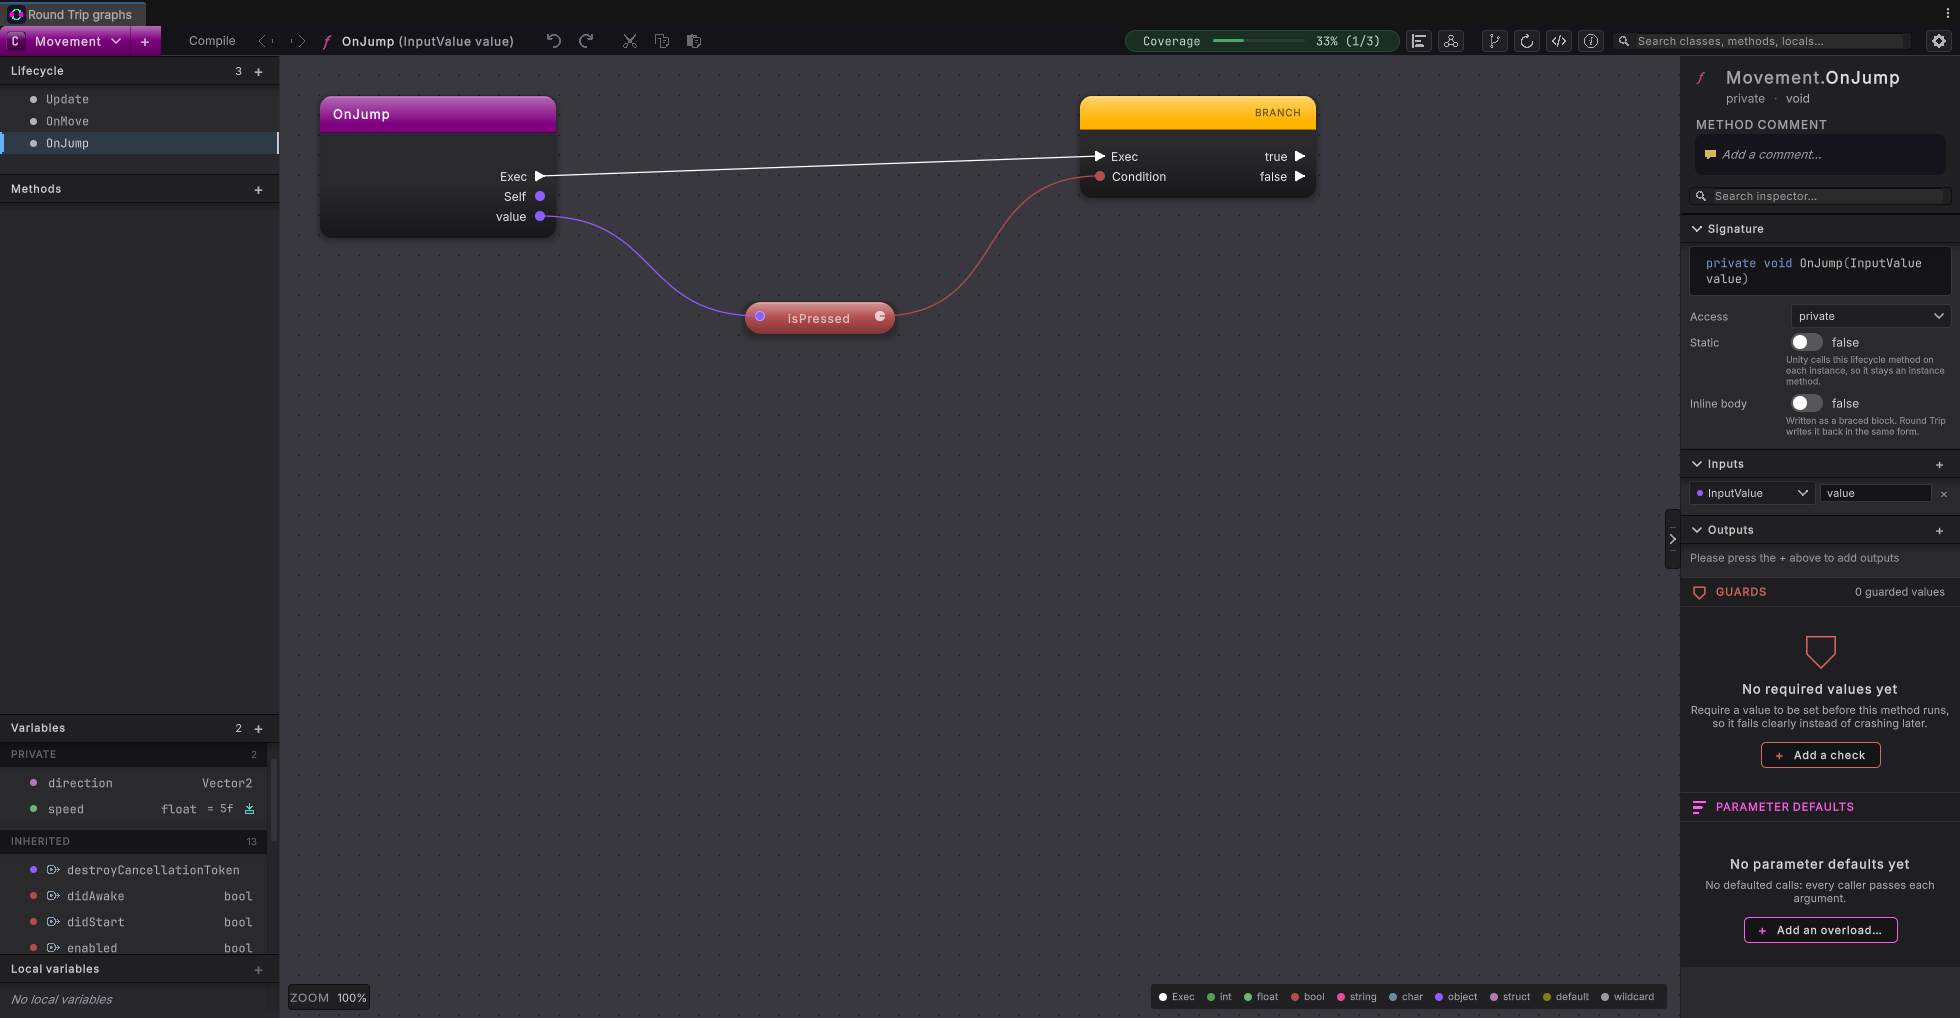
Section titled “11. Build the hop”OnJump is already open on the canvas, and it is not empty. A Player Input sends Jump when the button goes down, so Round Trip starts the method with a check for that: a Branch that asks value.isPressed. Anything you connect to true happens once per press.
OnJump on the canvas
Find OnJump
Look at the Lifecycle list on the left: OnJump has joined Update and OnMove. Click OnJump if it is not already selected.
Get the transform
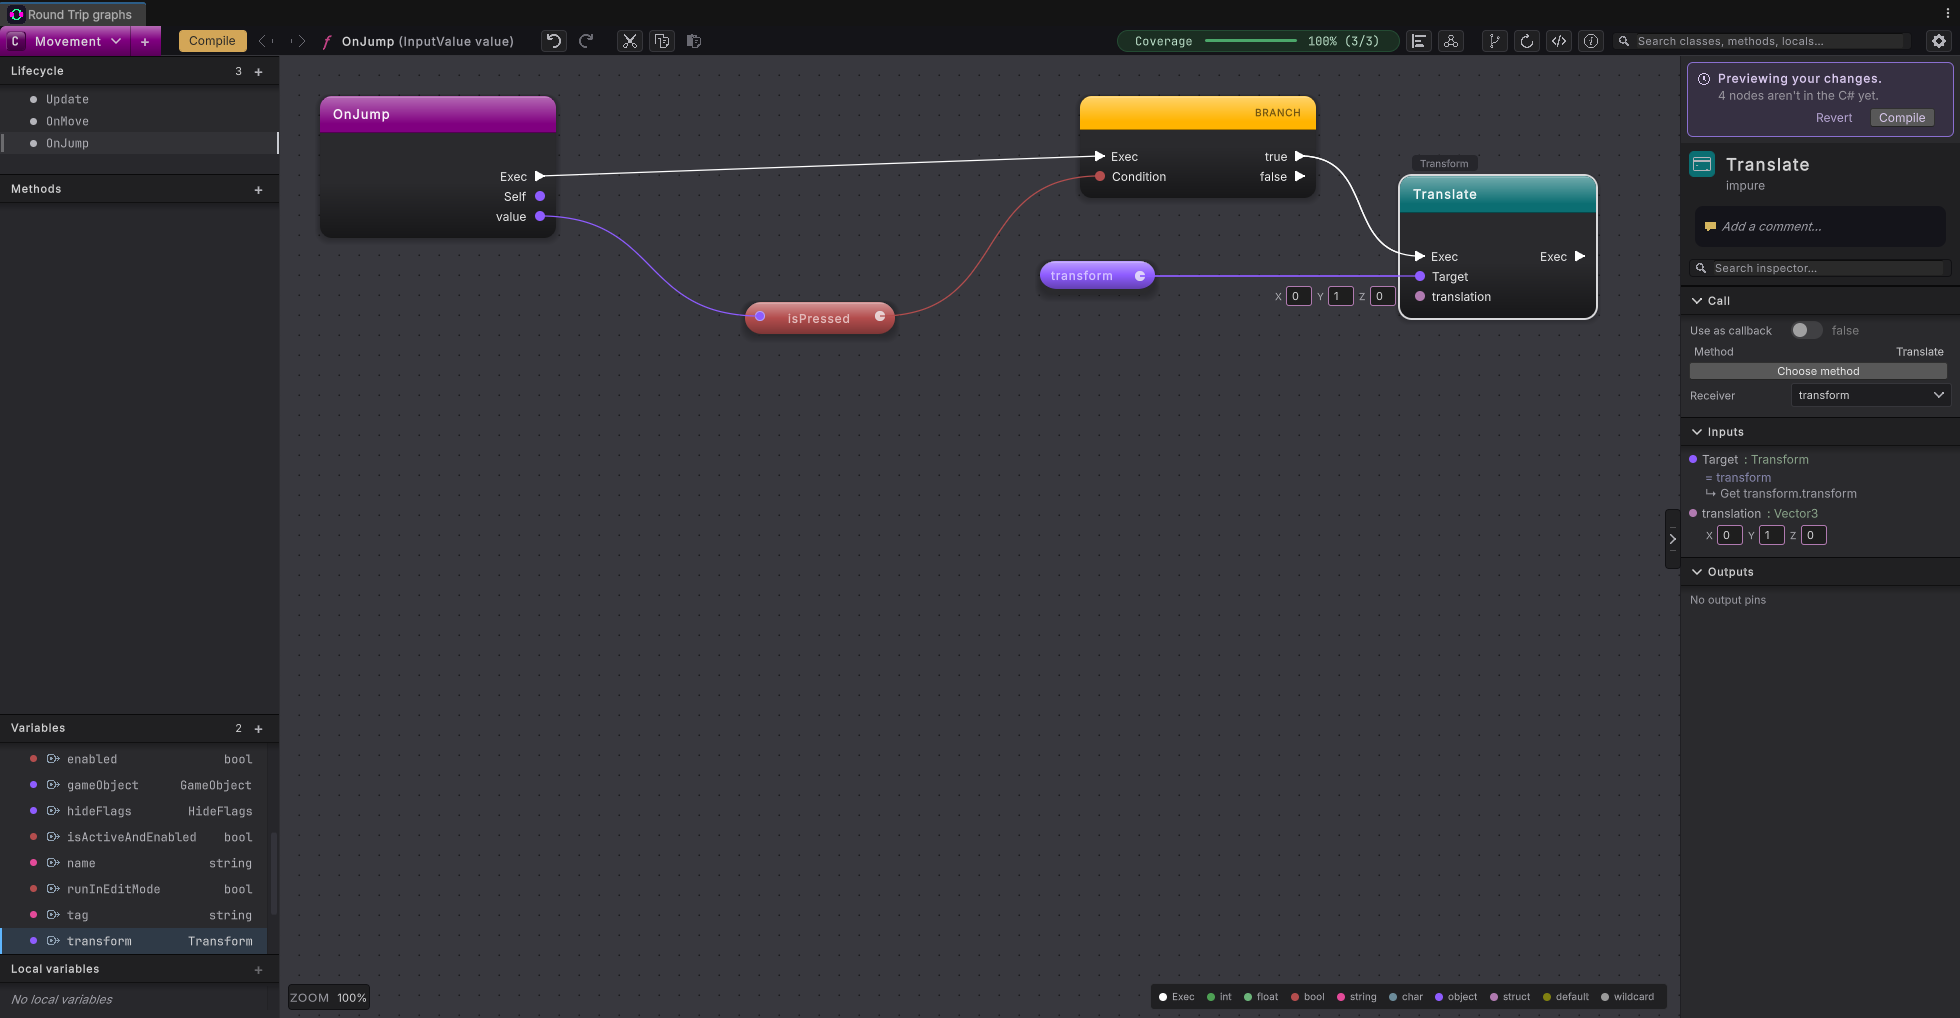
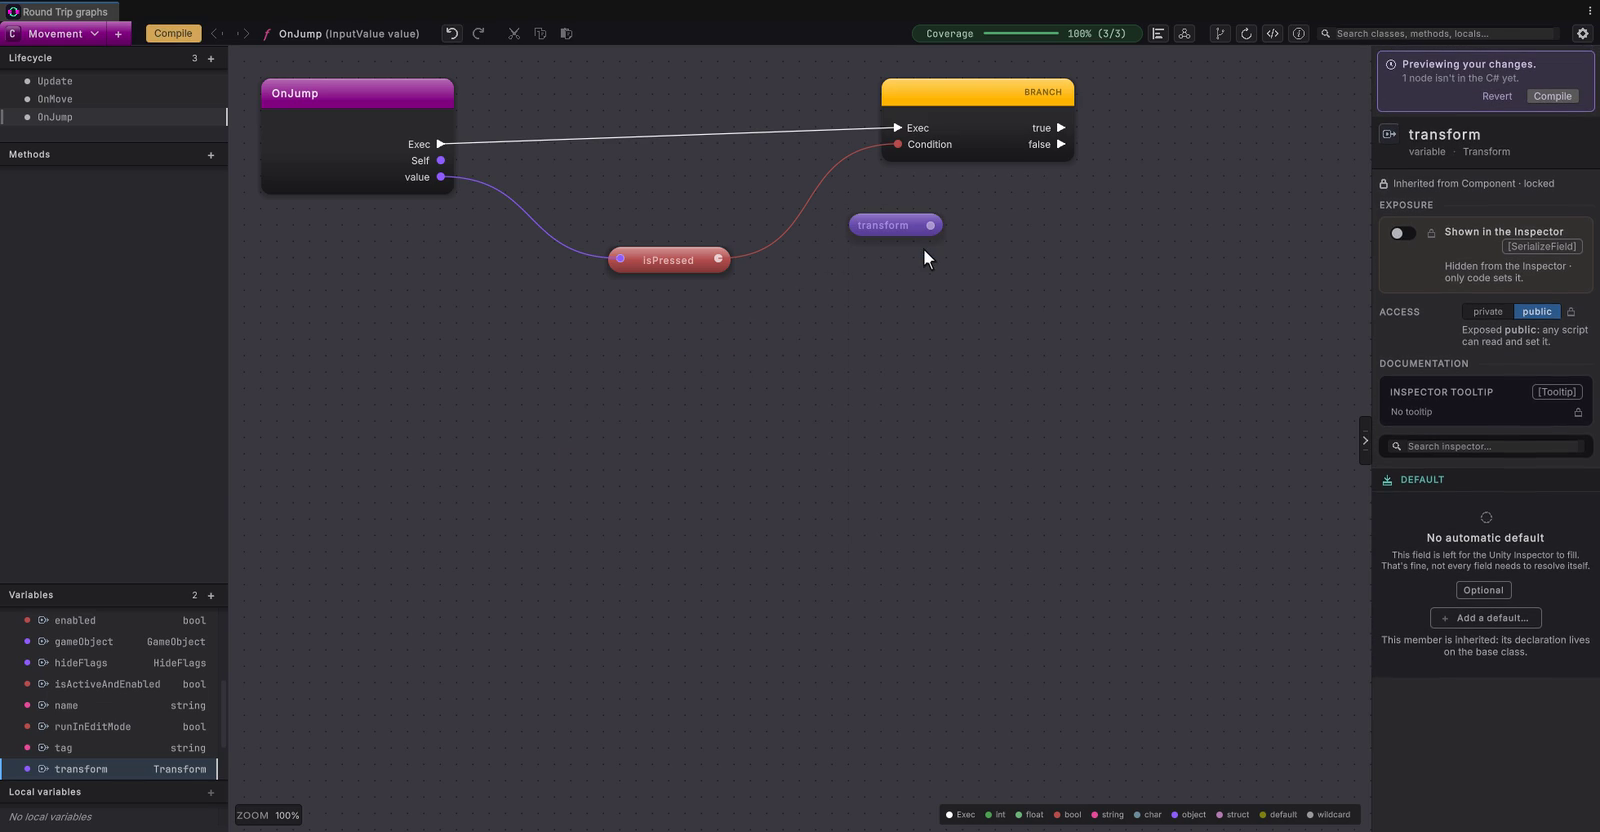
Drag transform from Variables onto the canvas and choose get transform, as you did for Update.
Drag from the transform pill
Drag from the circle on the transform pill’s right edge onto empty canvas, type
Translate, and choose Translate(Vector3 translation).Connect true and enter the hop
Connect the Branch’s true arrow to Translate’s Exec. In translation, enter
0in X,1in Y, and0in Z.Compile
Press Compile.
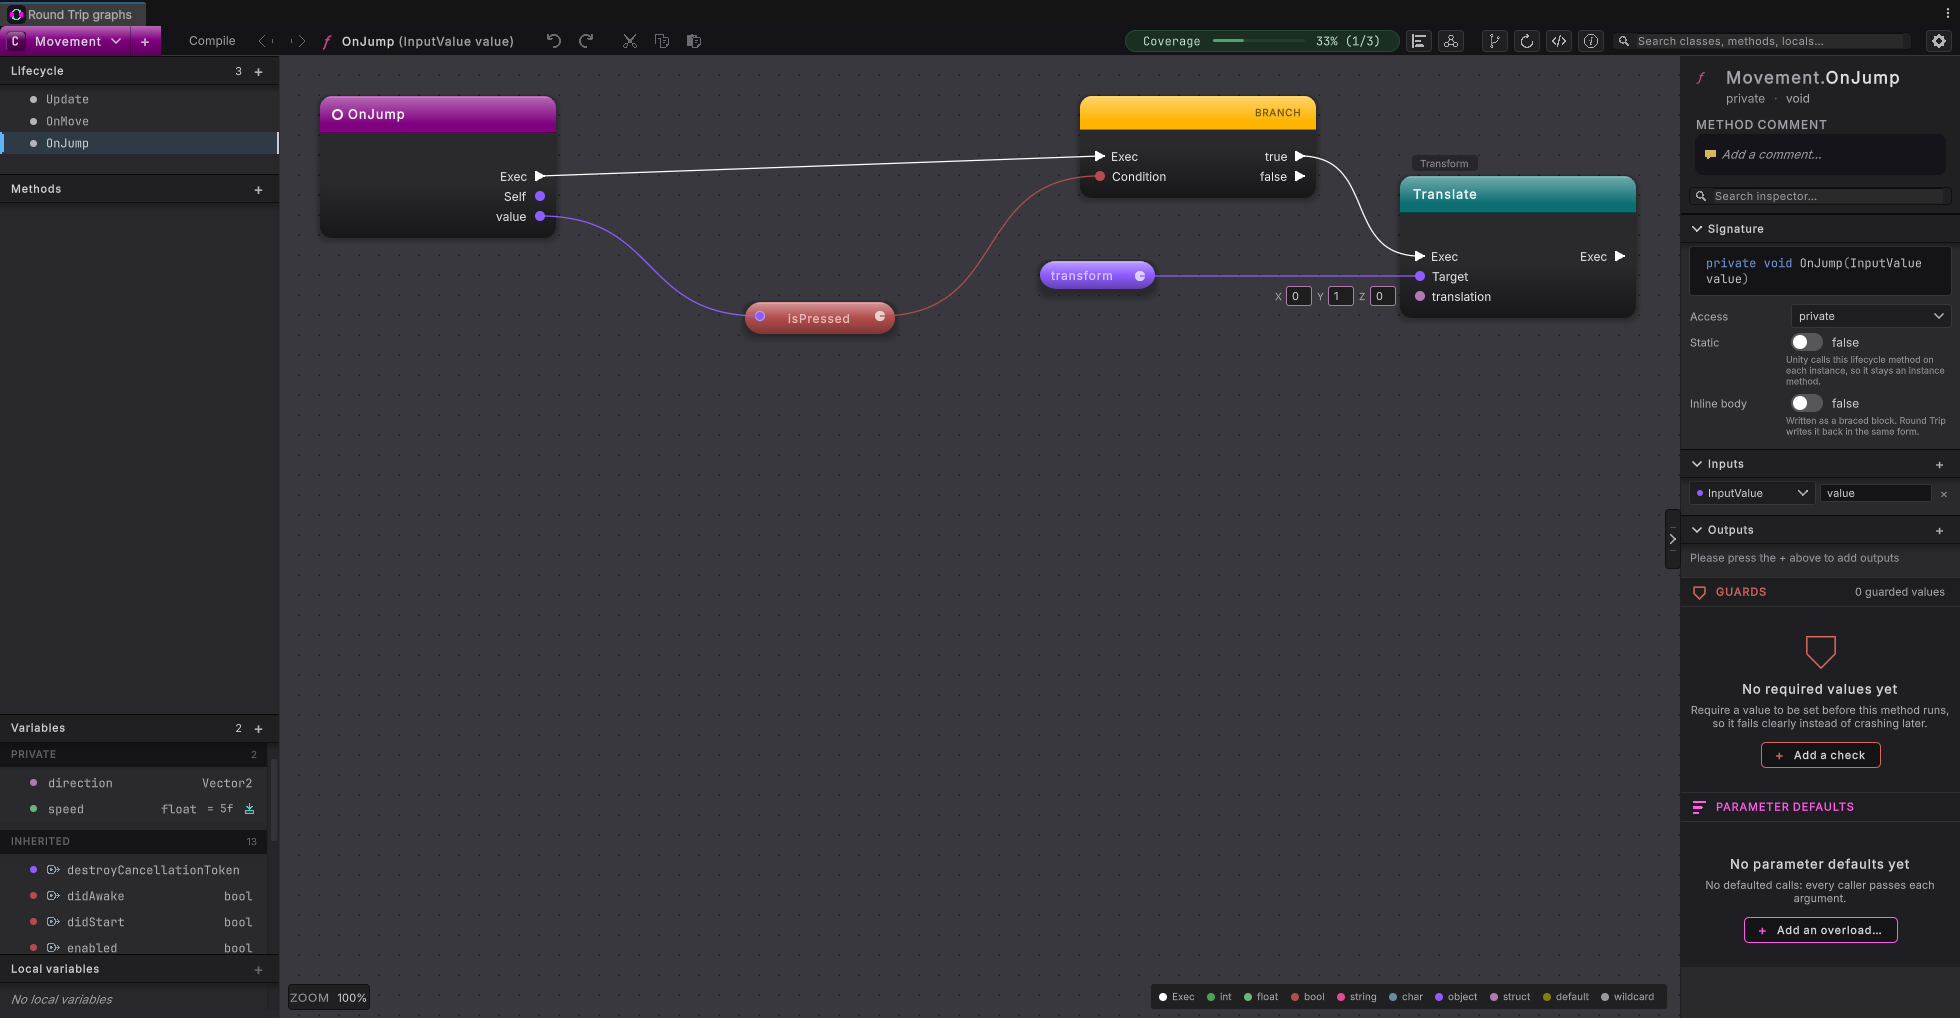
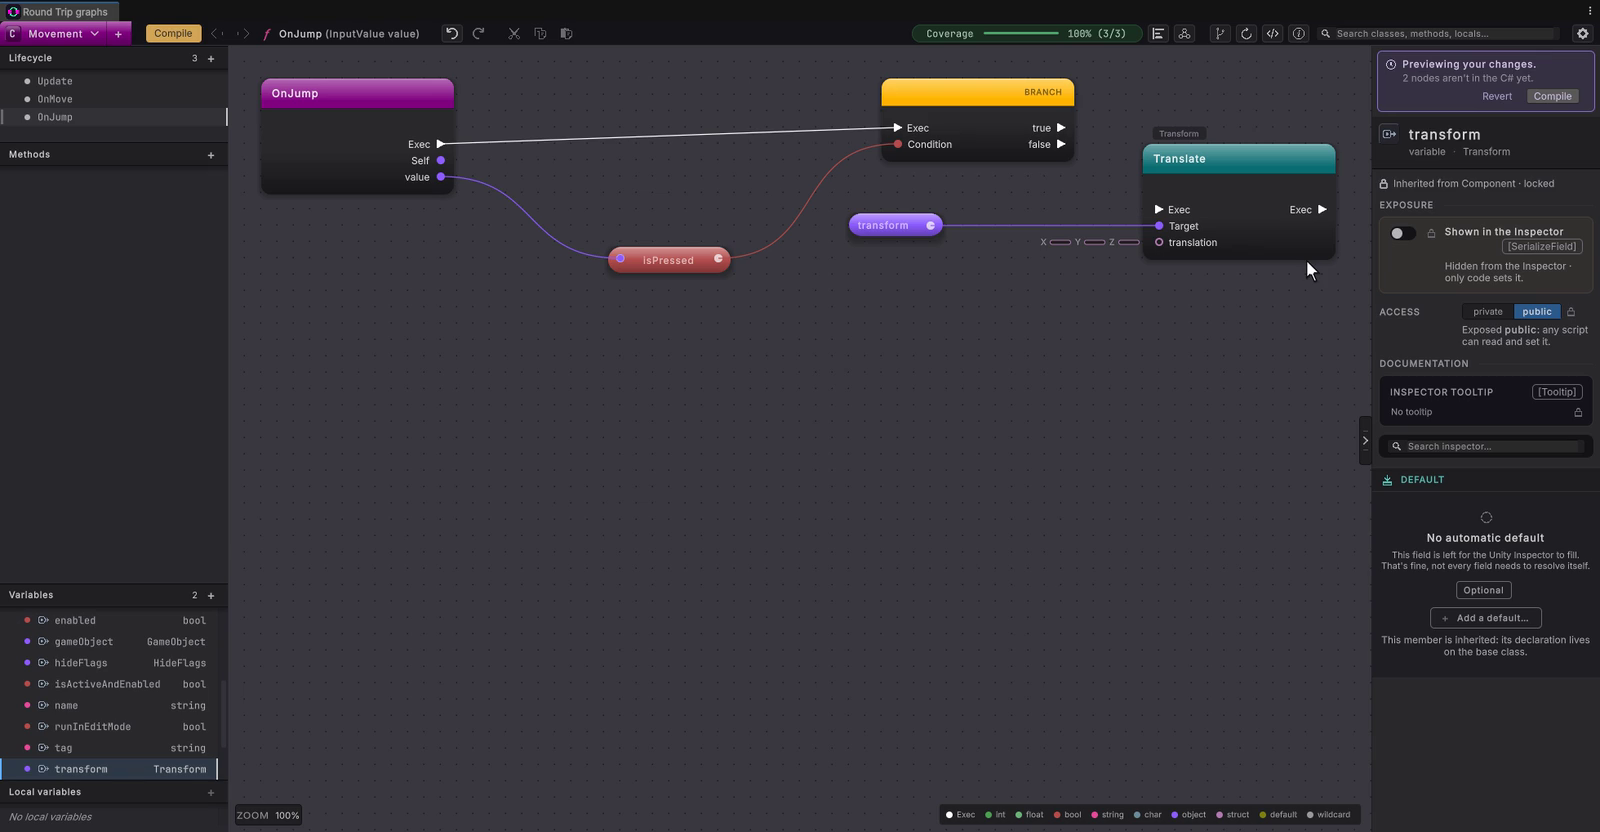
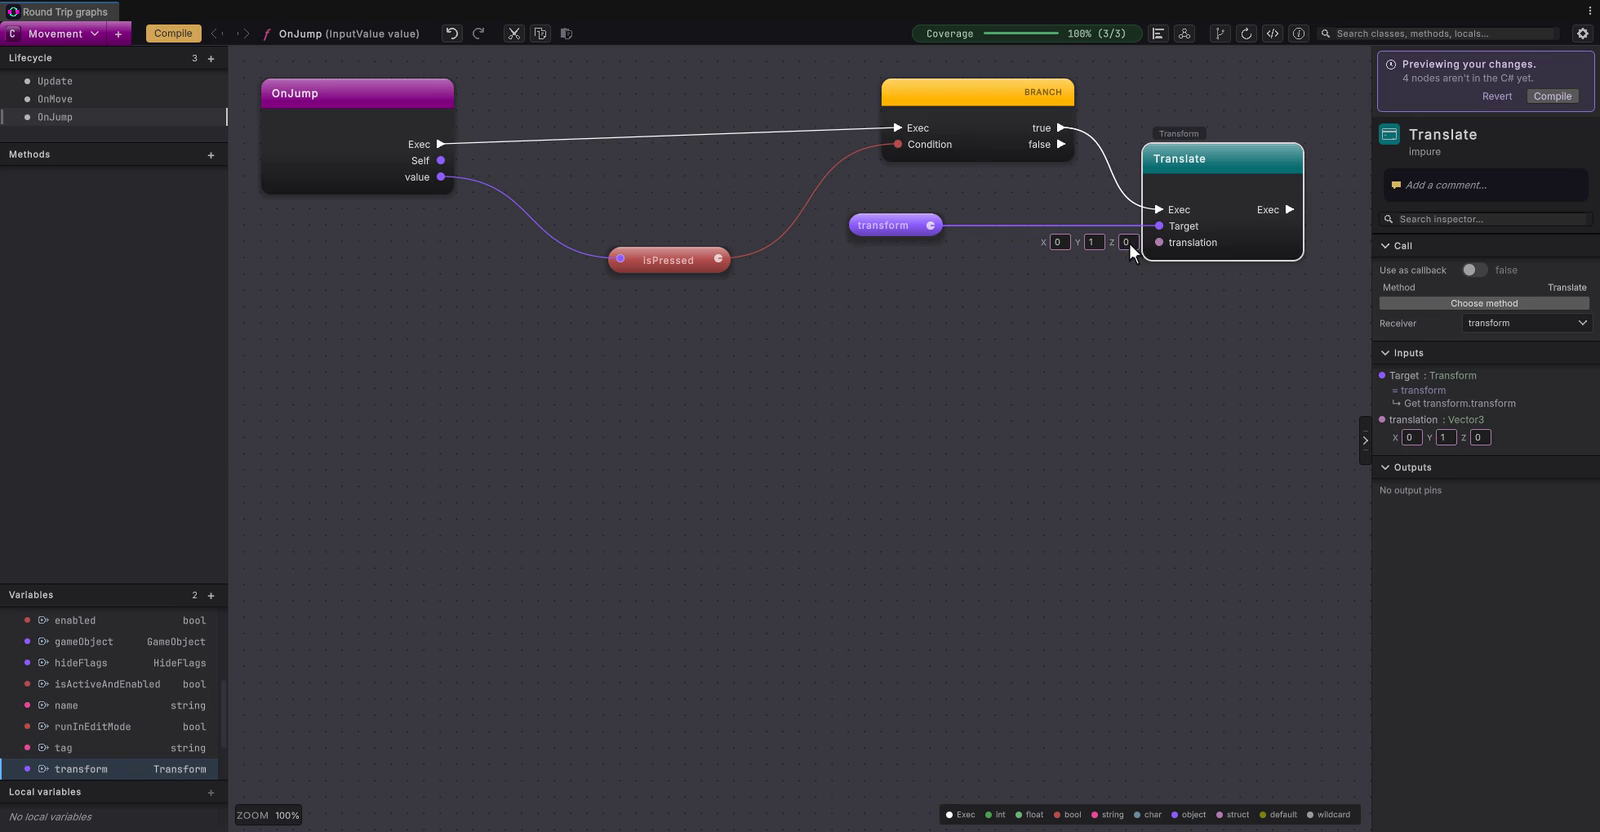
This is the method Round Trip added to Assets/Scripts/Movement.cs, beside OnMove and Update.
Real jumping falls back down, and that needs physics: a Rigidbody 2D on Player and a push upwards instead of a Translate. Lifecycle methods covers FixedUpdate, where physics code goes. The control part of this tutorial stays the same.
12. Play
Section titled “12. Play”Press Play
Press Play
Press Play in Unity’s main toolbar. Use the button here: Ctrl+P (Cmd+P on macOS) has a different meaning when Round Trip’s graph has keyboard focus.
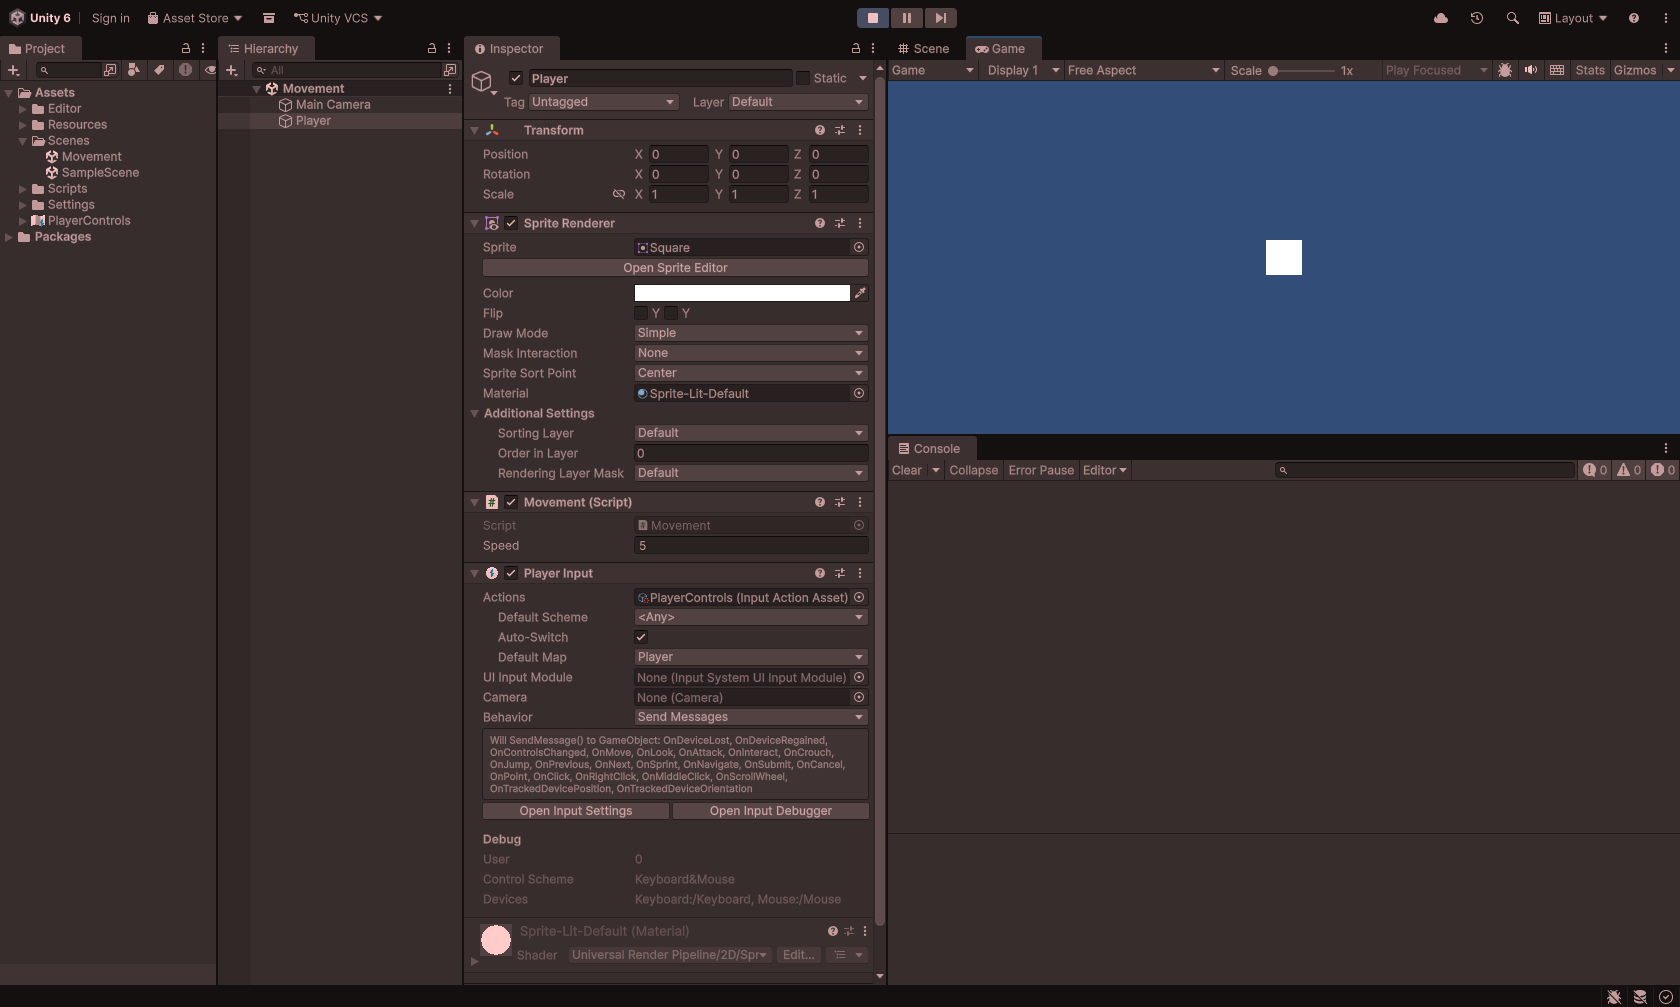
Walk
Click inside the Game view so it receives the keys, then hold W, A, S or D, or the arrow keys. The square moves in that direction for as long as you hold the key, and stops when you let go.
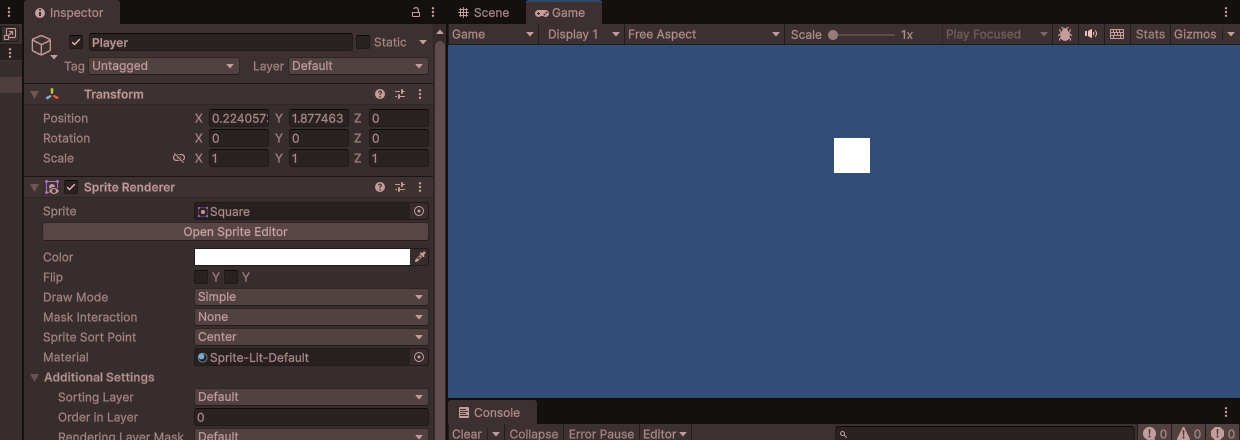
Hop
Press Space. The square hops up one unit. Press it again and it hops again.
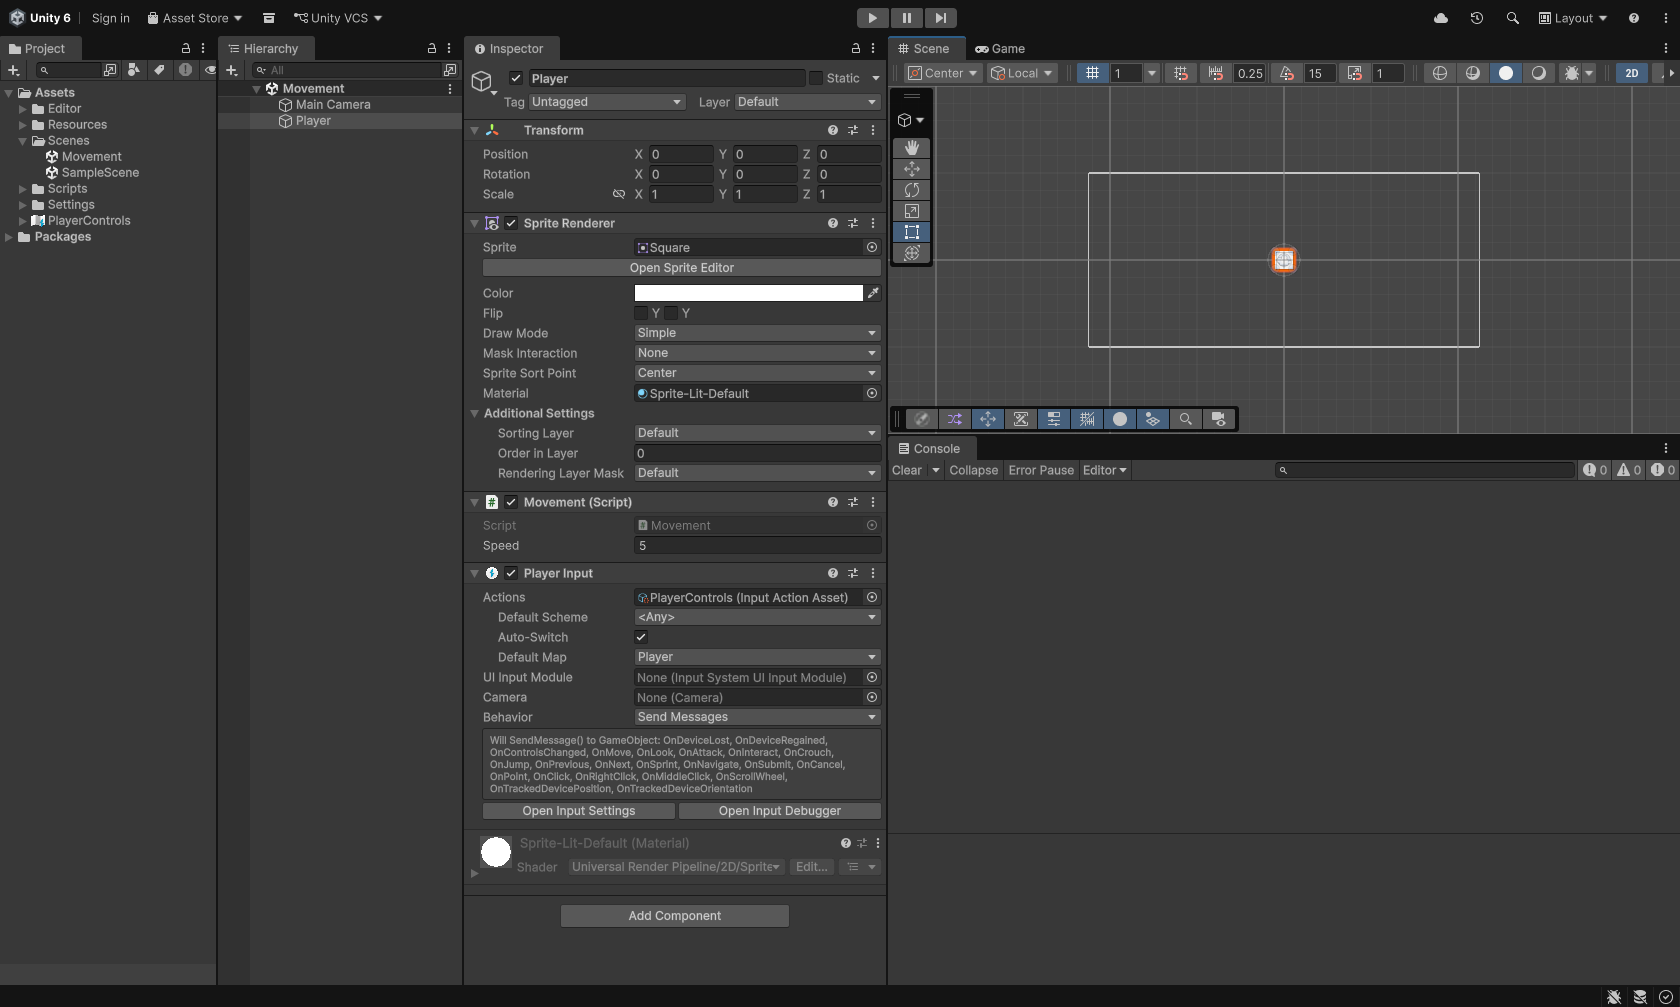
Stop
Press Play again to stop. The square goes back to where it started, and anything you changed in the Inspector during Play goes back to how it was.
Controls you already have
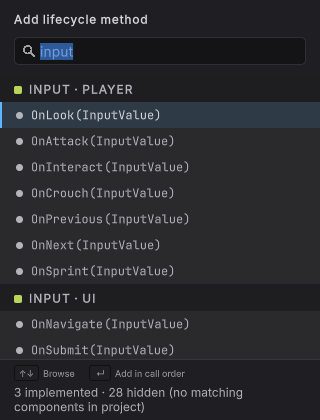
Section titled “Controls you already have”Once a Player Input is in your scene, Round Trip reads its actions file and lists every action it sends in the Lifecycle + list. Use these rows when the action already exists; use New player control… to make a new one. Pick OnAttack(), for example, and it arrives with its own press check: connect something to true, Compile, and press Enter or click the left mouse button in Play mode to call it.
Each method starts with a line that reads the control’s value, so you can wire it straight away:
- Buttons (Jump, Attack, Interact) start with the press check,
if (value.isPressed). - Directions (Move, Look) start with
Vector2 move = value.Get<Vector2>();, a pair of numbers from -1 to 1. - Amounts (a trigger, a scroll wheel) start with
float … = value.Get<float>();.
Move and Jump are not in the list any more, because Movement handles them.
Every action is one click away
Select a screenshot to enlarge it.
A brand-new control
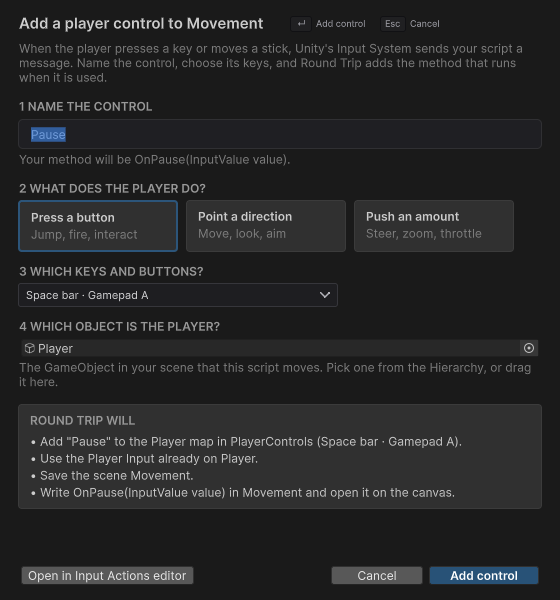
Section titled “A brand-new control”When the name you type is not in the actions file (PlayerControls here), the window asks the two questions Move and Jump skipped.
- What does the player do? Press a button for things that happen once (jump, fire, pause). Point a direction for things that steer in two dimensions (move, look, aim). Push an amount for things with a strength in one dimension (steer left and right, zoom, throttle).
- Which keys and buttons? A short list of common choices, each with a keyboard and a gamepad binding: for example Escape · Gamepad Start or WASD and arrow keys · Gamepad left stick.
Round Trip adds the action to the Player map of your actions file, with those bindings, and then does everything it did for Jump. To change the keys later, or to bind more than the list offers, press Open in Input Actions editor. That opens Unity’s own editor for the file, and your method keeps working whatever keys you choose there. The first control you add to a project copies the template’s InputSystem_Actions to Assets/PlayerControls.inputactions, as Move did. If the project has no actions file at all, Round Trip creates Assets/PlayerControls.inputactions with a Player map.
A Pause control
Select a screenshot to enlarge it.
When it goes wrong
Section titled “When it goes wrong”When it goes wrong
| Symptom | Check | Fix |
|---|---|---|
| Space hops the square, but the arrow keys do nothing. | Open OnMove: the direction node needs both the exec arrow and the value from move. | Wire them as in step 25, then press Compile. |
| Compile stays gray and a node shows a red message. | Read the message: it names the pin that has no value or wire. | Fill that box or draw the wire it asks for. |
| The INPUT row says it needs the Input System package. | Open Window > Package Manager and look for Input System under In Project. | Install Input System, accept the restart Unity offers, and open the list again. |
| Add control stays gray with "Save the scene first". | Look at the scene name at the top of the Hierarchy: an unsaved scene has no file yet. | Press Ctrl+S (Cmd+S on macOS), save the scene in Assets/Scenes, then press Add control again. |
| Which object is the player? is empty. | Round Trip looks for an object with Movement, then one with a Player Input, then one named Player. | Drag your character from the Hierarchy onto the box. |
| The window says the object is open in prefab editing. | The Scene view shows a blue prefab bar at the top while you edit a prefab. | Close the prefab with the arrow in that bar, then choose the player in the scene, or the prefab in the Project window. |
| The window says Movement has not compiled yet. | A spinner at the bottom right of the editor means Unity is still compiling. | Wait for it to finish, or fix any red errors in the Console, then try again. |
| Play starts but the square does not move or hop. | Select Player: it needs both Movement and Player Input, and Behavior must say Send Messages. | Click inside the Game view first so it receives keys. If Behavior says something else, run New player control again with the same name: Round Trip sets it back. |
| A method shows "is never called: no PlayerInput beside this class sends messages for…". | Round Trip compares each On… method that takes an InputValue with the actions your saved Player Inputs send. The action named in the notice is not among them, often because one of the two was renamed. | Rename the method to match the action, add the action with New player control, or delete the method if it is left over. |
Limits
Section titled “Limits”- Round Trip finds Player Inputs in saved scenes and prefabs. One created by a script while the game runs is not seen.
- Round Trip sets Player Input to Send Messages. One you set to Broadcast Messages is read too, but Broadcast also reaches child objects, and Round Trip only looks at the GameObject the Player Input is on. Invoke Unity Events and Invoke C# Events call a different kind of method and are not offered.
- With Send Messages, a button calls its method when it is pressed; releasing it calls nothing. To react to a release, read the action in Update with
InputSystem.actions.FindAction. - A Behavior changed on one prefab instance (an override) is not read; Round Trip reads the prefab’s own setting.
- Writing
PlayerControls(the copy, and every action added to it) cannot be undone with Edit > Undo. The Player Input component change can.InputSystem_Actionsis never changed. - The key lists do not warn when a key is already used by another action. The Universal template uses Space, E, C, Shift and the left mouse button already.
- The INPUT section appears for every MonoBehaviour class, even ones that are not on the player.
- Check what the AI did: an assistant changed your scripts; read the change on the canvas and decide whether to keep it.
- Lifecycle methods: Start, FixedUpdate, collisions, the INPUT sections and their notices.
- Branch: do more with the true and false routes of the press check.
- Method calls: pick what a call node calls, what it calls it on, and the values it passes.
- Preview and Compile: follow a change from canvas to script.