
Layout, wire knots, and comments
Arrange a diagram, bend wires with wire knots, keep the view, and read and write comments beside the nodes they explain.
On this page
A readable diagram lets the next person follow the white path at a glance. Move nodes, bend wires, and leave comments where they help. Layout changes do not alter the method’s behavior; changing connections does.
What it does
Section titled “What it does”Round Trip lays out every method for you when it opens, but it cannot know which path you care about. A wire may run behind a node, or a loop may push the interesting branch off screen. The layout tools let you move and line up nodes, bend a long wire around other nodes with wire knots, and keep a comment open beside the node it explains. Moving things changes only the picture: the arrangement is saved beside the script, and the method runs exactly as before.
When to use it
Section titled “When to use it”Arrange a diagram once you know what it does, such as after you finish building a pickup’s behavior or before you hand an enemy’s patrol to a teammate. Use the align commands to line several nodes up on one of them. Use wire knots to guide a long wire around nodes. Leave a method comment when the reason for a choice is not obvious from the nodes, such as why the enemy turns at the edge. Use Auto layout when a hand arrangement has become harder to read than the default.
What it looks like
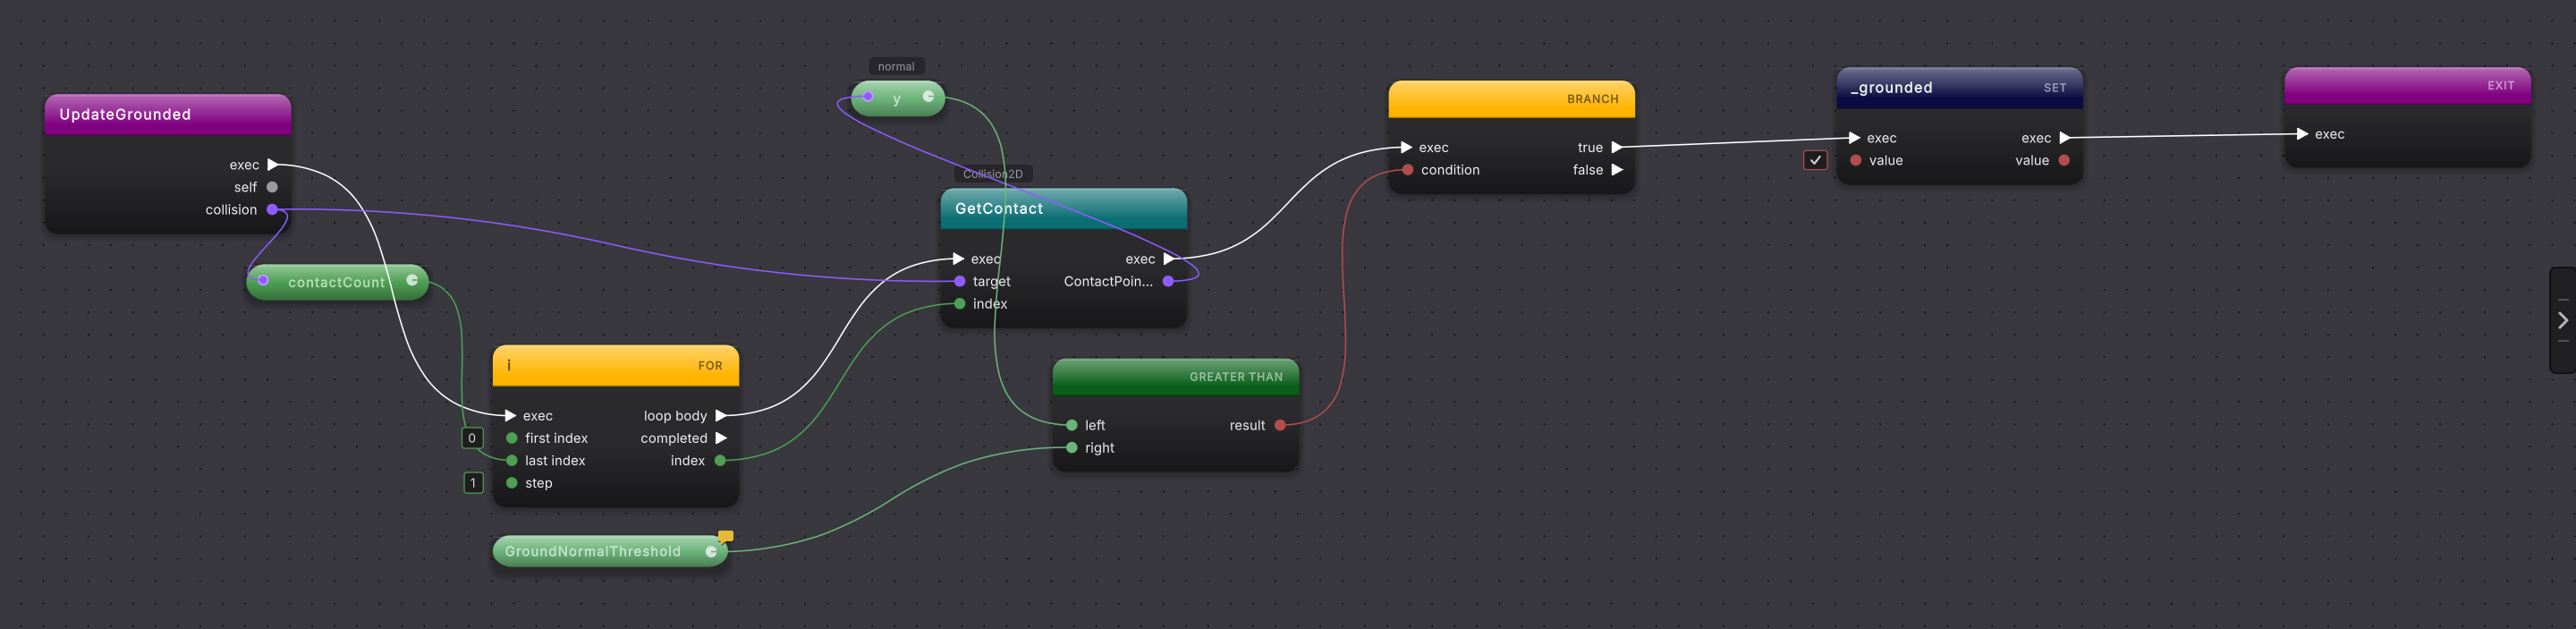
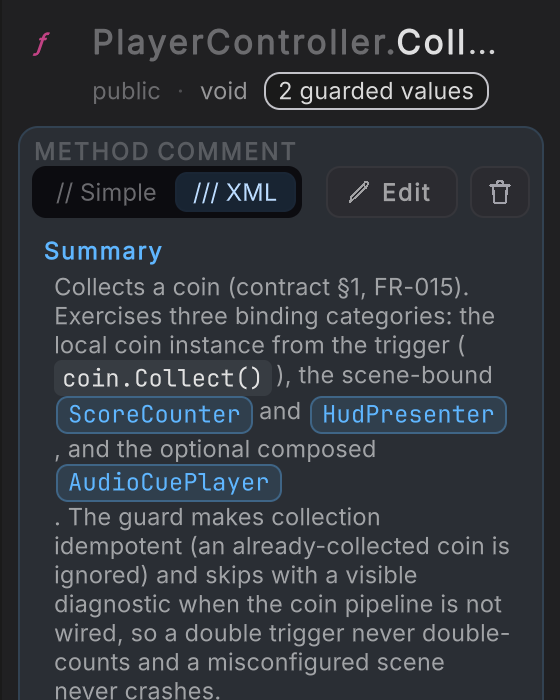
Section titled “What it looks like”Arrange the path and explain its purpose
Select a screenshot to enlarge it.
How to use it
Section titled “How to use it”Arrange and explain a method
Build something to arrange
In the left rail, click + on the Methods header and press Enter: a magenta entry node appears. Right-click empty canvas, type
Debug.Loginto search and click the Log row, then do it again for a second Log node. Drag white wires from the entry node’s Exec pin to the first Log node and on to the second. Right-click below them and, in the VARIABLES section, click get on gameObject, then the same way on transform. Wire the gameObject pill into the first node’s message pin and the transform pill into the second node’s.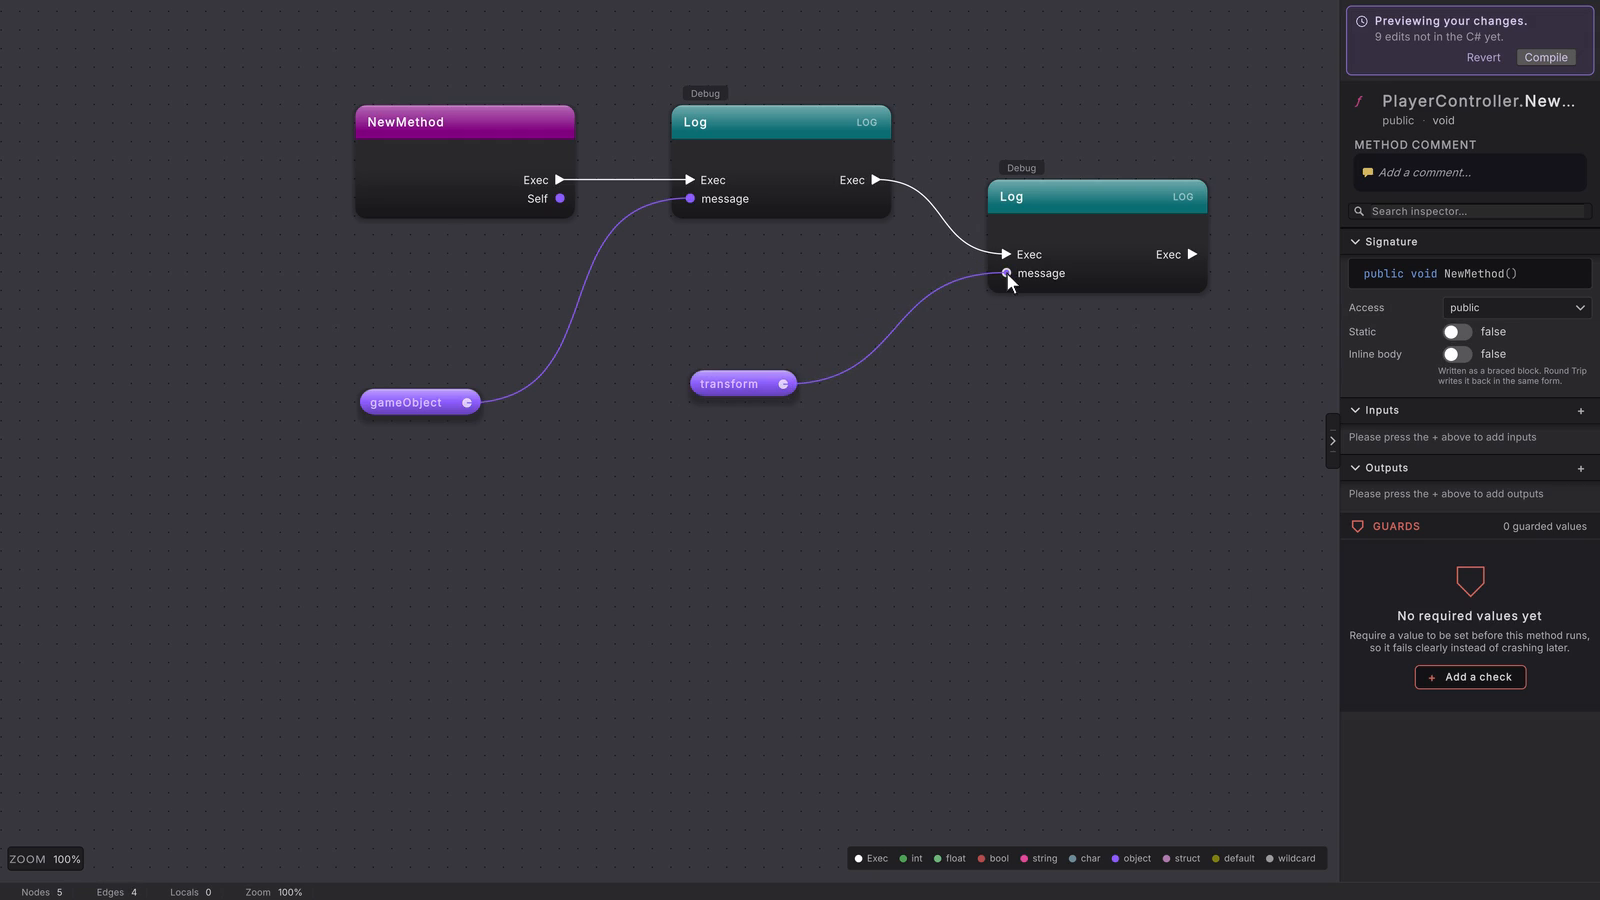 26 stepsFull size ↗
Move the cards
Drag a node by its title to a clearer spot. Move each pill close to the node it feeds.
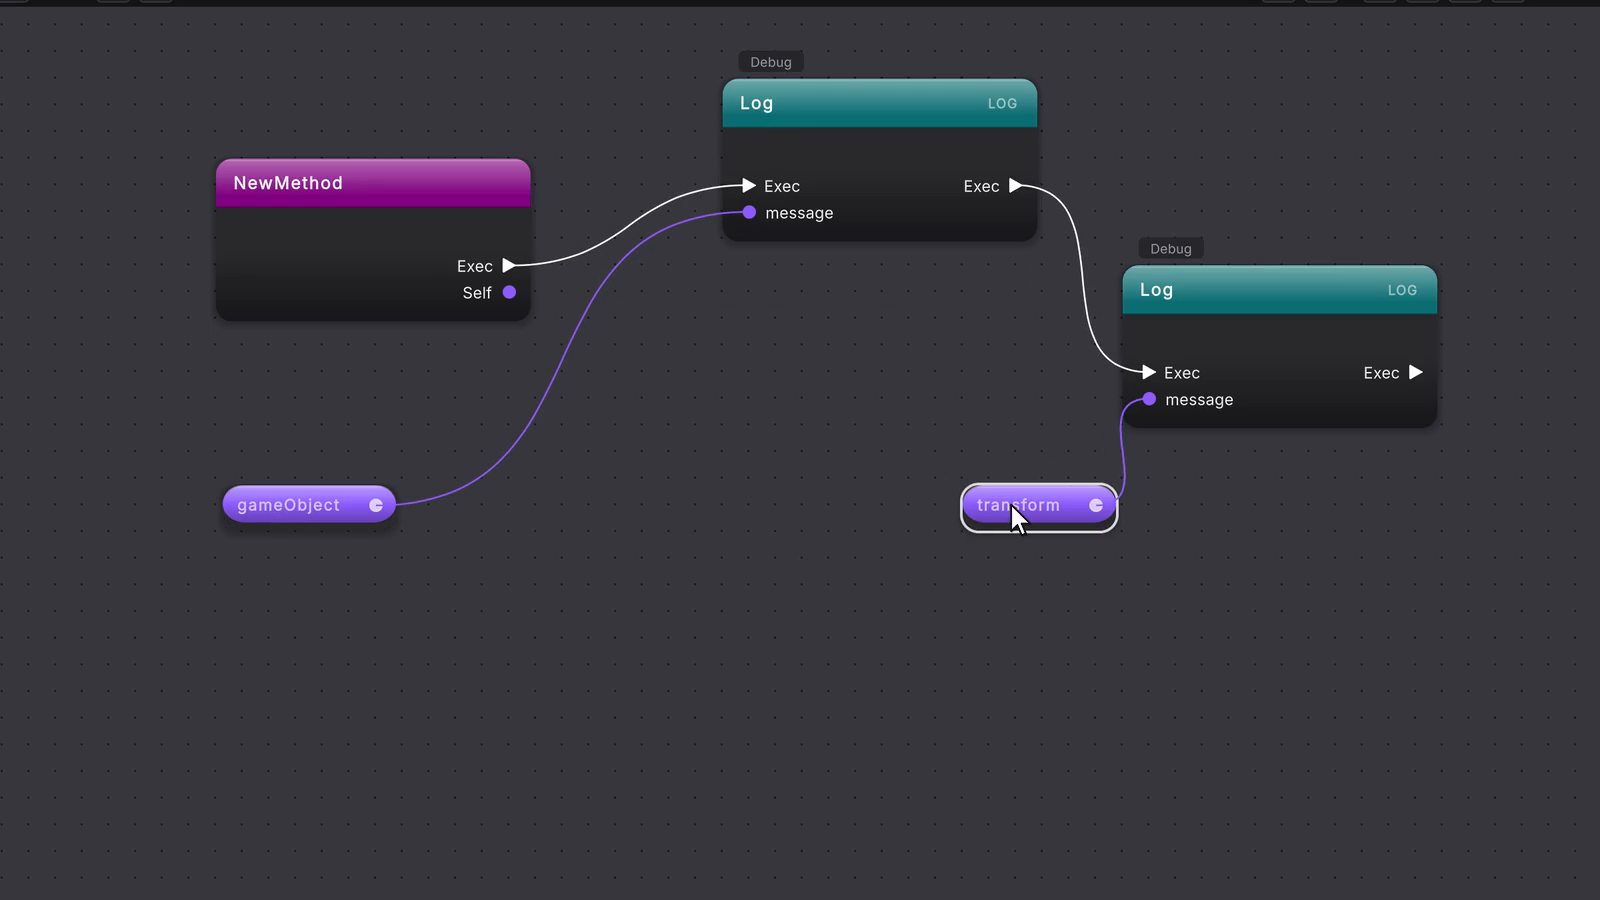 3 stepsFull size ↗
Align to the last selection
Click the gameObject pill, Cmd/Ctrl-click the first Log node, and press Shift+A. The pill’s left edge moves to the node’s left edge; the node you clicked last stays put. Align nodes covers all six commands and the three ways to run them.
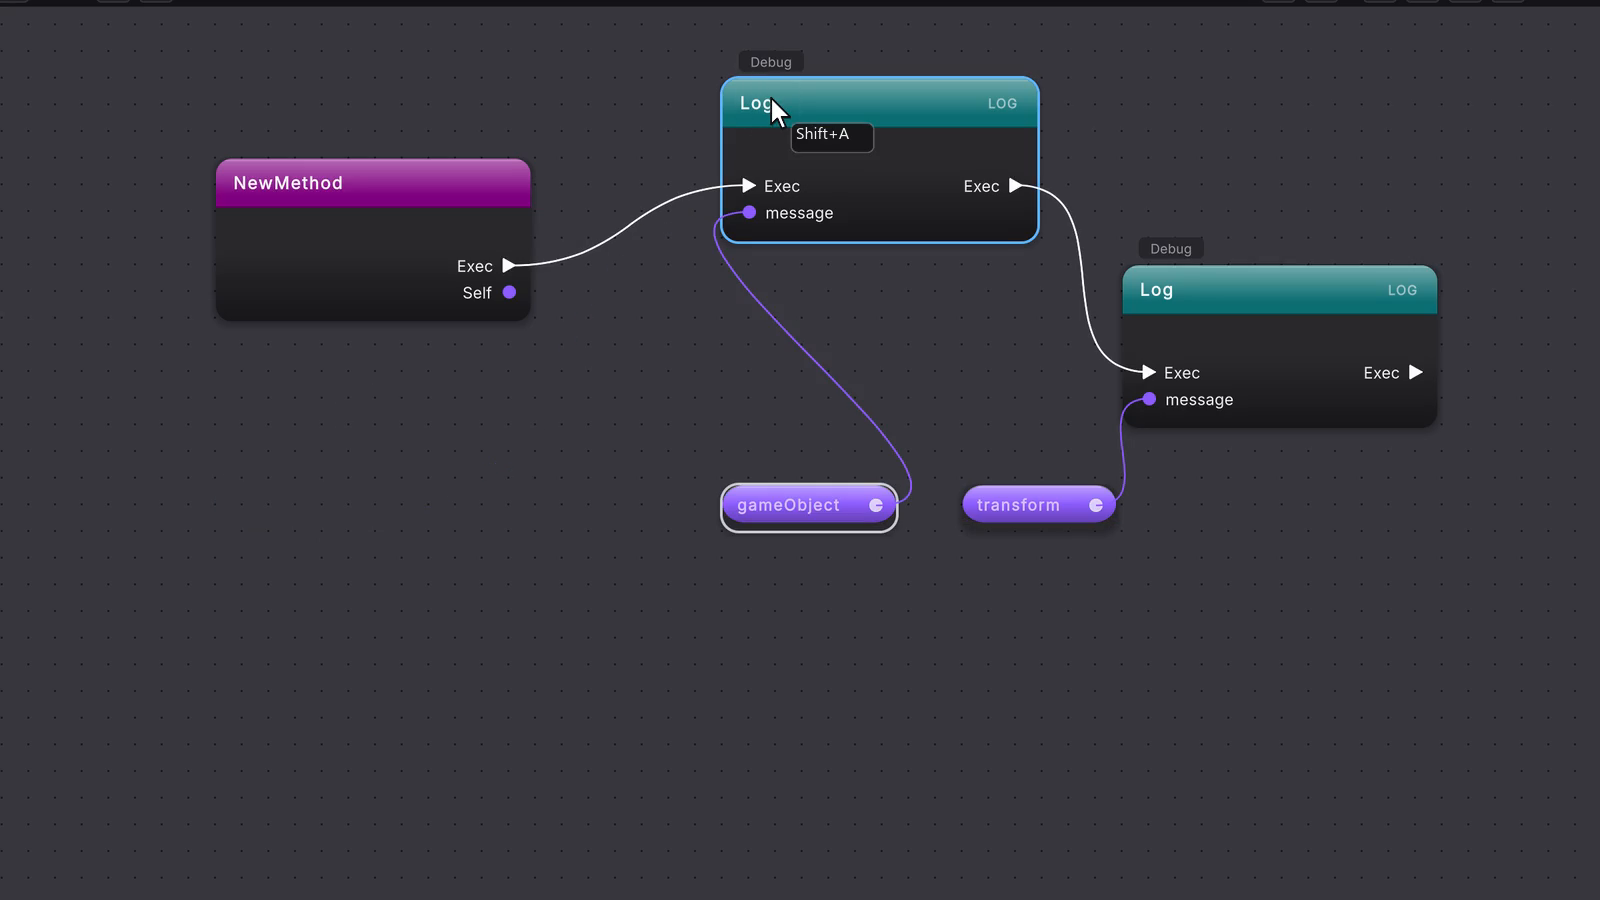 3 stepsFull size ↗
Pan and zoom
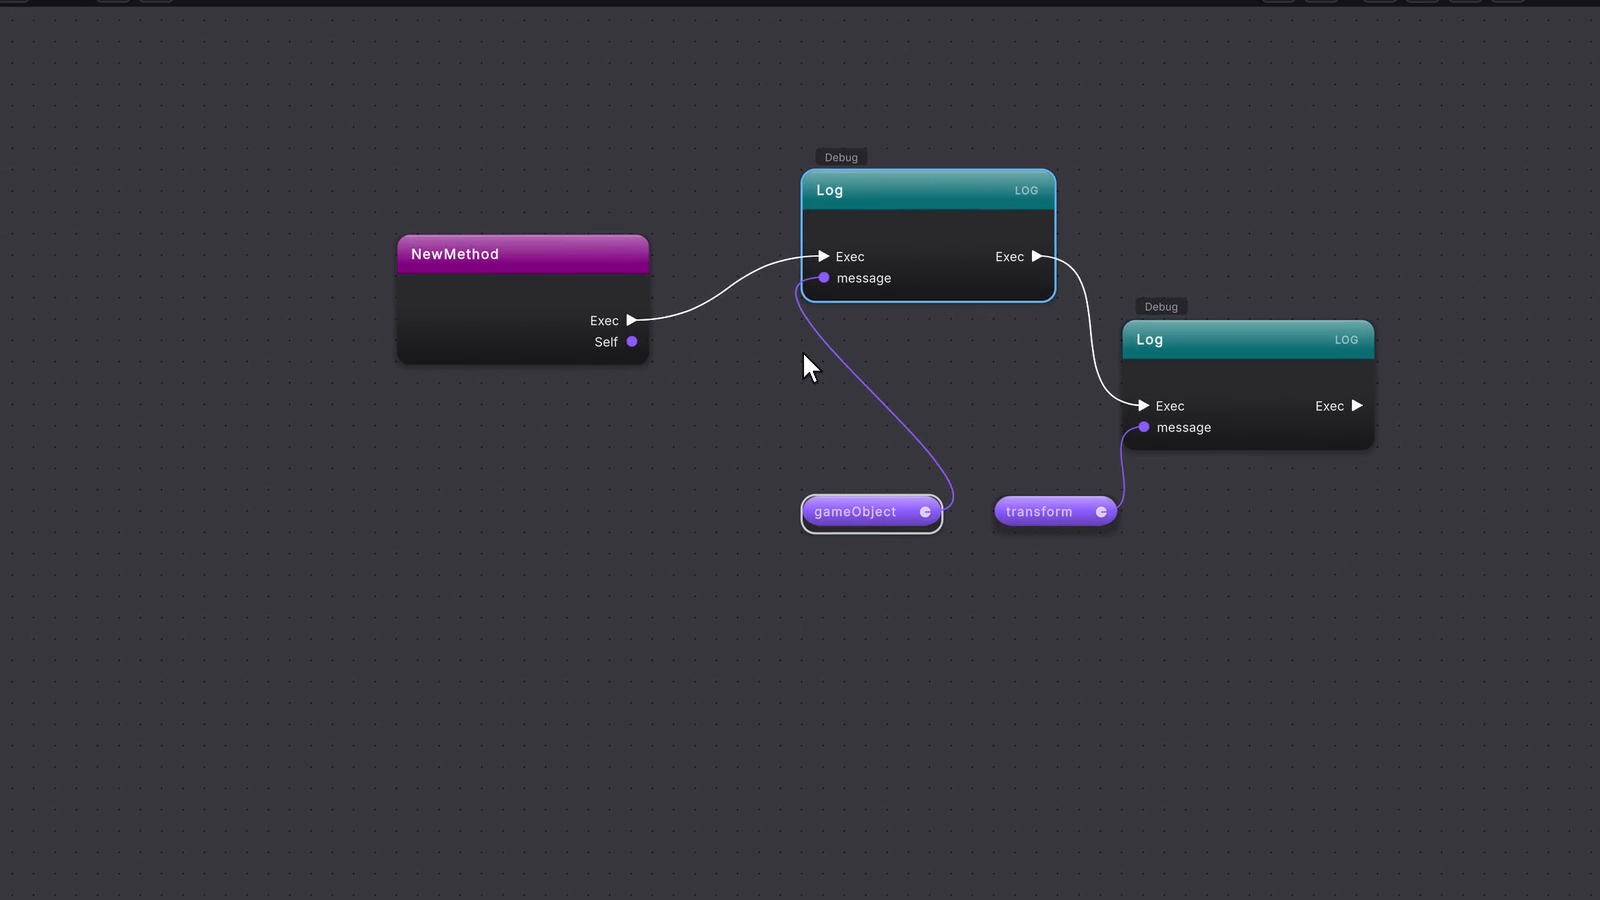
Scroll over the canvas to zoom (or to pan, if you set scrolling to pan in your preferences), and drag empty canvas with the middle or right mouse button, or with the left button while you hold Alt (Option on macOS), to pan, until your nodes fill the view.
 2 stepsFull size ↗
Bend the wire
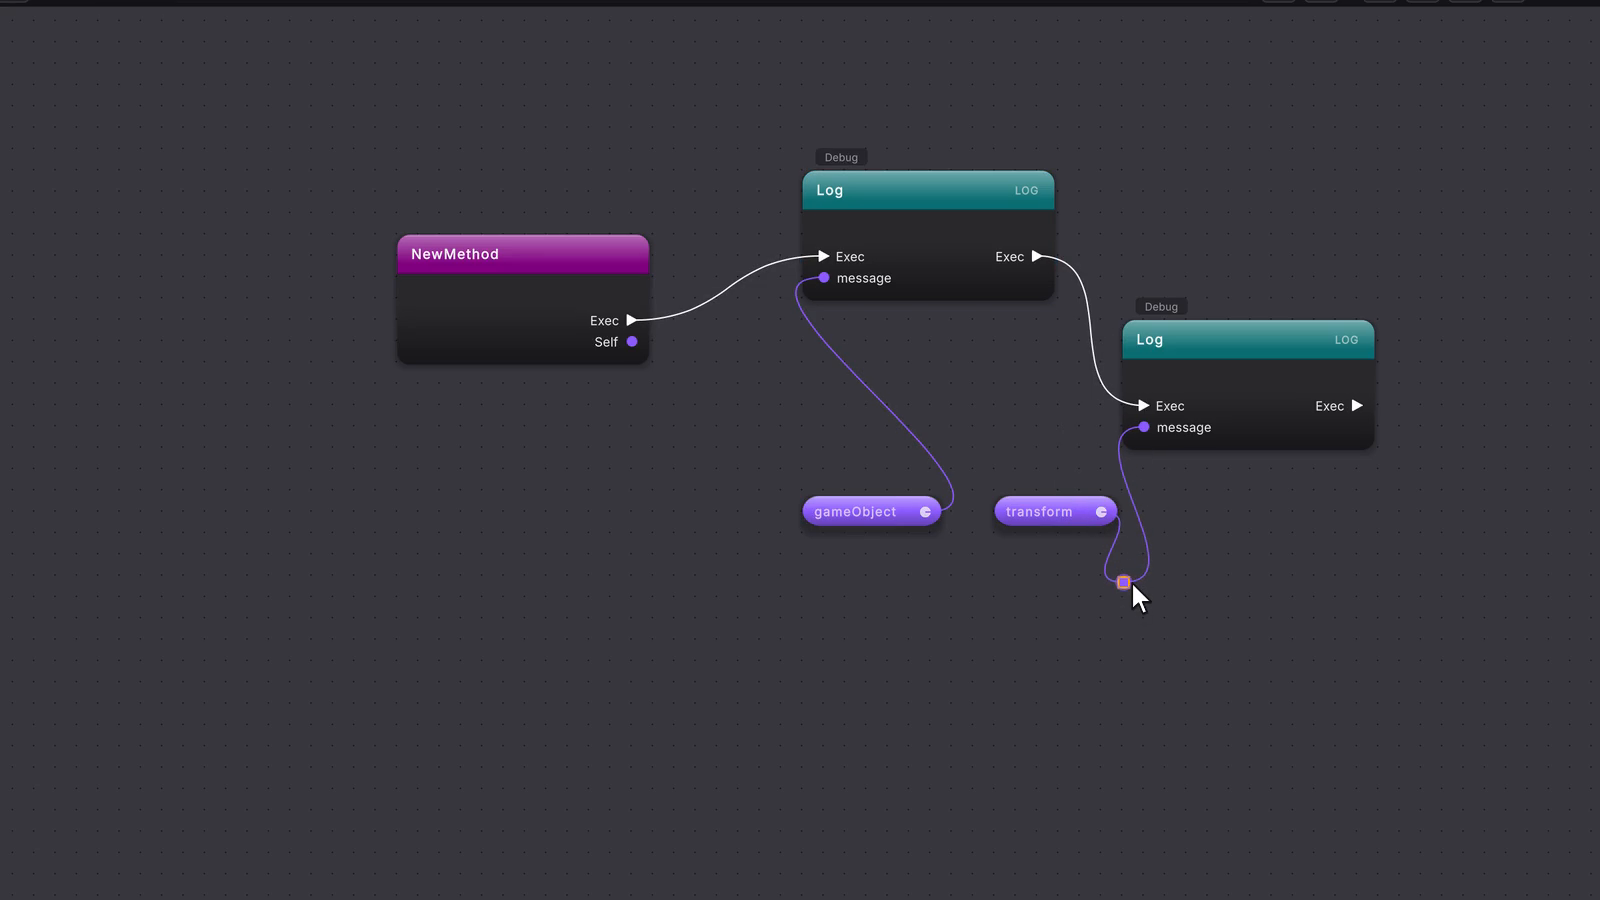
Double-click the purple wire into the second Log node. A wire knot, a small purple square, appears. Drag it by its ring to bend the wire along the route you want. Wire knots covers moving, branching and removing knots.
 2 stepsFull size ↗
Break and restore a link
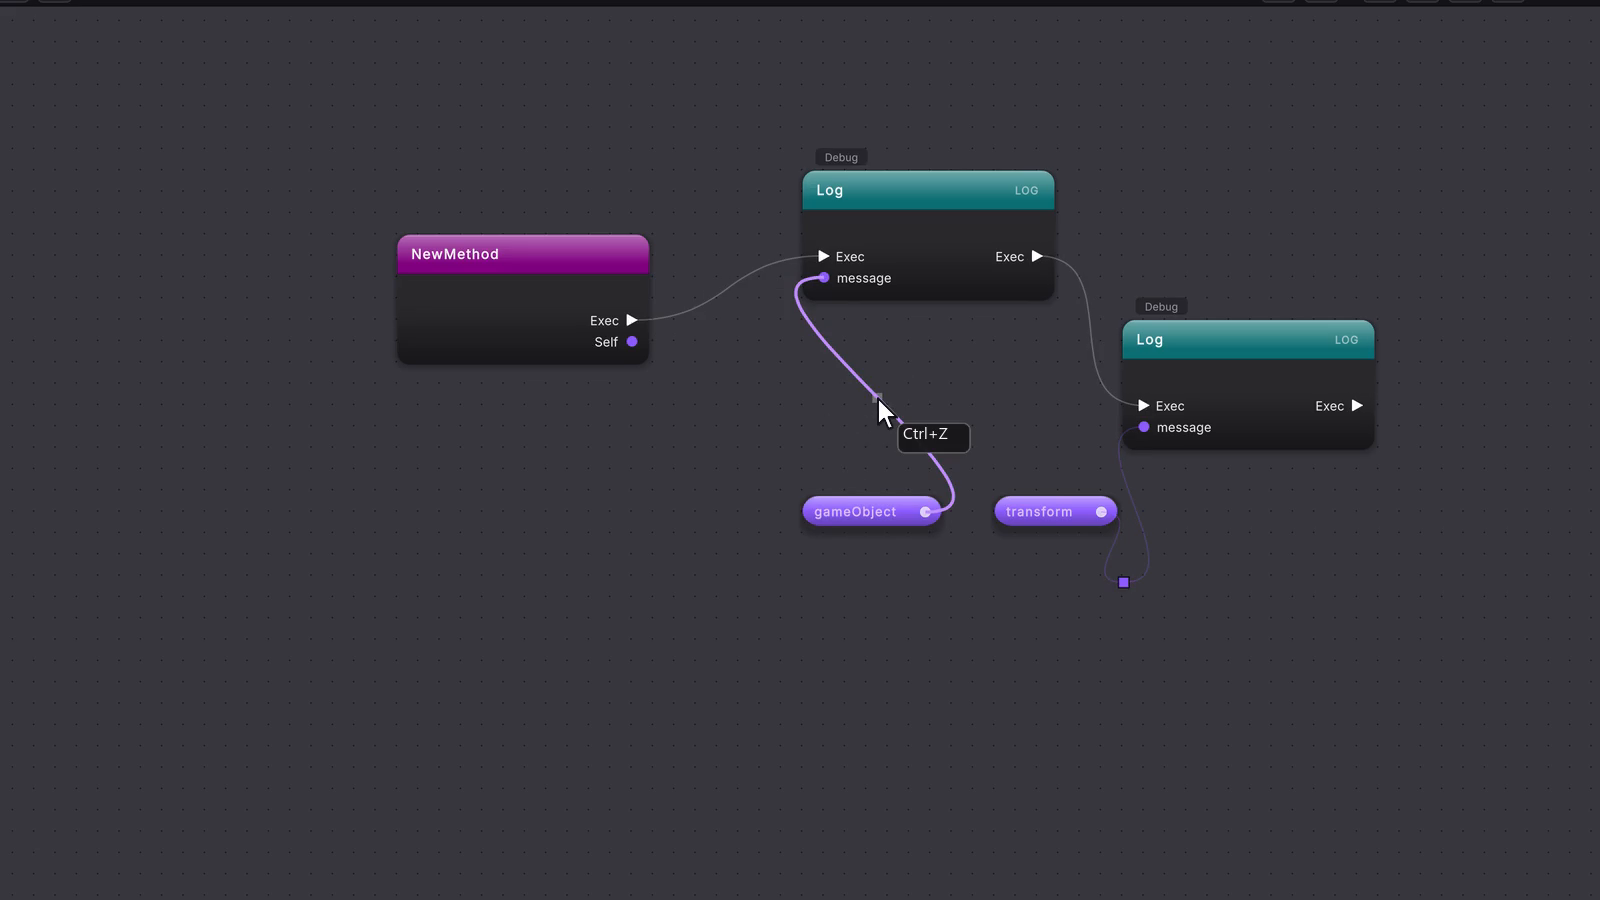
Alt-click (Option-click on macOS) the purple wire into the first Log node. It breaks, and that message pin goes hollow. You can also right-click a wire and choose Break link. Press Cmd/Ctrl+Z to restore it.
 2 stepsFull size ↗
Comment and compile
Click the magenta entry node. In the right rail, under METHOD COMMENT, click Add a comment… and type why the method exists. Save the comment in the rail, then press Compile in the toolbar. Open another method and come back to see the saved view from step 4.
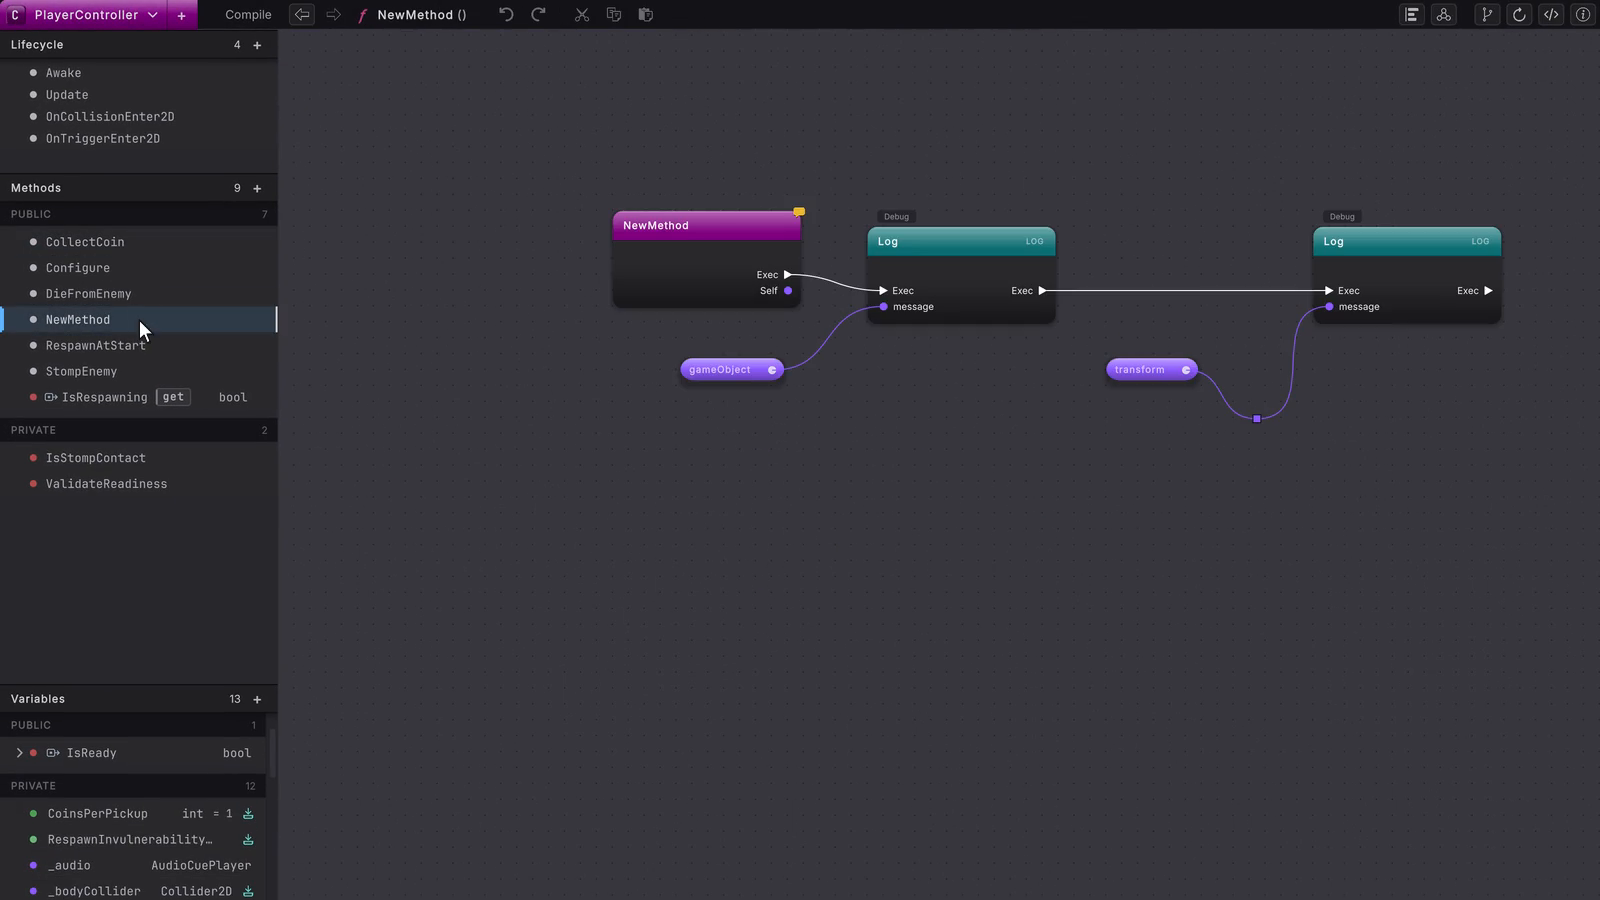 6 stepsFull size ↗
Read and resize the comment
Hover the yellow glyph. A sticky-note popup shows the comment beside the node. Click the glyph to keep the note open, then drag the popup’s corner grip to resize it.
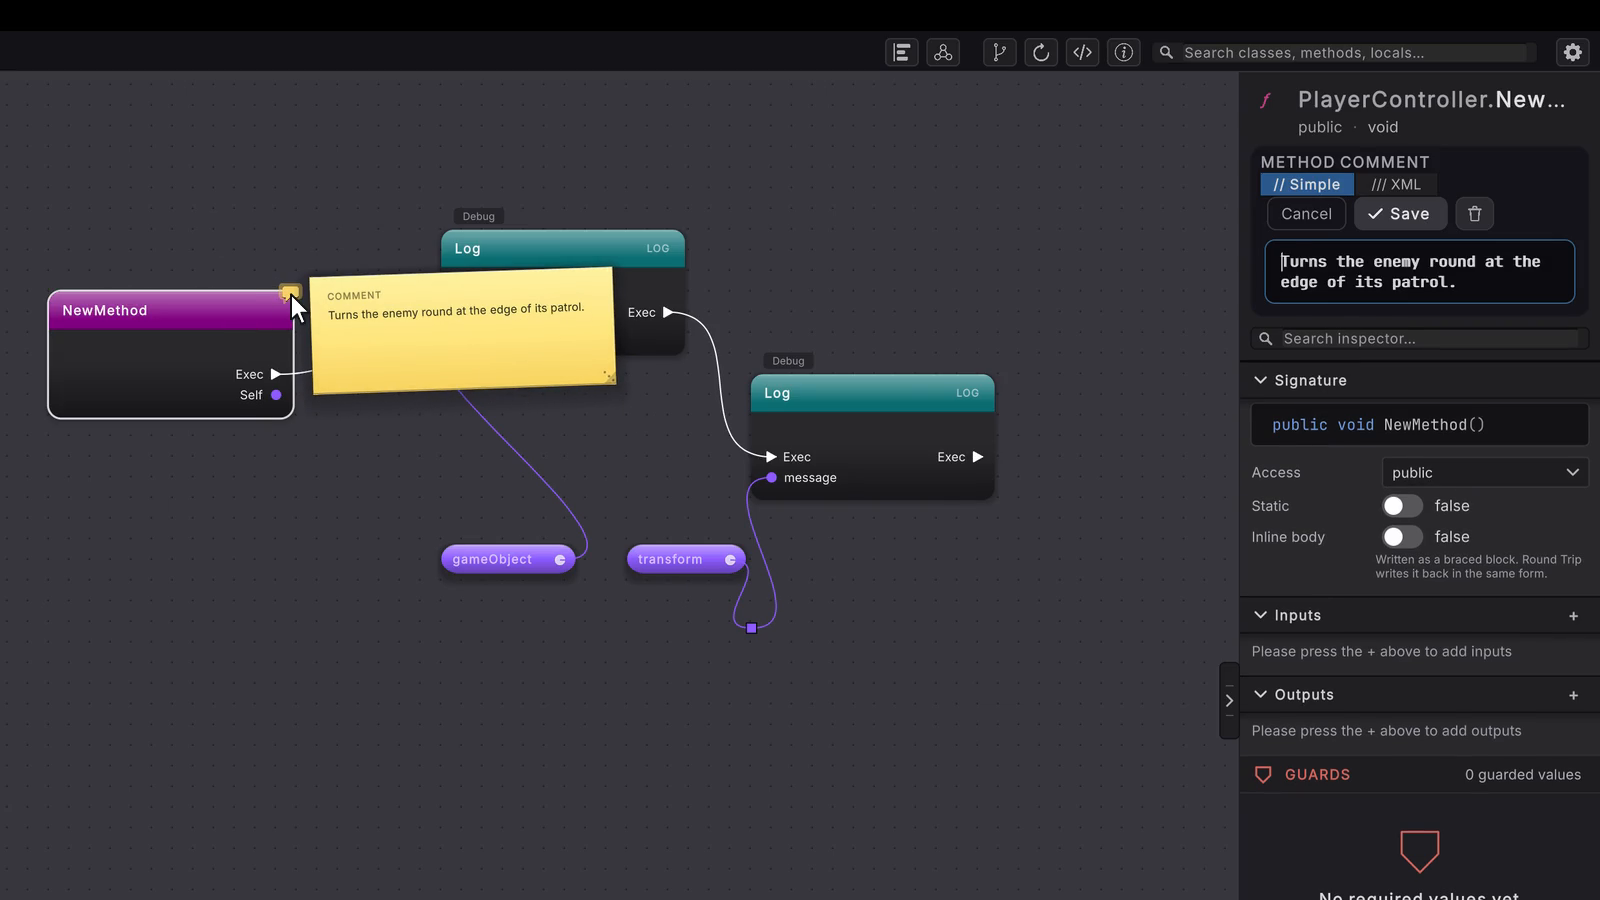 4 stepsFull size ↗
Reset the arrangement
Click Auto layout in the toolbar and confirm Reset to Default Layout? with OK (the clip presses Enter). Press Cmd/Ctrl+Z to get your arrangement back during this session.
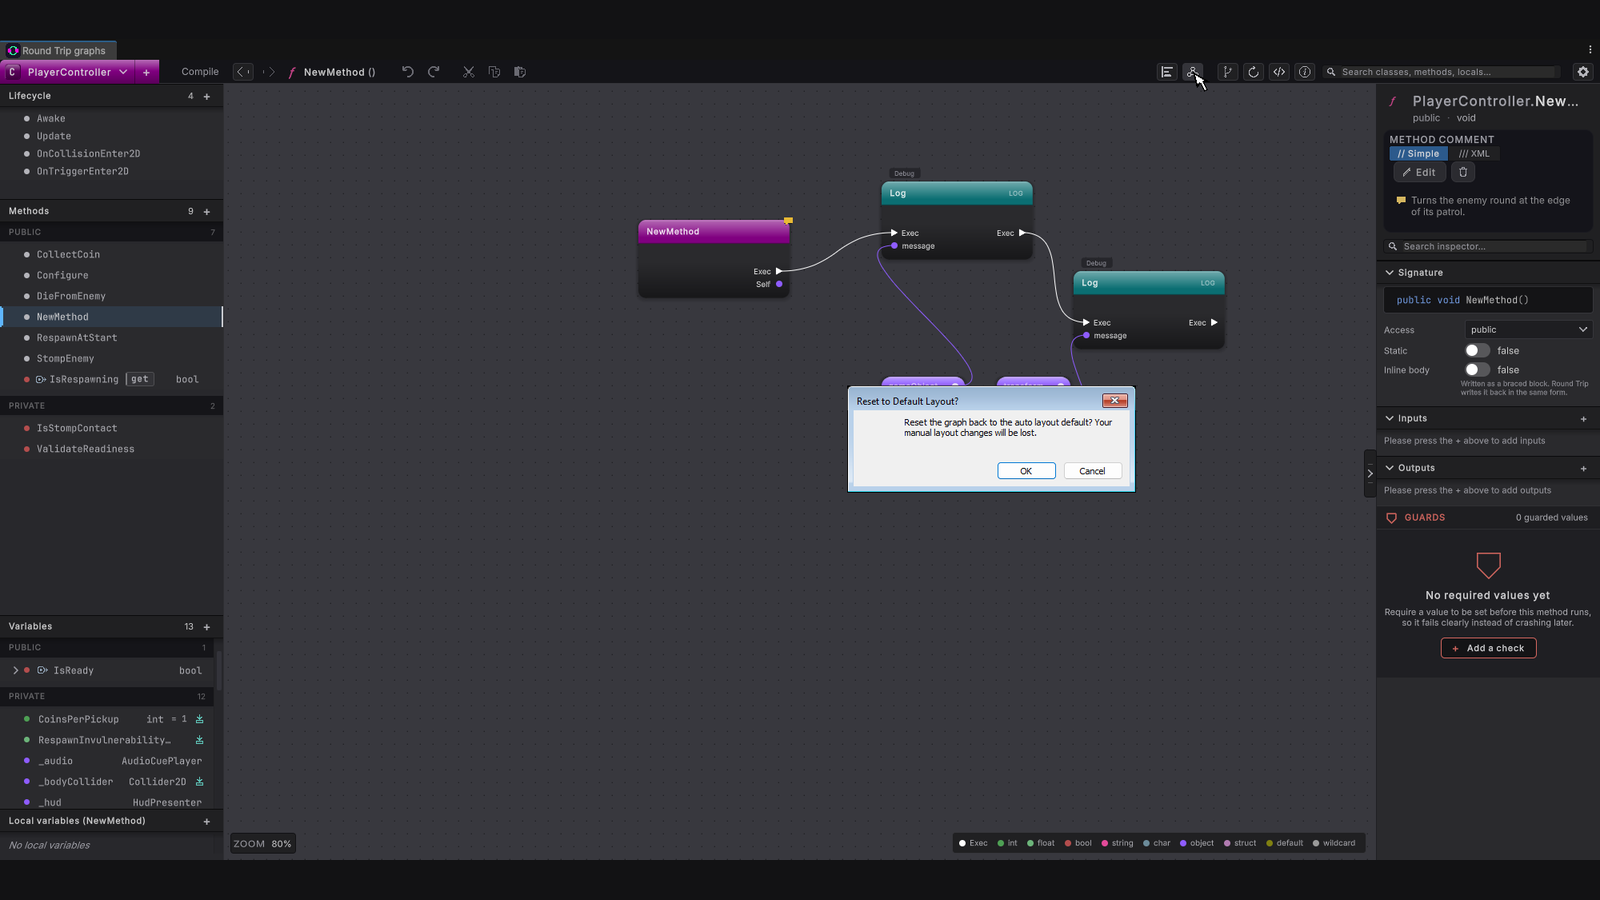 5 stepsFull size ↗
What it writes
Section titled “What it writes”If you also work in C#, a method comment typed with // Simple selected lands above the method in the script:
Moving nodes, aligning them, changing the view, and adding wire knots do not alter that script. They update the method’s .rt.json layout file.
When it goes wrong
Section titled “When it goes wrong”When it goes wrong
| Symptom | Check | Fix |
|---|---|---|
| Auto layout removed a carefully bent wire. | Auto layout clears the wire knots you placed along with your hand positions. | Press Cmd/Ctrl+Z during the current session, or add the knots again after the reset. See Wire knots. |
| Auto layout gave a value a second pill, or undid a pill I split. | Auto layout plans the pills again: uses of a value that sit far from its first use get a pill of their own. The rule is set under READ PILLS in Preferences > Round Trip. | Press Cmd/Ctrl+Z, or recombine the pill from its wire. To keep every read as one pill at the next Auto layout, switch off Split long read wires, or raise Split distance. |
| The comment popup on a node cannot be edited. | Popups on nodes inside a method show comments from the script, read only. | Edit method comments in the right rail under METHOD COMMENT, and comments inside the method in the script. |
| The align entries are dimmed, or Shift+A does nothing. | Count the rings on selected nodes, and check whether a text field has keyboard focus. | Select at least two nodes, click empty canvas to leave the text field, then align again. See Align nodes. |
- Wire knots: add, move, branch and remove the knots that bend a wire.
- Align nodes: the six commands and the primary node they measure from.
- Shortcuts: use the fast gestures for visual editing.
- Layout and configuration files: choose where layout state lives.
- Preview and Compile: separate drafts from saved script.