
Snap to grid
Let every node, and every pin, come to rest on the canvas grid, so wires run straight and a layout stays tidy without nudging.
On this page
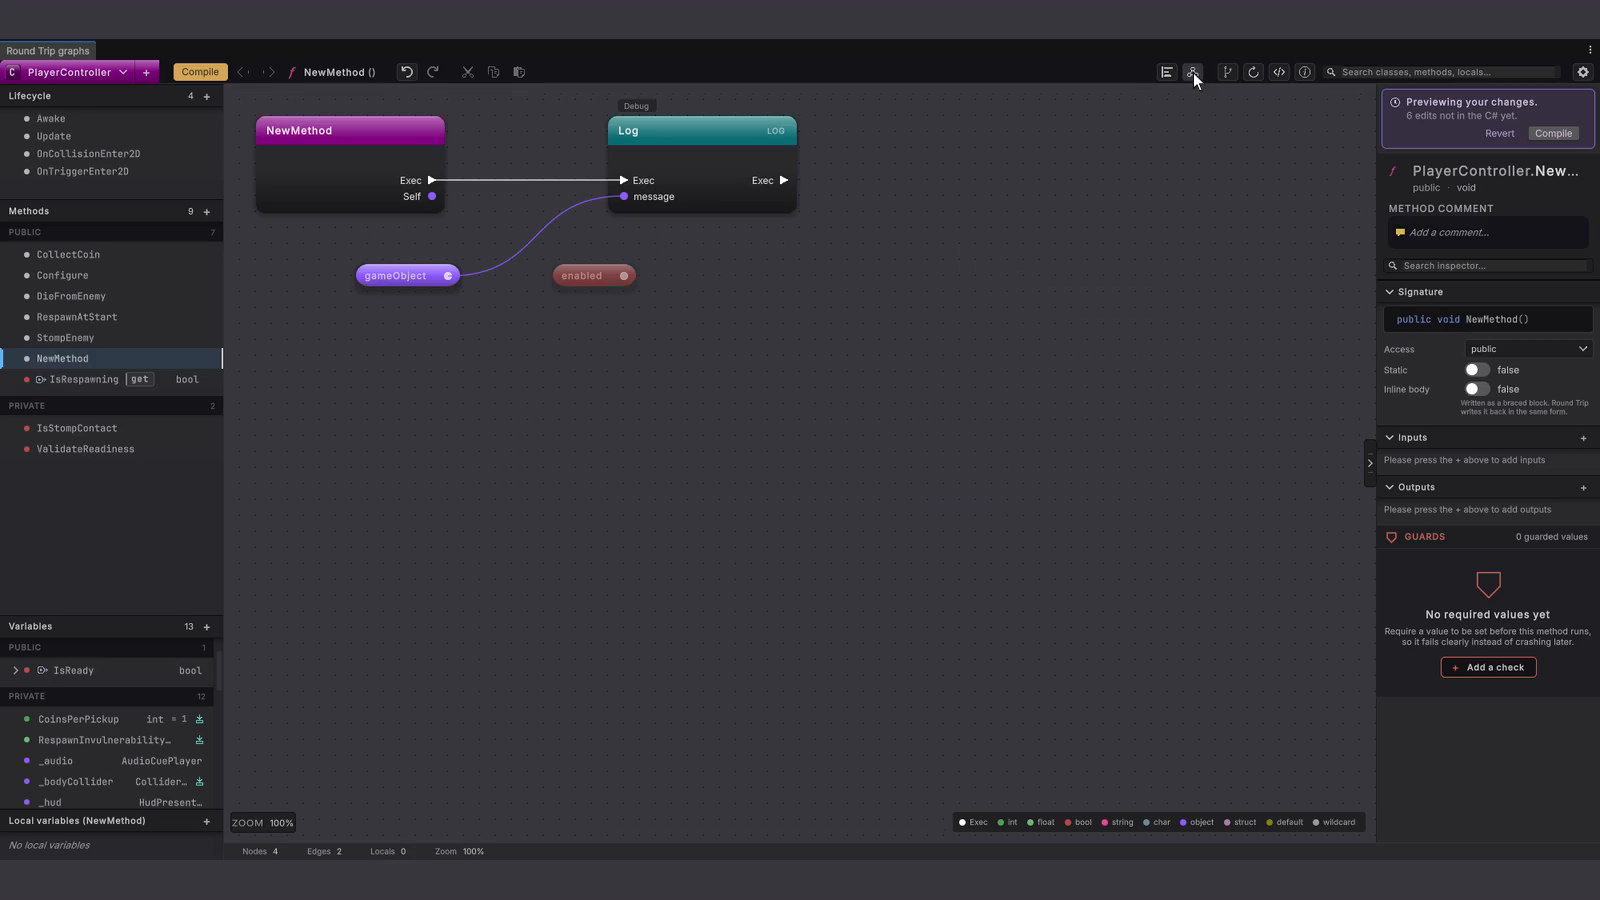
Drop a node anywhere and it lands on the nearest grid dots. Its pins land on dots too, so the wires in and out of it run straight. Snap to grid is on from the first time you open Round Trip, and it changes nothing about the C#.
The problem
Section titled “The problem”You move a call node a little to the right to make room. Without a grid it stops at whatever pixel your pointer let go on. The white wire from the node before it now arrives three pixels low, a colored wire into it leaves two pixels high, and the diagram looks slightly crooked in a way that is hard to name and tedious to fix one node at a time.
When to reach for it
Section titled “When to reach for it”Leave it on. Every way a node reaches the canvas respects the grid: a drag of one node or of a whole selection, Auto layout, a node from the canvas action menu, a drop from a rail, a paste, and a pill placed by a split. Turn it off in Preferences > Round Trip only when you need a node at an exact in-between pixel, then turn it back on.
See it
Section titled “See it”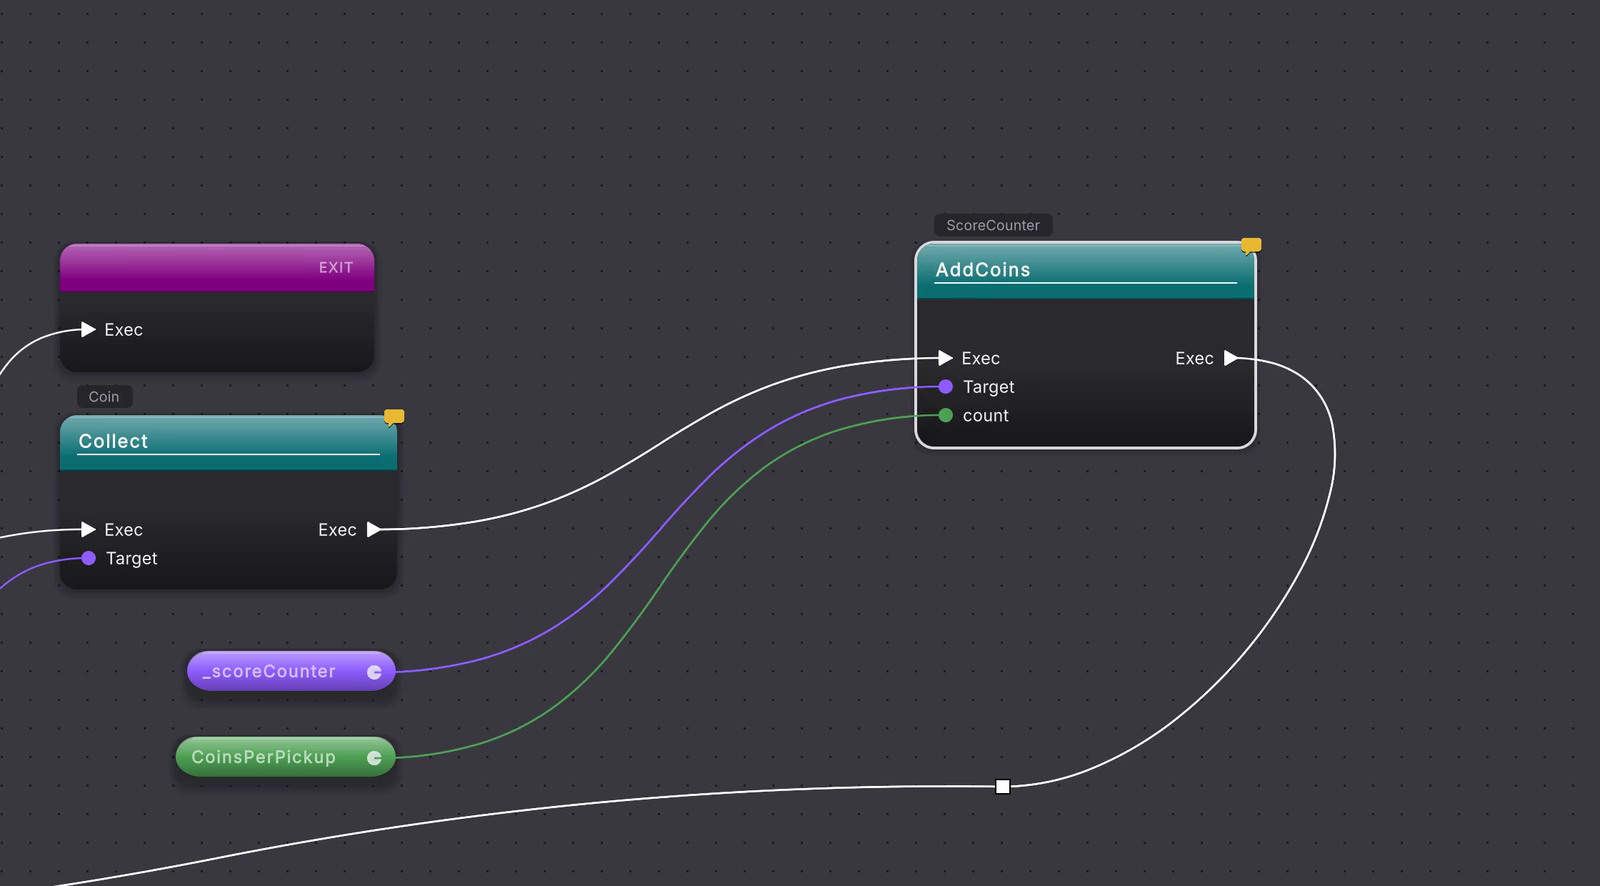
In this clip from the Platformer sample, the AddCoins node is dragged up and to the right, and it settles with its corner and pins on grid dots.
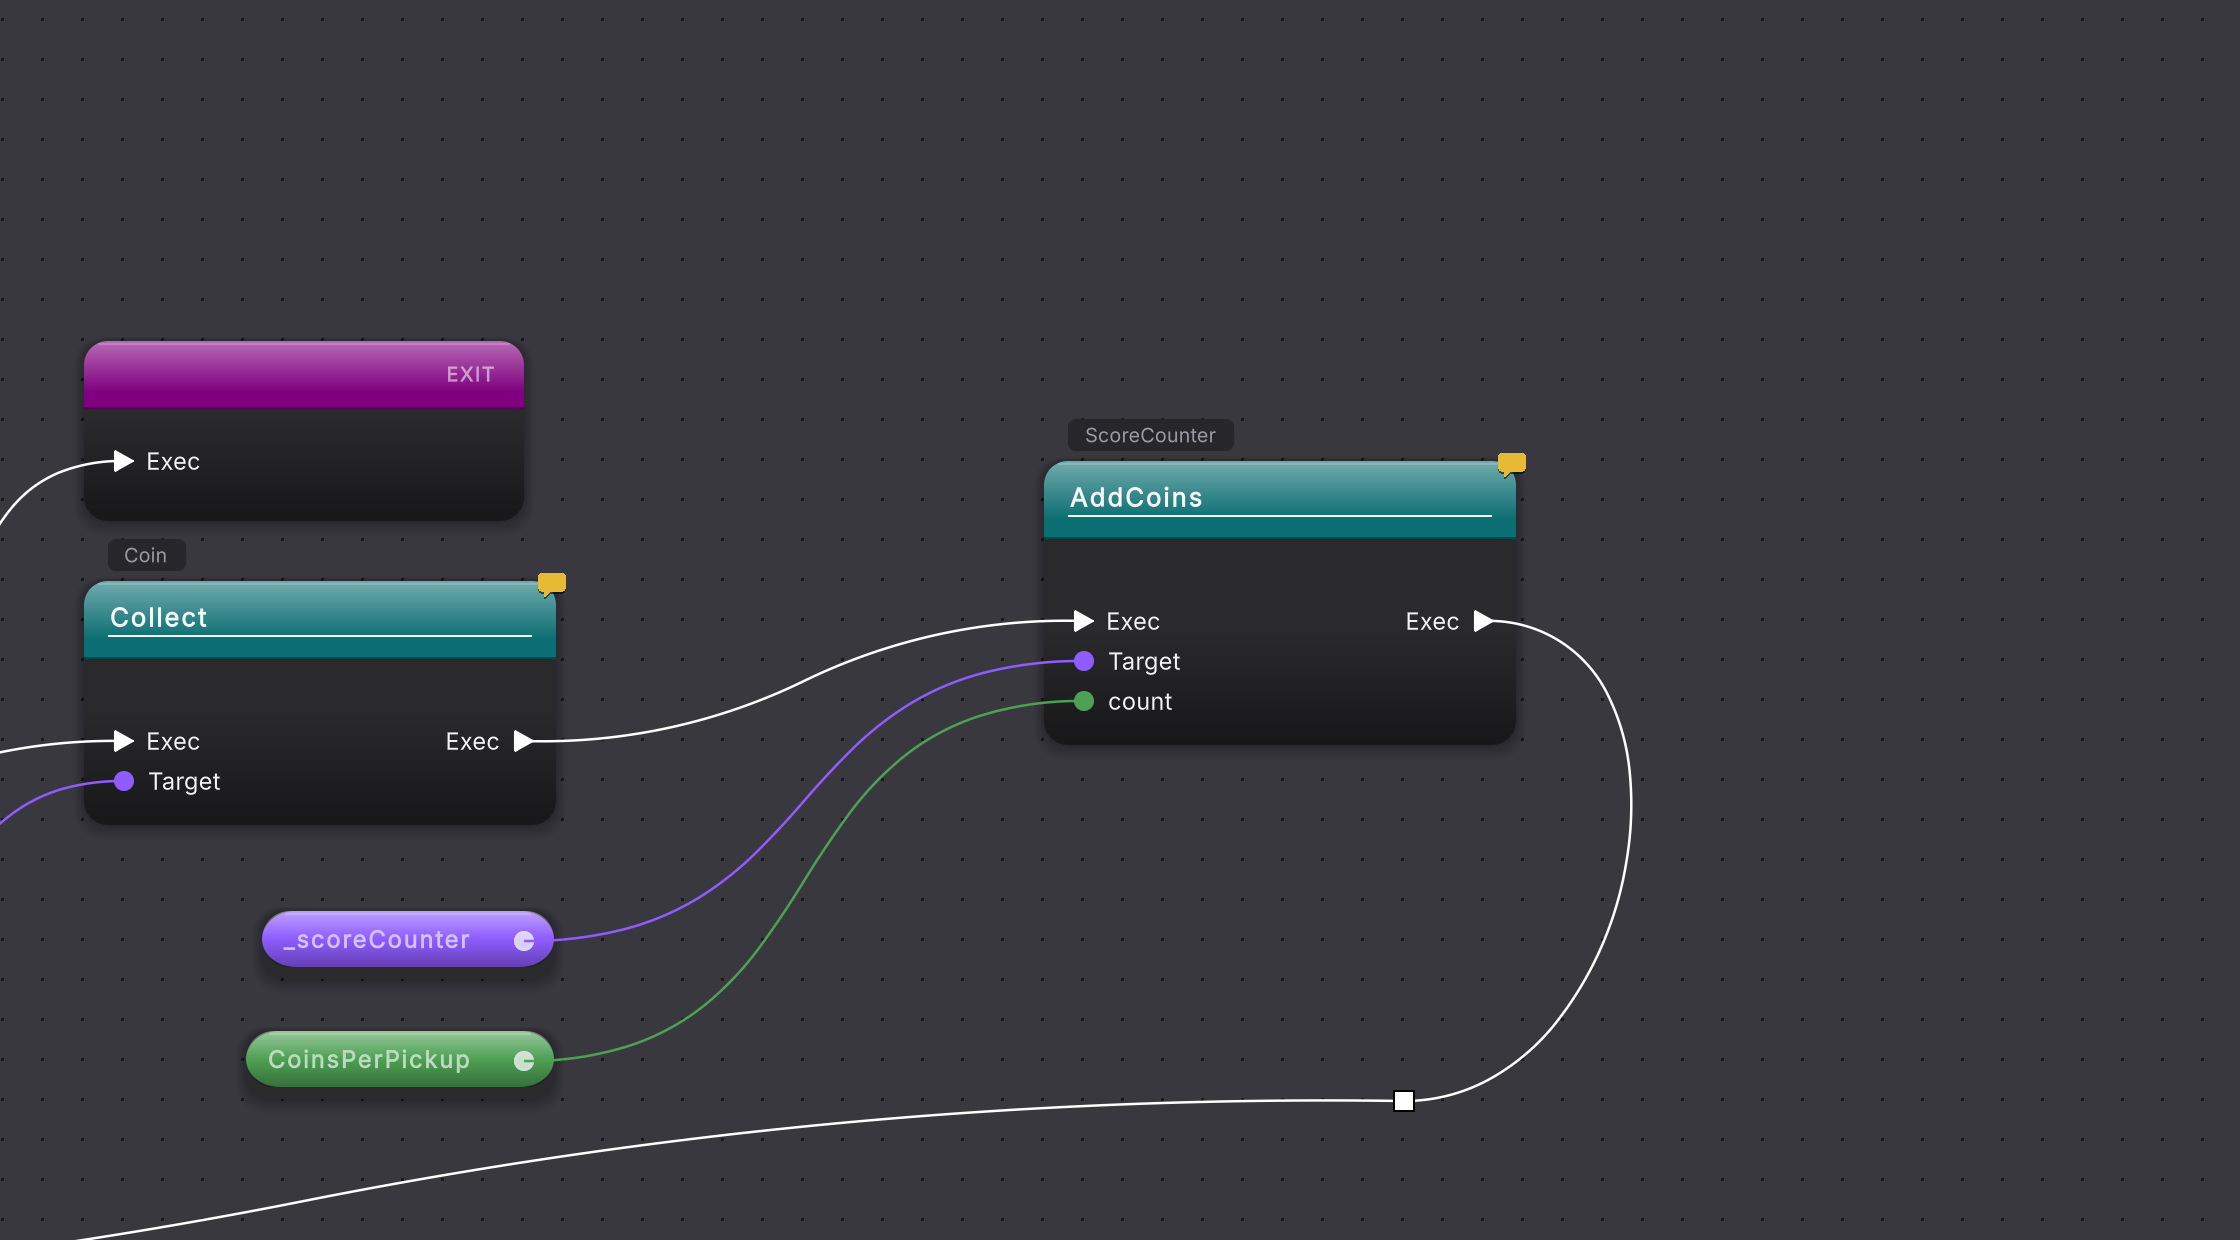
A node snaps by its top-left corner. Its pin rows are laid out a whole number of grid cells below that corner, and its width is a whole number of cells, so when the corner is on a dot every pin is on a dot. A pill has no useful corner: its pins sit on its vertical center, so a pill snaps by its pin instead (its input pin when it has one, otherwise its output pin). A two-pin pill, such as a member read, is widened by less than one cell so that both pins reach dots, and it is never narrowed.
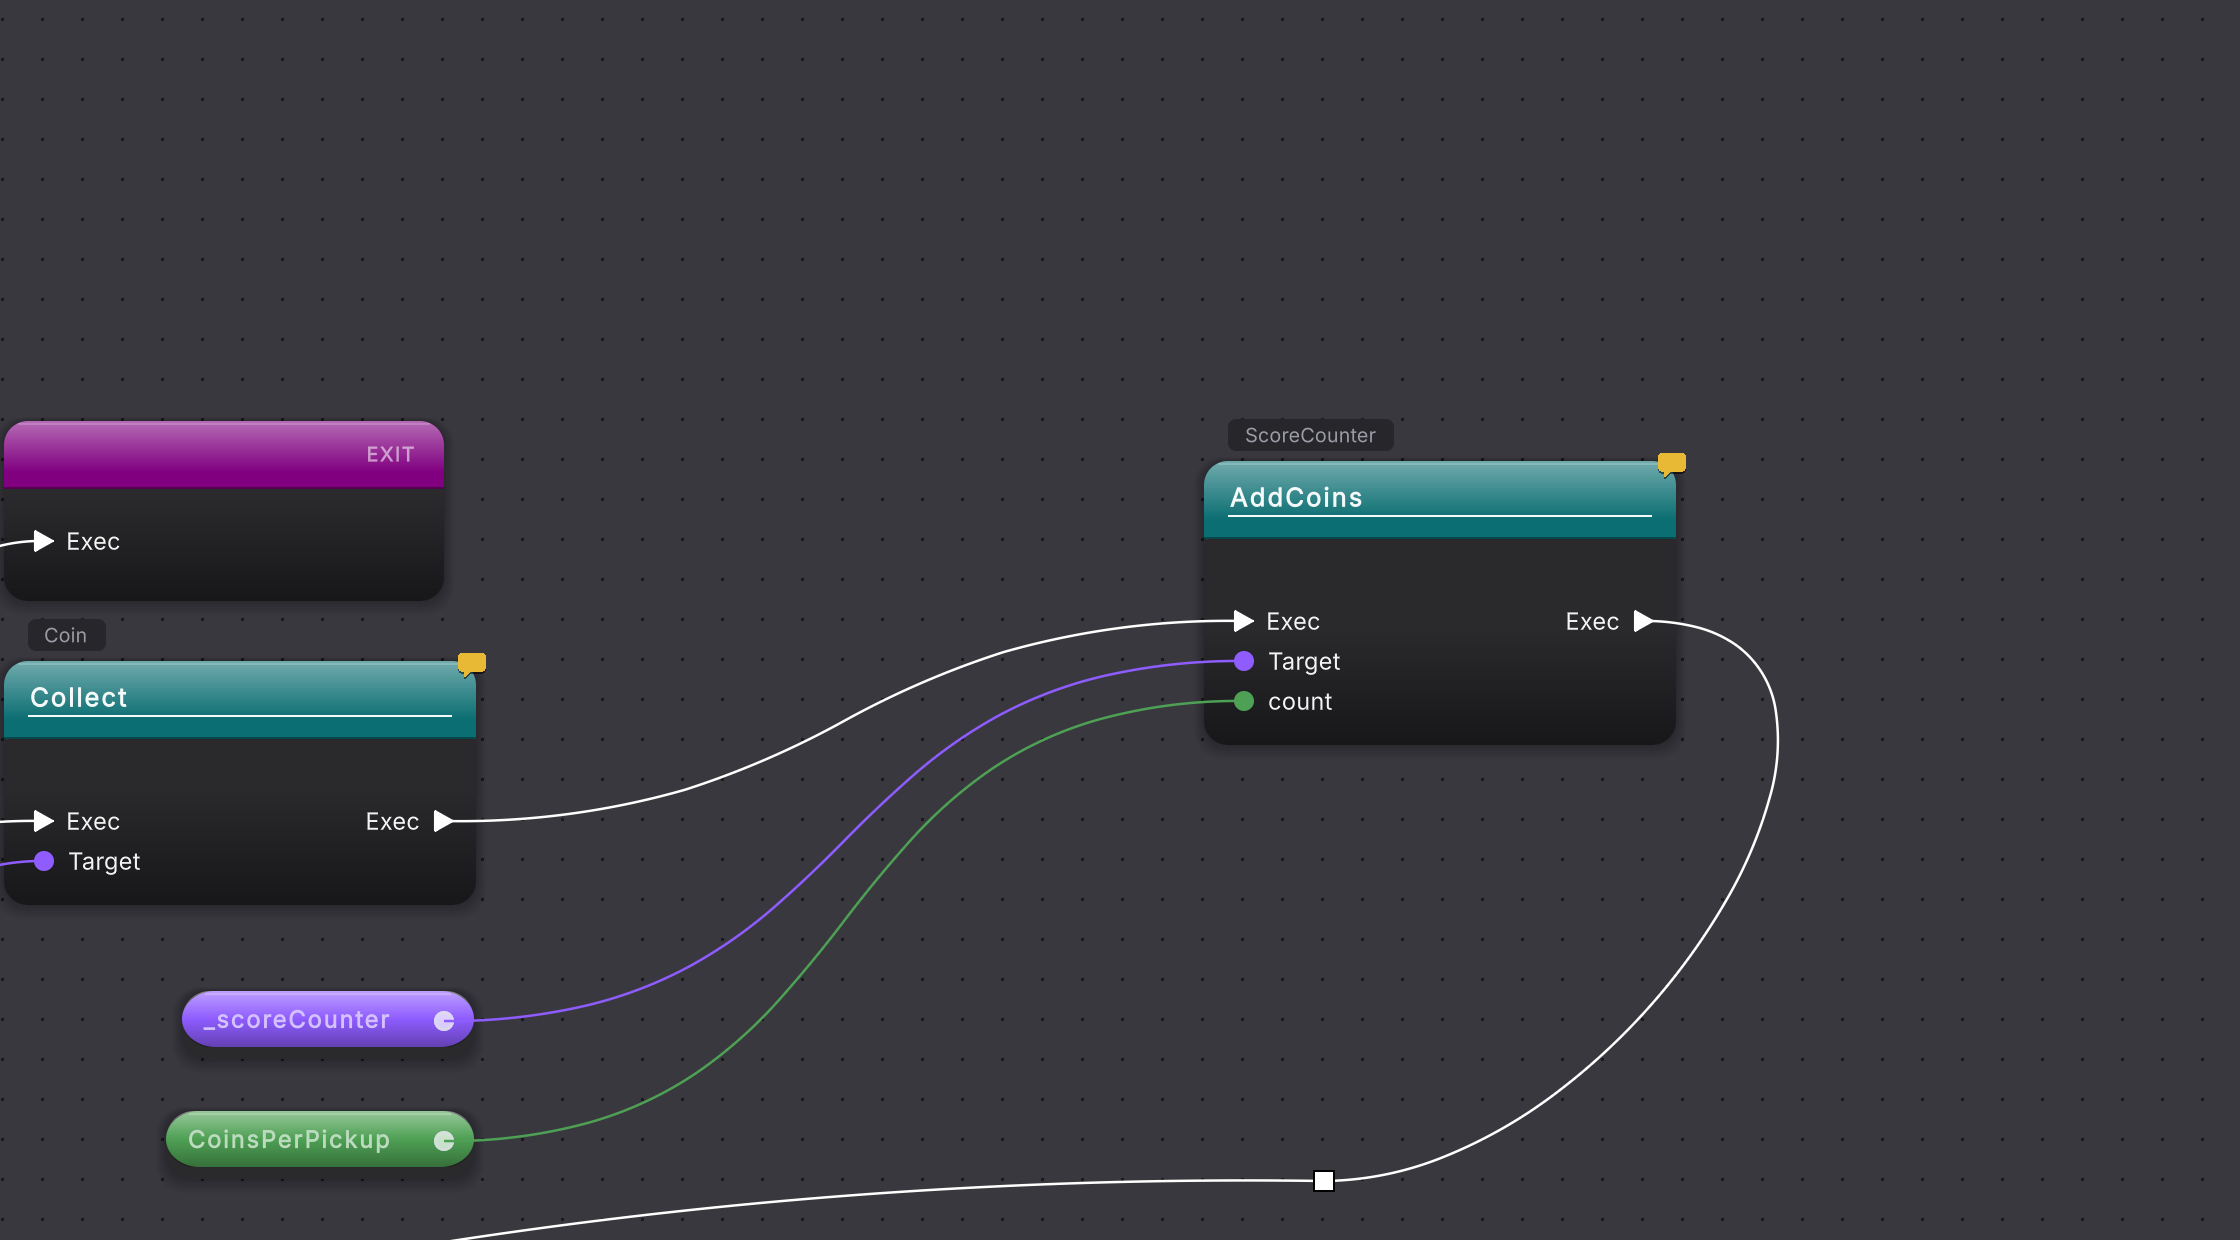
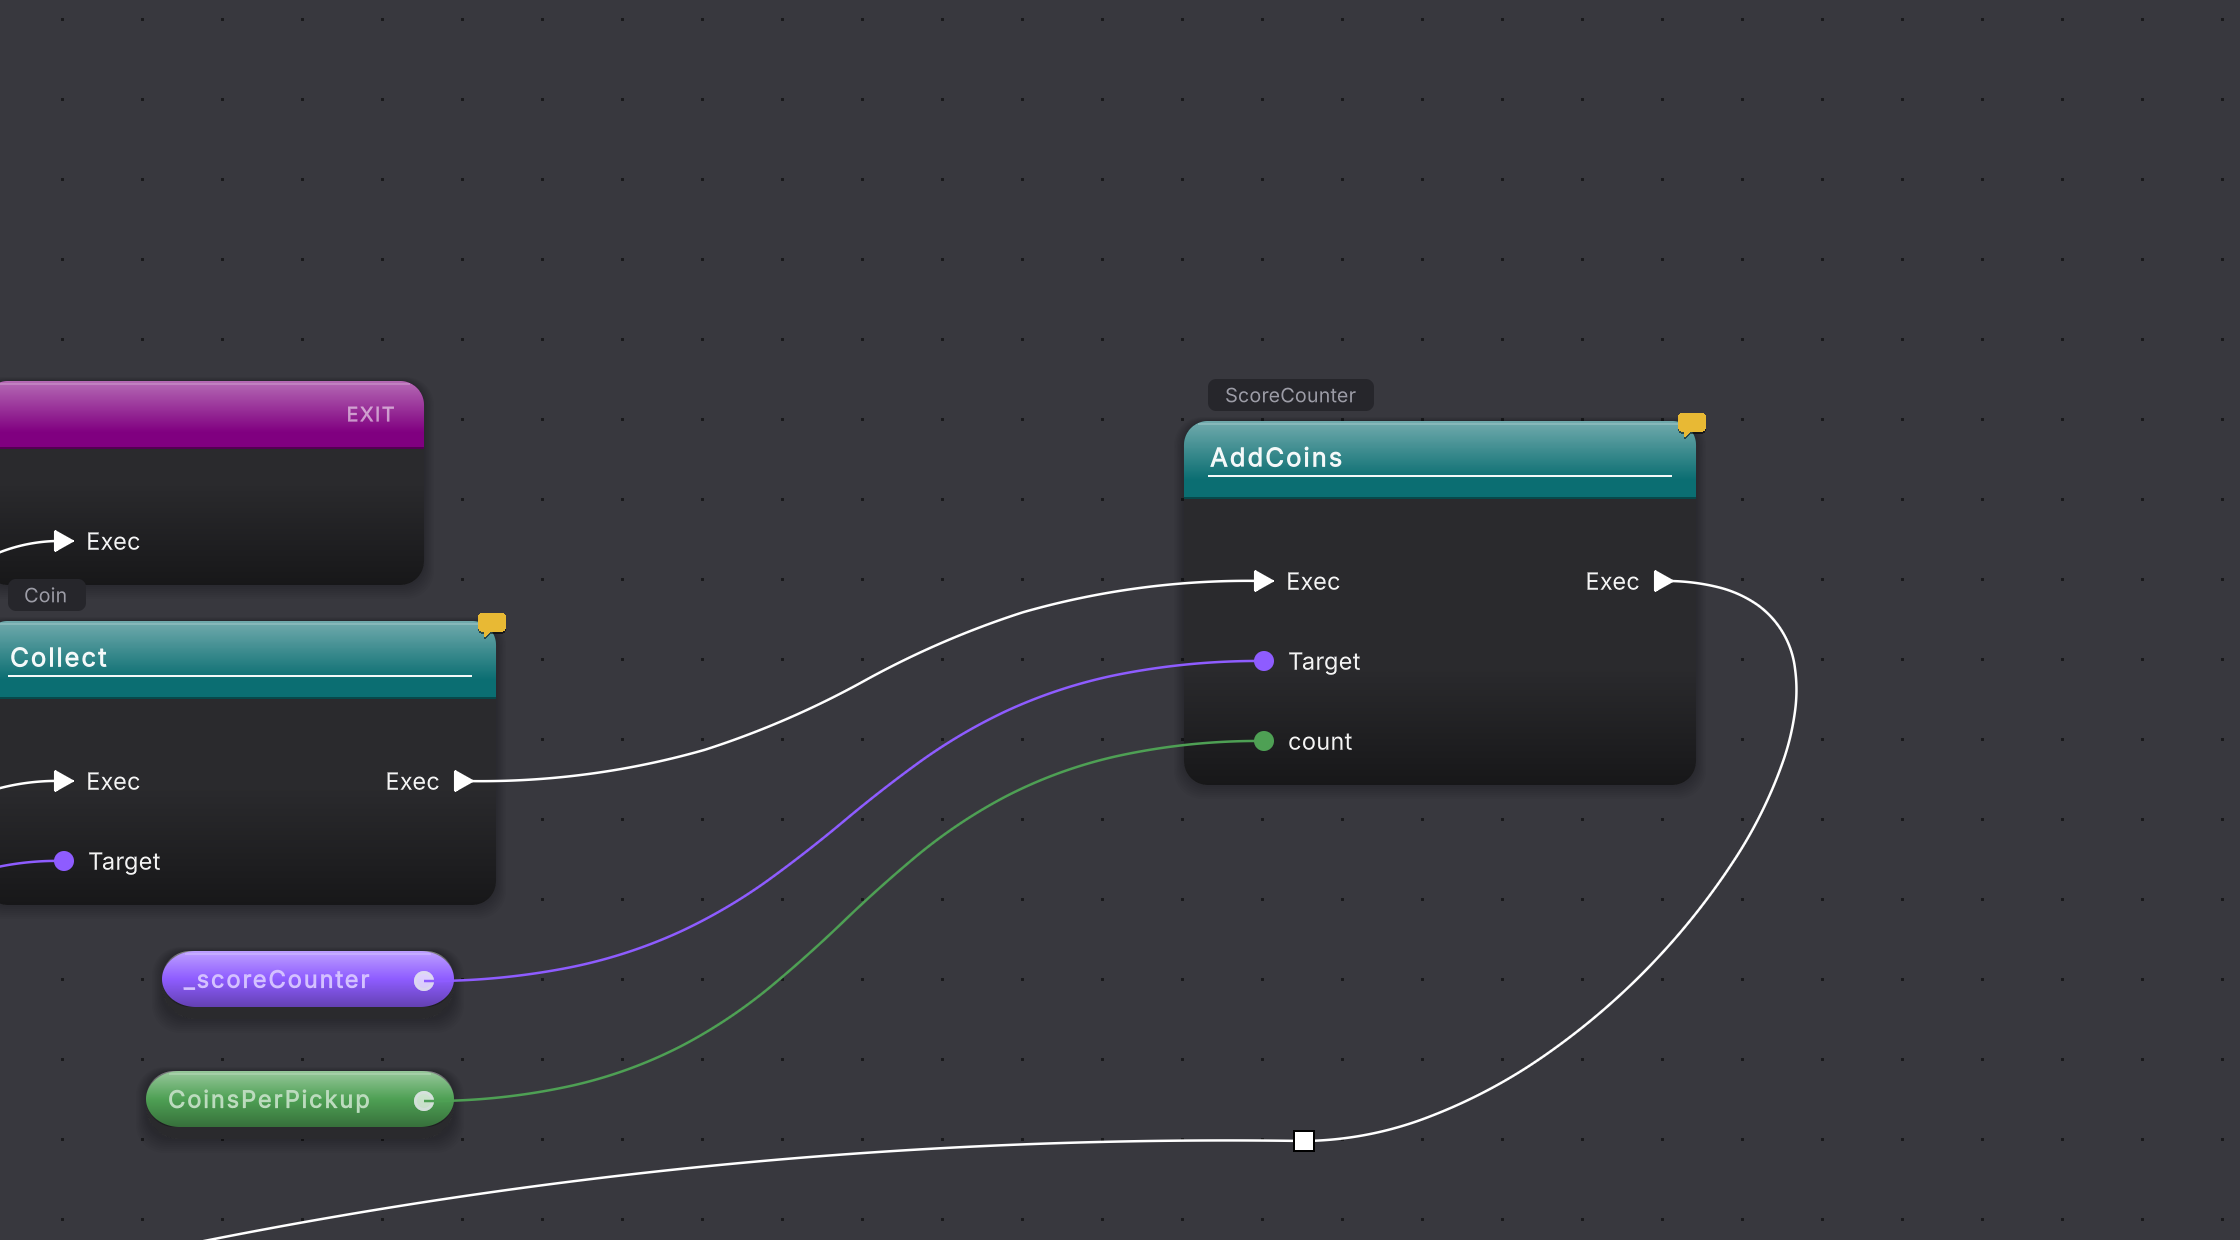
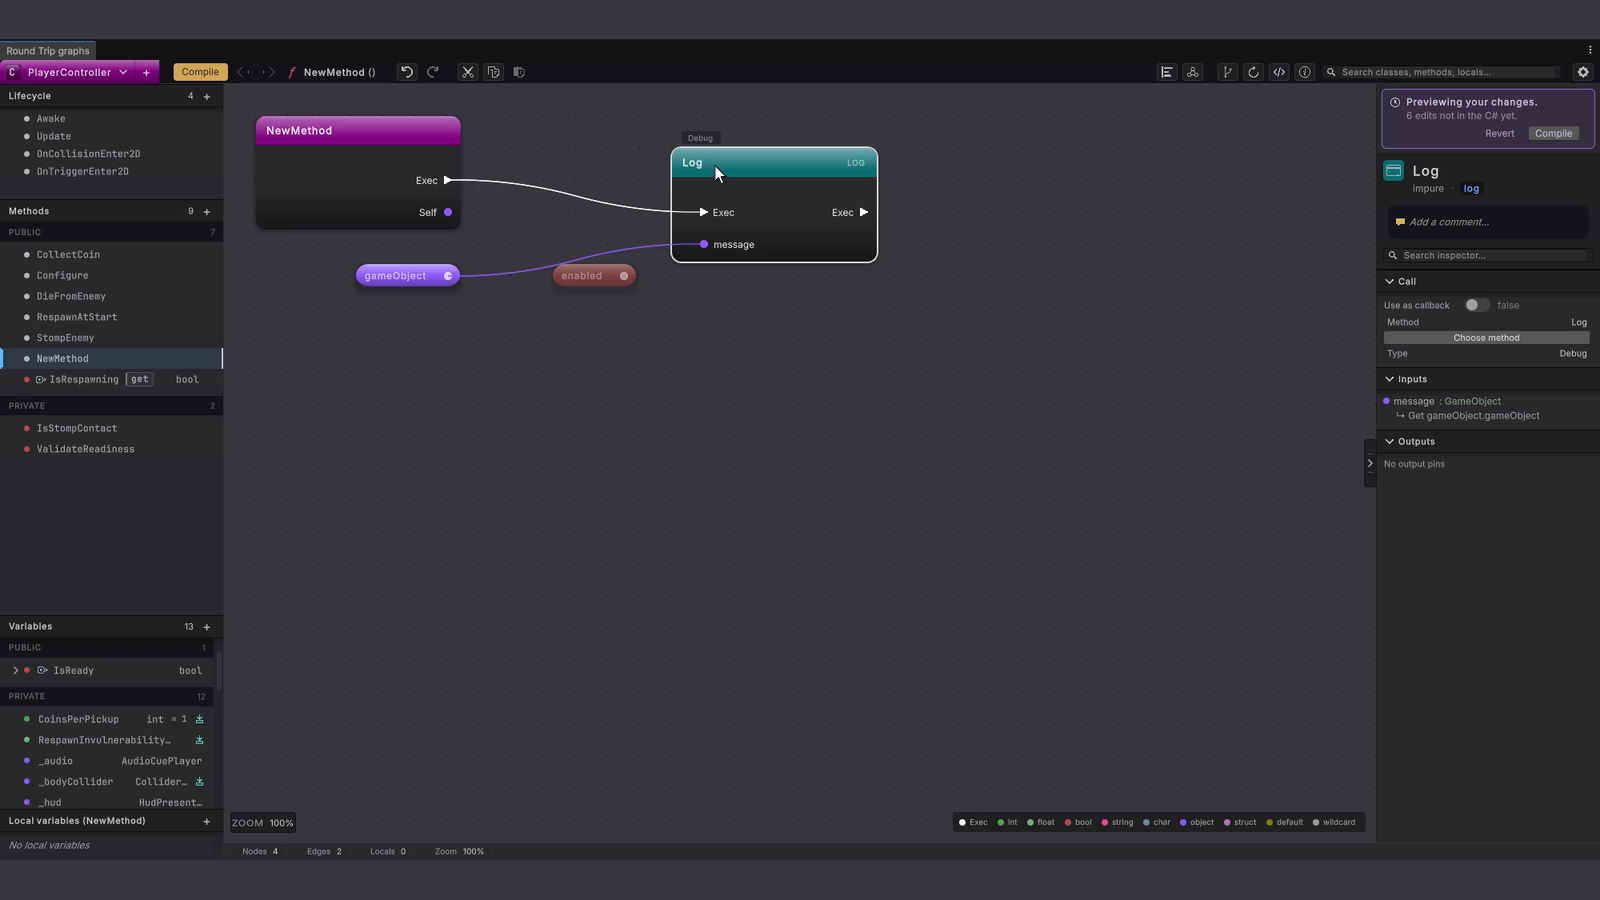
Grid spacing decides which dots exist. Widen it and the next move lands on the wider grid, while the nodes grow to keep their pins on it.
Compare the grid setting and its result
Select a screenshot to enlarge it.
See snap to grid in action
Build a method with a Log
In the left rail, click + on the Methods header and press Enter: a magenta entry node appears. Right-click empty canvas to its right, type
Debug.Loginto search and click Log(object message). A dark teal call card titled Log lands near your click. Drag a white wire from the entry node’s Exec pin to the Log node’s Exec pin.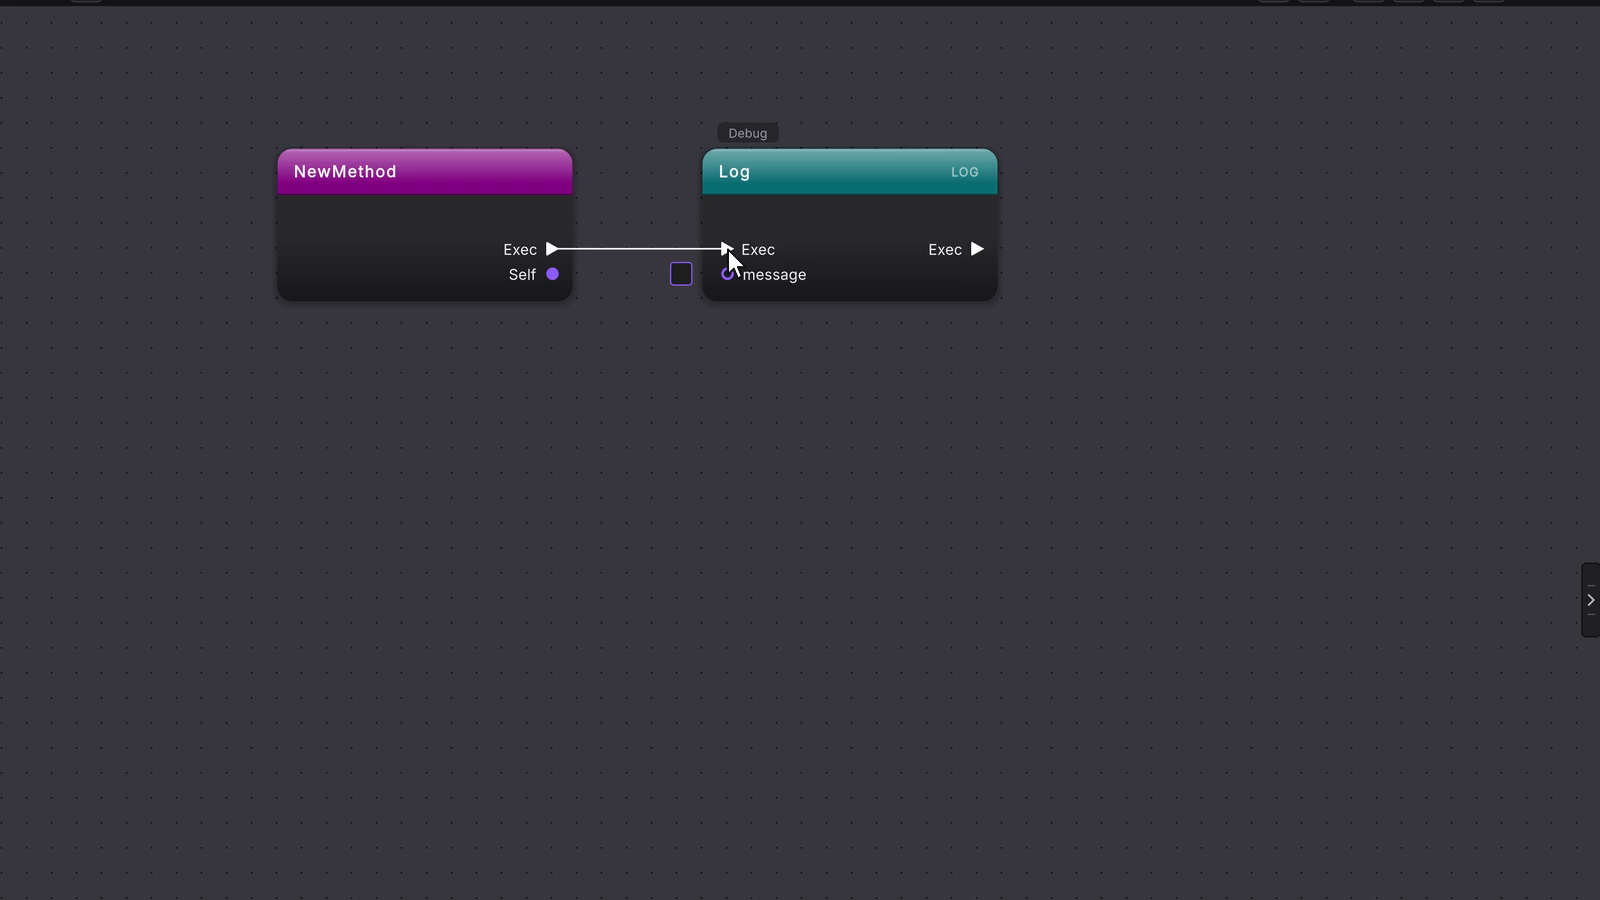 8 stepsFull size ↗
Add the reads
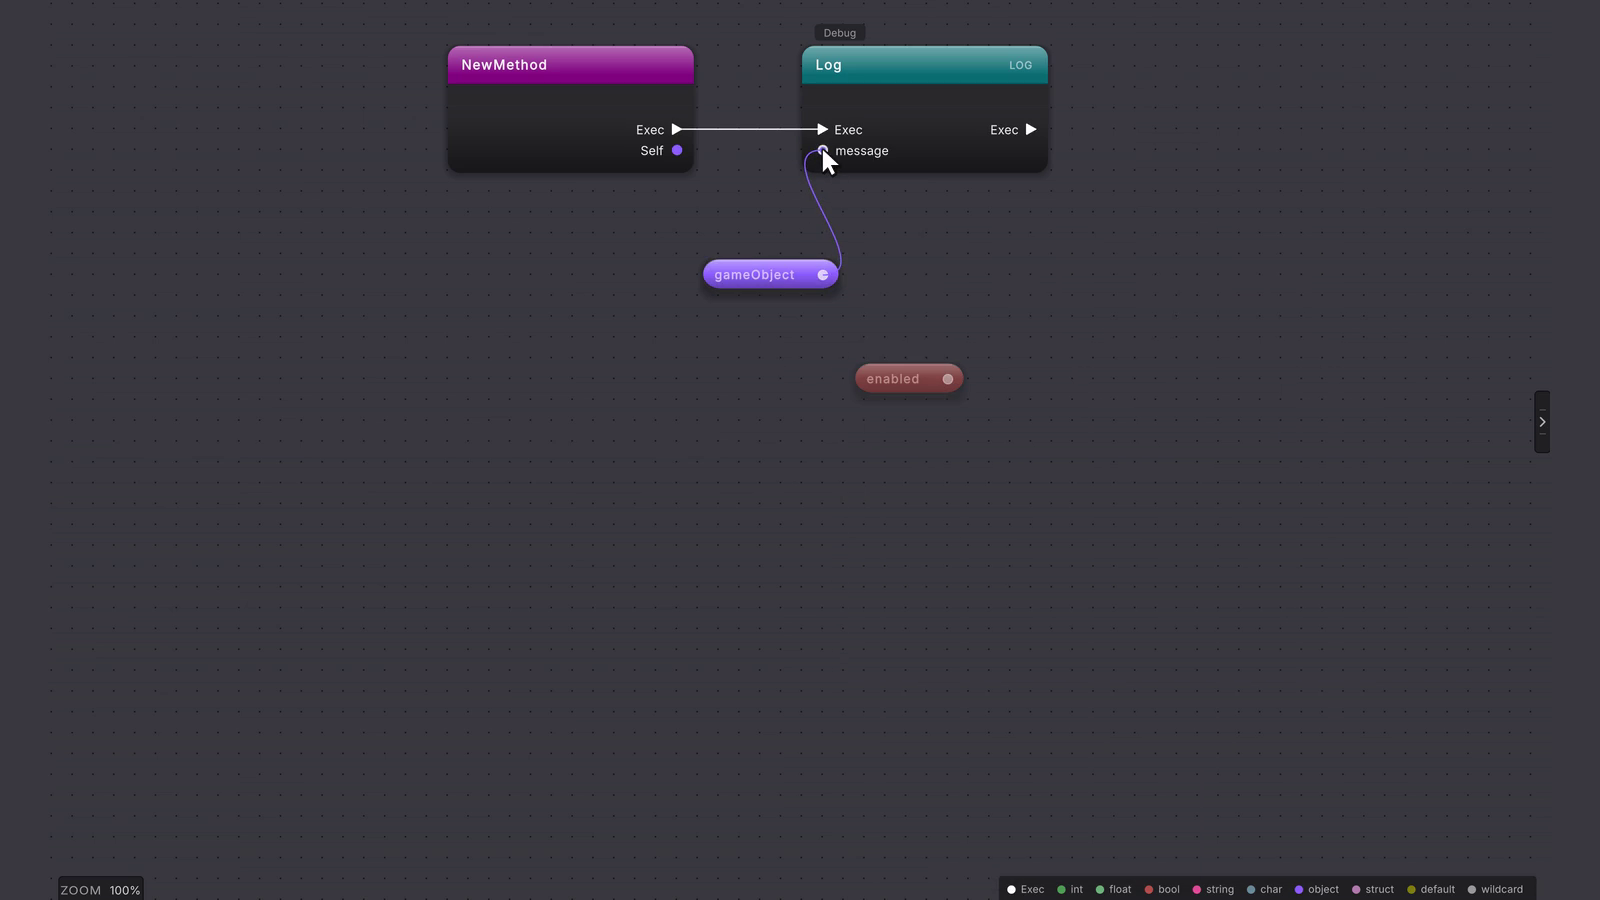
Right-click below the Log node, search for gameObject, and click get on its row. Repeat for enabled. Drag the gameObject pill’s dot to the message pin. A purple wire joins them.
 9 stepsFull size ↗
Move one node
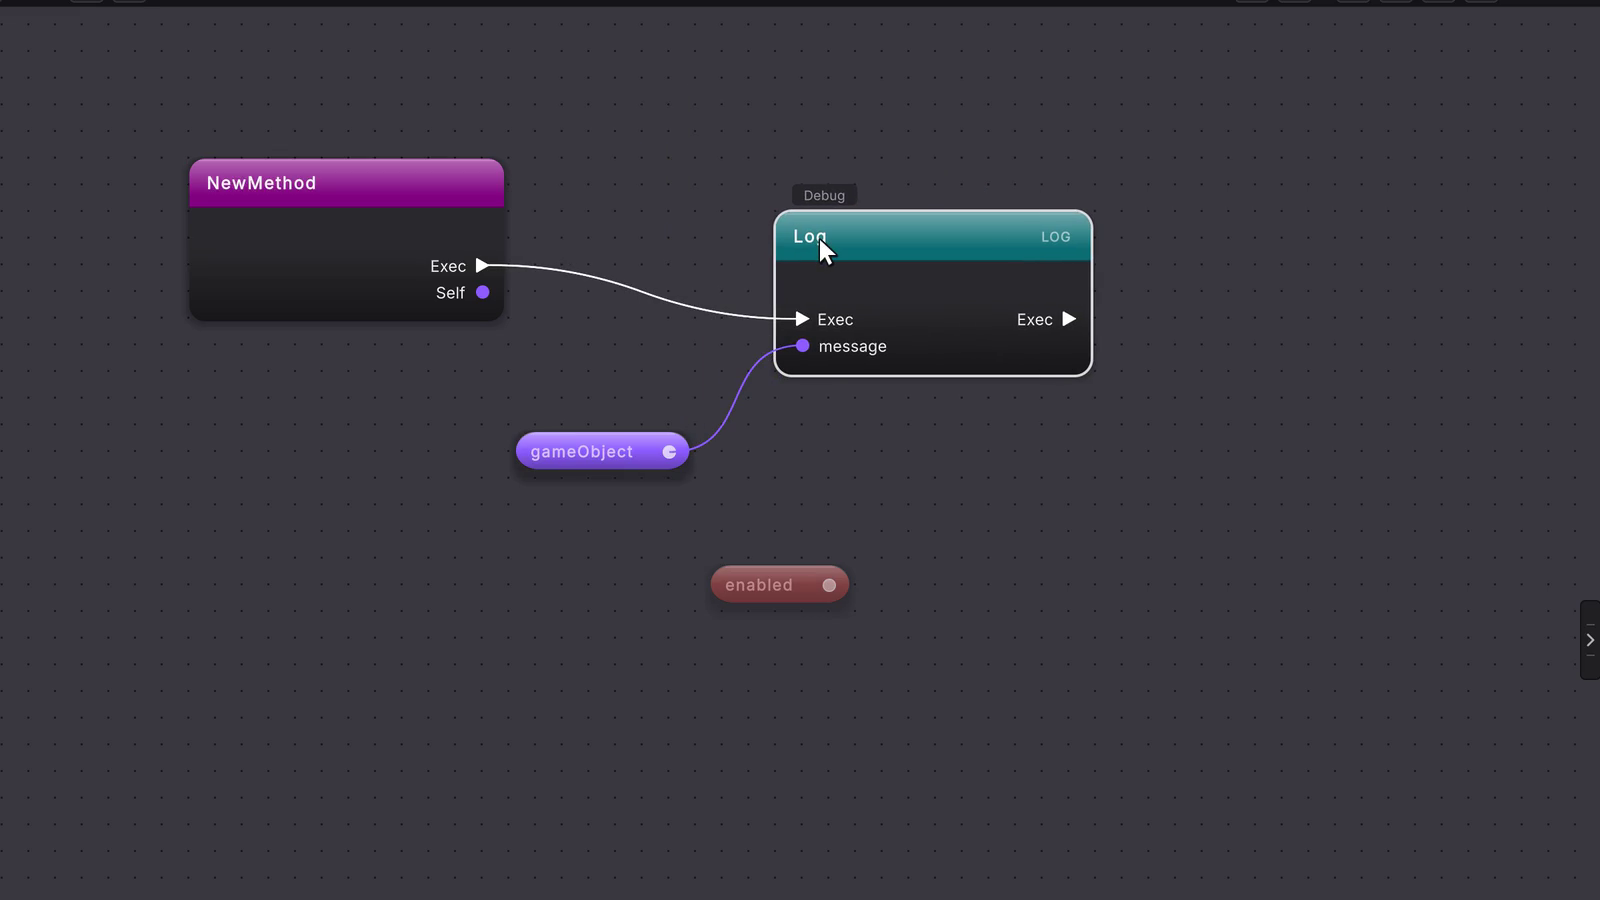
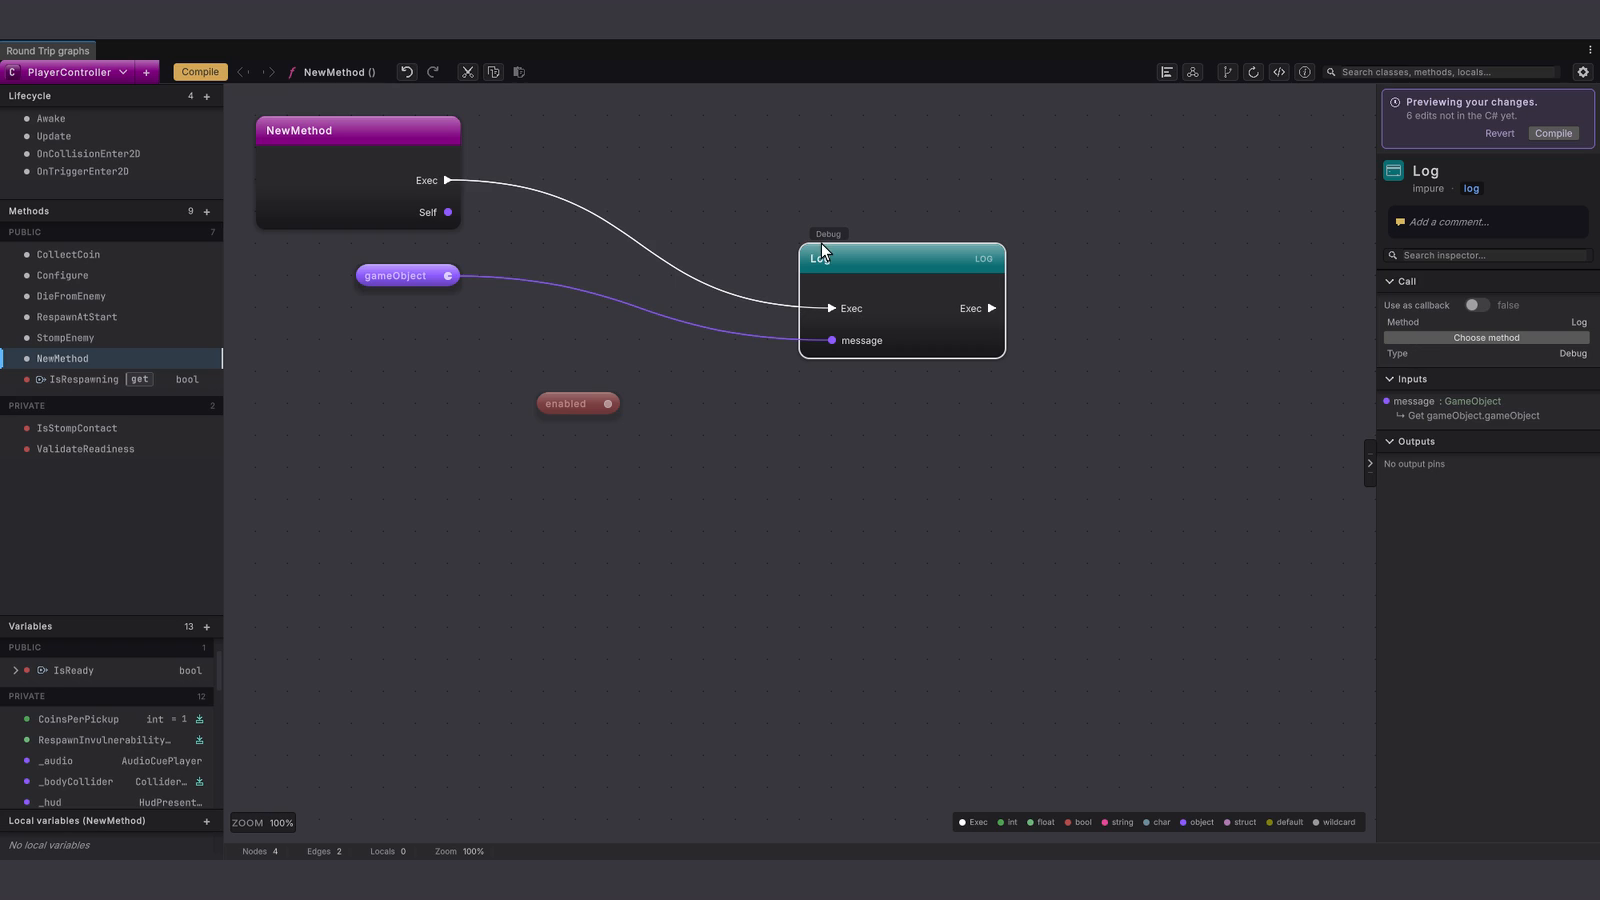
Drag the Log node by its title to anywhere on the canvas and let go.
 2 stepsFull size ↗
Move a selection
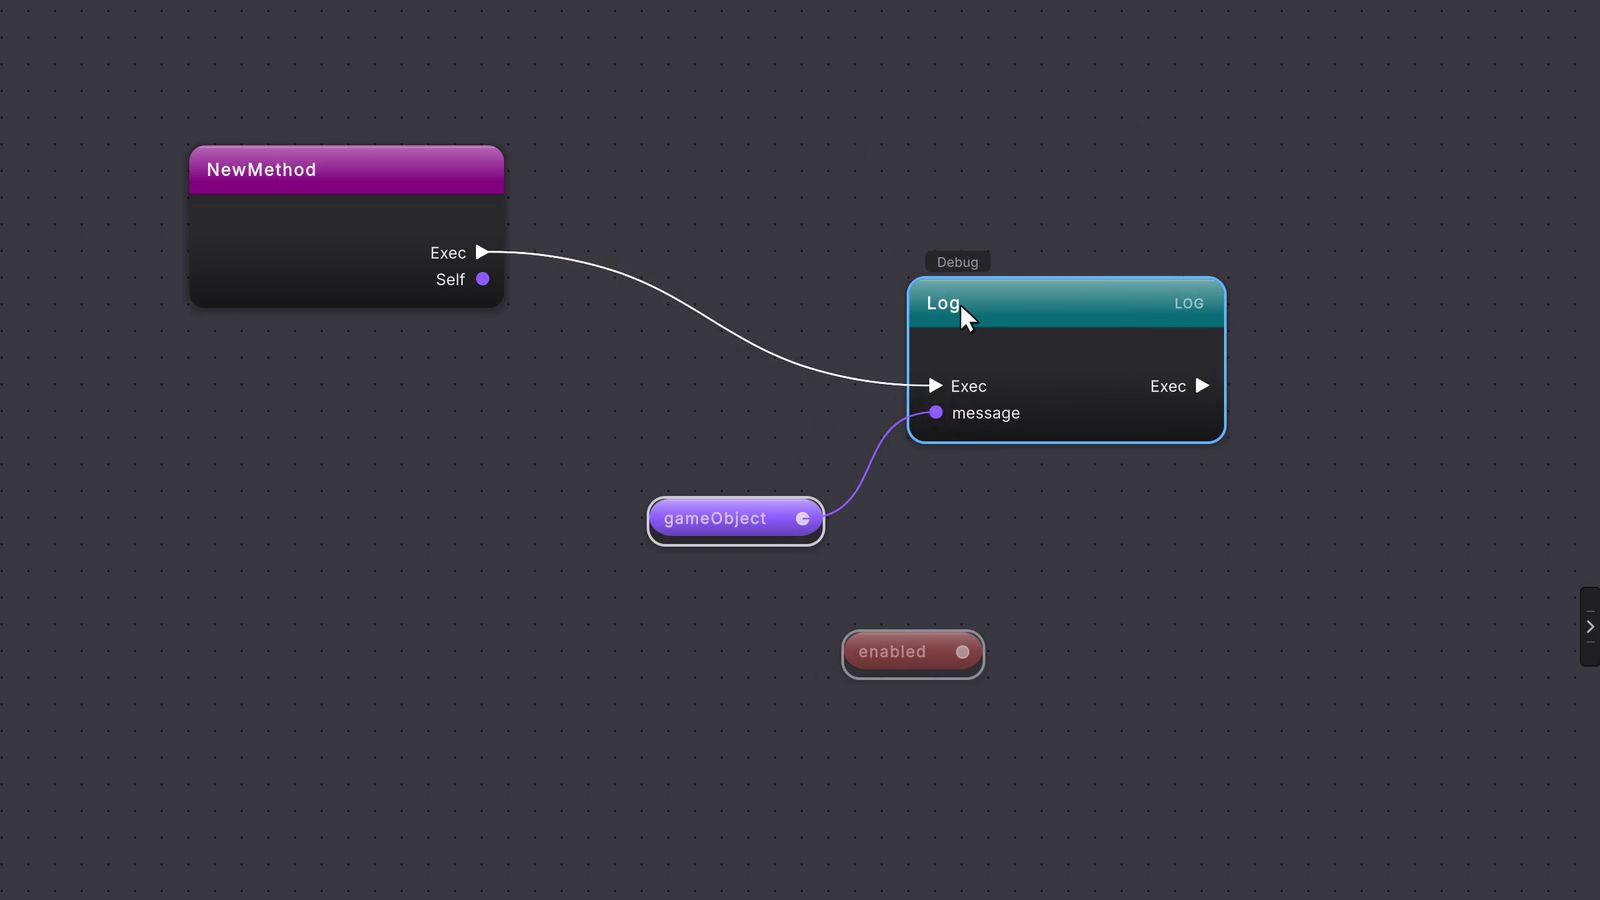
Drag a selection box around the Log node and both pills, then drag any one of them.
 2 stepsFull size ↗
Reset to Auto layout
Click Auto layout on the toolbar and confirm Reset to Default Layout?.
 3 stepsFull size ↗
Widen the grid
Open Preferences > Round Trip and find GRID & CANVAS. Set Grid spacing to 40 px, then move the Log node again.
 3 stepsFull size ↗
Switch snapping off and on
In the same section, switch Snap to grid off. Move the Log node to a spot between two dots and release it. Switch Snap to grid back on and move the node once more.
 6 stepsFull size ↗
What it writes
Section titled “What it writes”Nothing in the script. A snapped position is a layout position, and layout lives in the method’s .rt.json layout file beside the other view state. If you want to see it, this is the Log node’s entry after a drag released at x 533, y 147 snapped it to the nearest dot, trimmed to its id and position:
Snapping rounds the x and y a move would have saved anyway. The class’s .cs file is byte-for-byte unchanged by a drag, by a spacing change and by Auto layout, and Compile has nothing to do with any of them. Snap to grid and the other grid controls are your own preferences, stored in Unity EditorPrefs, so your teammate’s canvas and your commits are unaffected.
When it goes wrong
Section titled “When it goes wrong”When it goes wrong
| Symptom | Check | Fix |
|---|---|---|
| A node will not sit between two dots. | Snap to grid is on, which is its default. | Switch Snap to grid off under Preferences > Round Trip for the exact placement, then switch it back on. |
| A node lands between dots after a drag. | Snap to grid is off, or the dots you are looking at are from a different Grid spacing than the one set now. | Switch Snap to grid on and check the Grid spacing value, then move the node again. |
| After widening Grid spacing, nodes that were already placed still sit on the old grid. | Spacing changes where the next release lands. Nodes are never moved behind your back. | Move the nodes you care about, or click Auto layout to put every node on the new grid. |
| Align top or Align left left a node between dots. | The align commands move nodes to the primary node's edge or center, which need not be a grid line. | Drag the aligned node a short distance and release it, and it snaps. |
| Snap to grid changed in Round Trip but not in Behavior Tree, or the other way round. | Each Bit Quirky visual editor keeps its own Snap to grid value and default. | Set the preference in each editor you use. |
- Align nodes: line selected nodes up on one of them.
- Layout, wire knots, and comments: the rest of the arrangement tools.
- Wire knots: bend a wire around other nodes; knots stay where you release them.
- Settings and preferences: find every grid control in Preferences > Round Trip.
- Layout and configuration files: choose where saved positions live.