
Align nodes
Line several selected nodes up on one of them, by edge or by center, from the node menu, the toolbar Align list or a Shift shortcut, and keep the C# untouched.
On this page
Select a few nodes, pick the one the others should follow, and choose an edge or a center. The other nodes move onto it in one step; the one you picked stays put. Six commands cover every edge and both centers, and each is one Shift key away.
The problem
Section titled “The problem”You place three pills to feed one call node, each where your pointer happened to let go. They end up a handful of pixels apart, every wire into the node bends by a different amount, and the diagram looks untidy even though nothing is wrong. Nudging each pill until the edges match is slow, and Snap to grid keeps them on dots without saying which dot.
When to reach for it
Section titled “When to reach for it”Reach for it when two or more nodes should share an edge or a center: inputs stacked to the left of a call, a column of pills under one node, a row of calls along the execution wire. Decide first which node is already in the right place. That node is the primary, and alignment measures everything from it.
See it
Section titled “See it”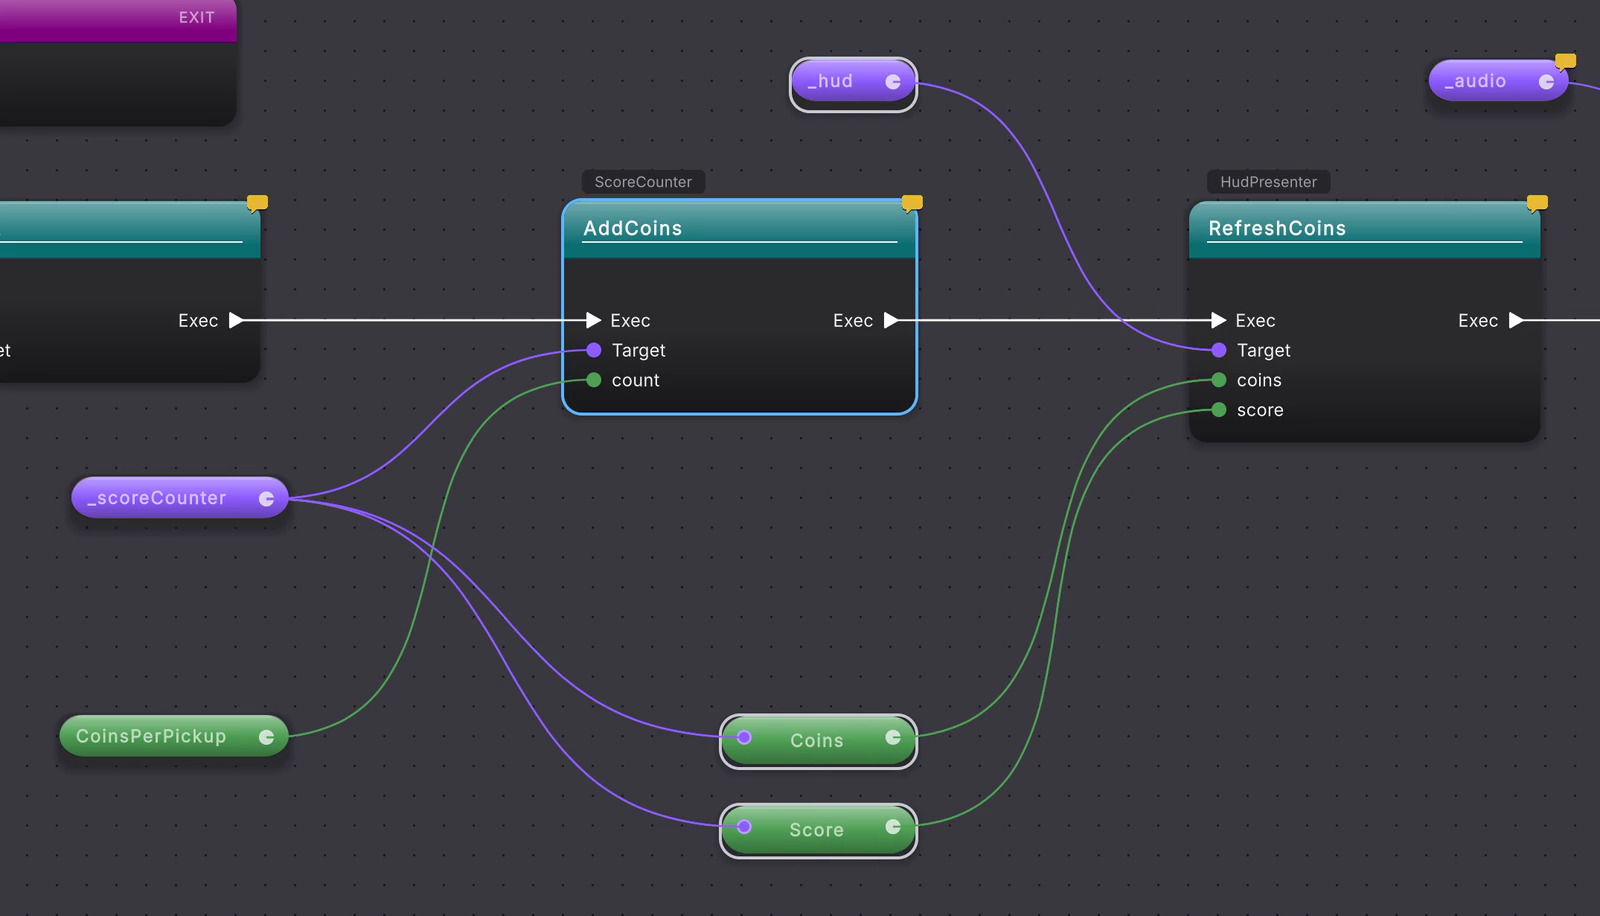
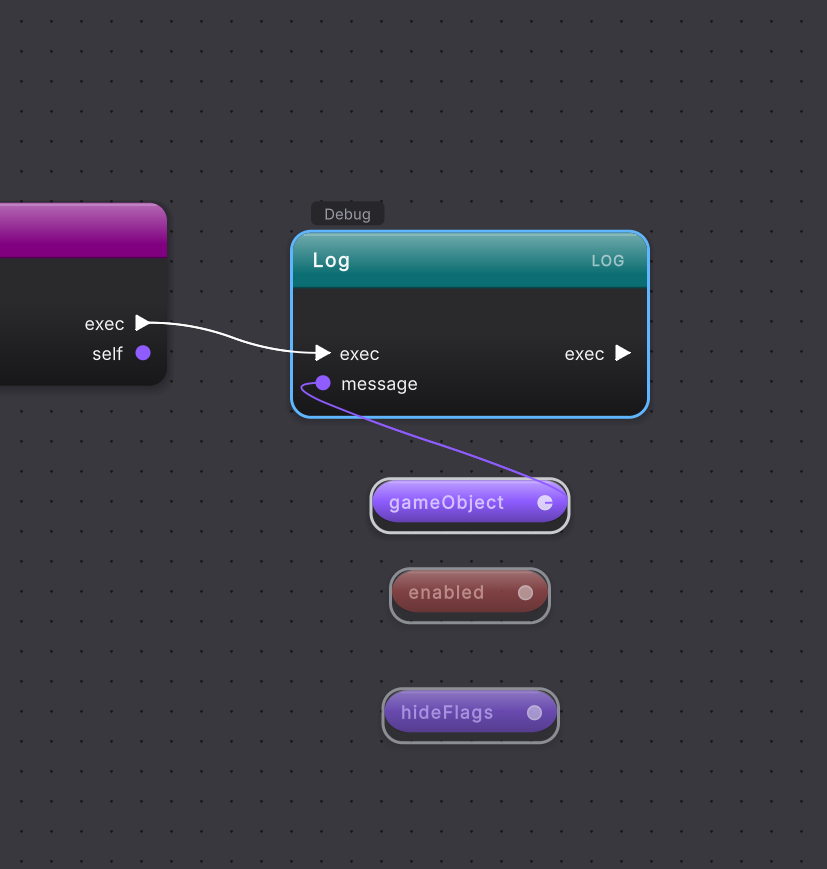
In this clip from the Platformer sample, the three pills were selected first and the AddCoins node last, so the node is the primary and wears the blue ring; the pills wear a light gray ring. Align left moves each pill until its left edge is on the node’s left edge. Align center puts each pill’s horizontal center on the node’s, and Align right brings their right edges to the node’s right edge. The node does not move for any of them, and the pills keep their own rows throughout.
| Command | Shortcut | What moves | What it lines up on |
|---|---|---|---|
| Align top | Shift+W (⇧W) | y only | the primary’s top edge |
| Align bottom | Shift+S (⇧S) | y only | the primary’s bottom edge |
| Align left | Shift+A (⇧A) | x only | the primary’s left edge |
| Align right | Shift+D (⇧D) | x only | the primary’s right edge |
| Align middle | Shift+M (⇧M) | y only | the primary’s horizontal center line |
| Align center | Shift+C (⇧C) | x only | the primary’s vertical center line |
The menu and the Align list show the macOS glyph form on a Mac and the spelled form elsewhere. The keys are the same in both.
The primary node
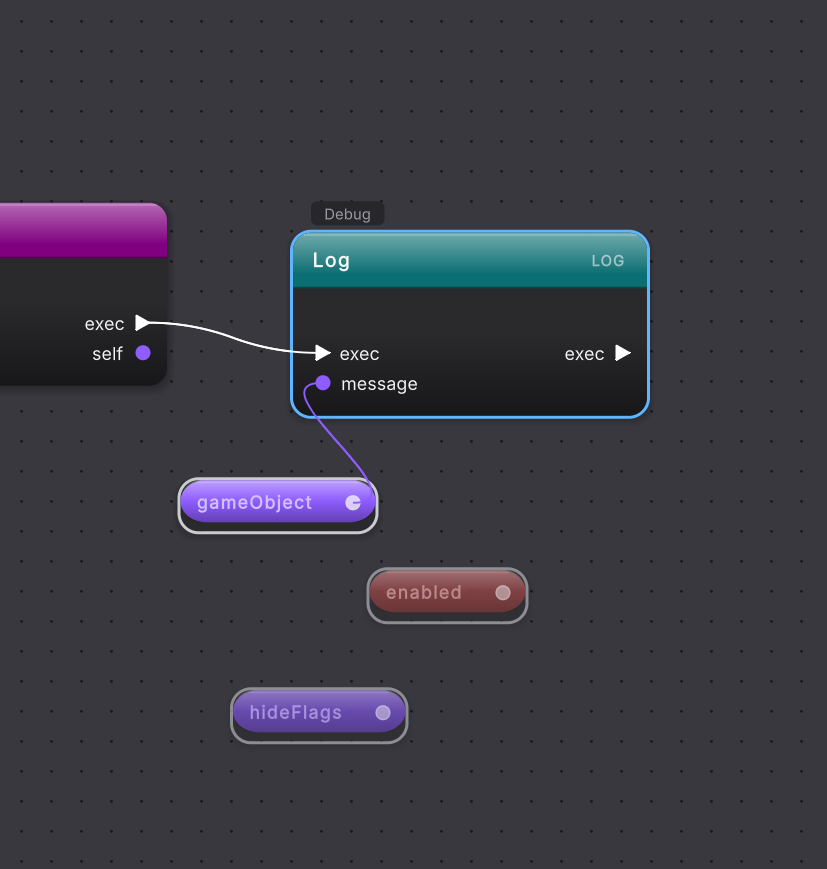
Section titled “The primary node”With two or more nodes selected, one of them is the primary, and it is the only one that wears the blue ring; the rest wear light gray. The rule is the node you added to the selection last:
- Click one node, then Shift-click or Cmd/Ctrl-click the others. The last one you clicked is the primary.
- Drag a selection box. The node nearest where you started the drag is the primary.
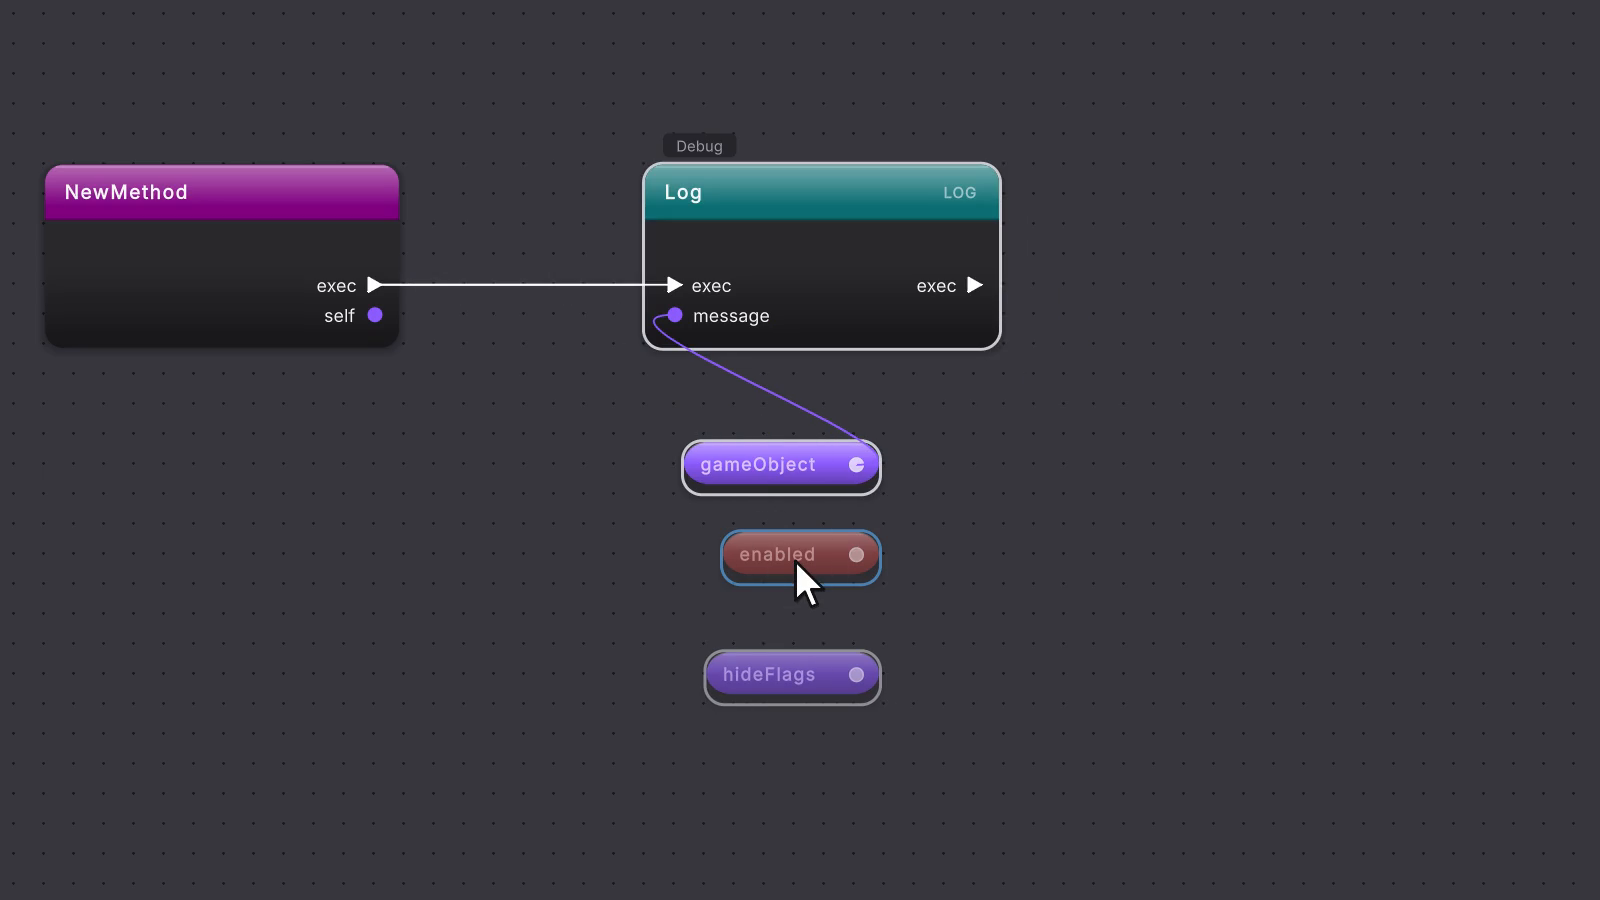
- To make a different node the primary without starting over, Cmd/Ctrl-click it twice: the first click takes it out of the selection, the second puts it back, last.
- Cmd/Ctrl-click the primary itself and the node you added before it becomes the primary.
A single selected node has no role to show, so it wears the plain light gray selection ring.
Three ways to run a command
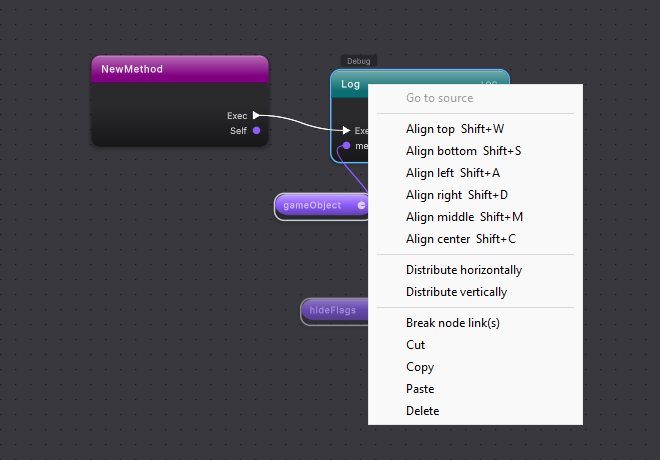
Section titled “Three ways to run a command”- The node menu. Right-click any selected node. Under Go to source, the six commands sit between separators, each with its shortcut at the end of its label. They are dimmed until two or more nodes are selected.
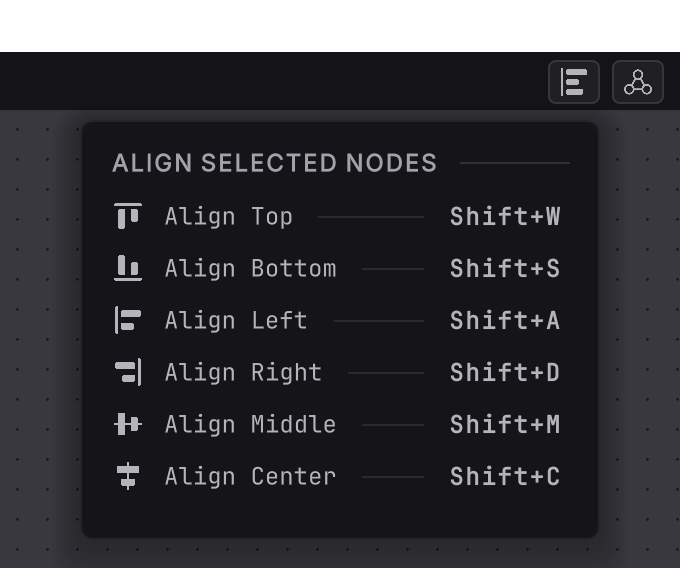
- The toolbar Align list. Click Align on the toolbar. The list is headed ALIGN SELECTED NODES and lists the same six rows. With fewer than two nodes selected the heading reads SELECT TWO OR MORE NODES and the rows are dimmed, with the reason in their tooltip. Clicking a row aligns the selection and closes the list.
- The keyboard. Press Shift with W, S, A, D, M or C while the canvas has focus. The key does nothing while you are typing in a text field, such as a literal on a node or the search box, so the letter reaches the field instead.
All three call the same command, so the result is identical whichever one you use.
Line pills up on a Log node
Wire a Log node to the entry
Build something to line up. In the left rail, click + on the Methods header and press Enter: a magenta entry node appears. Right-click empty canvas to its right, type
Debug.Loginto search and click the Log(object message) row. A dark teal call card titled Log appears; this page calls it the Log node. Drag a white wire from the entry node’s Exec pin to the Log node’s Exec pin.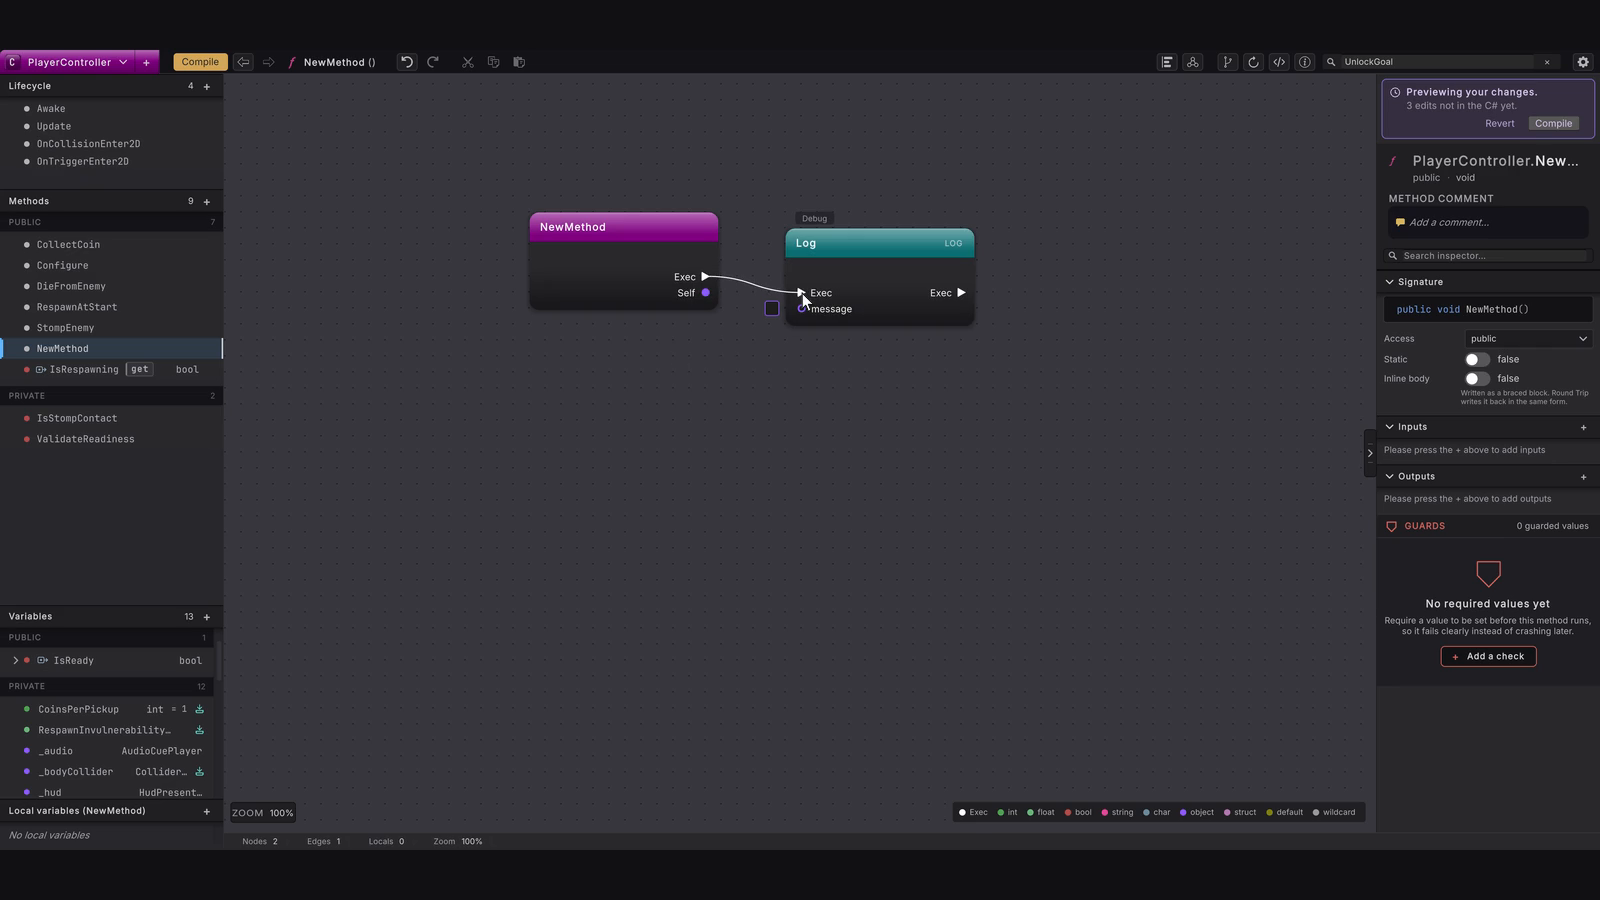 11 stepsFull size ↗
Add three pills
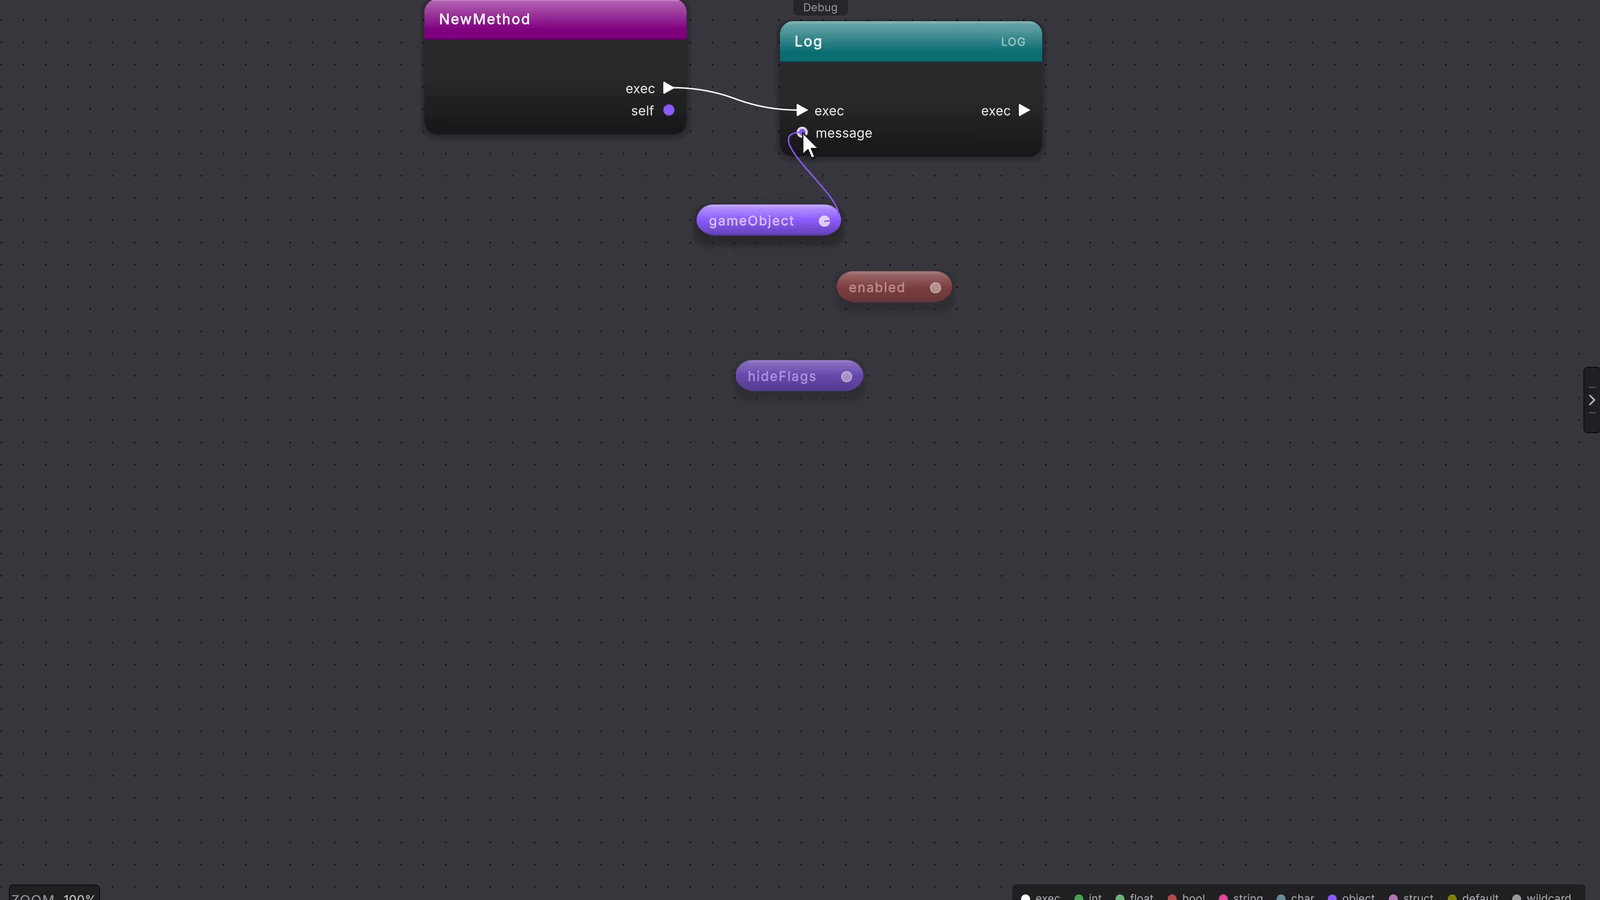
Right-click empty canvas below the Log node and, in the VARIABLES section, click get on gameObject. Do the same twice more for enabled and hideFlags, letting go a little left or right each time. Drag the gameObject pill’s dot to the node’s message pin so a purple wire joins them.
 17 stepsFull size ↗
Select the primary last
Click the gameObject pill, then Cmd/Ctrl-click the enabled pill, the hideFlags pill, and finally the Log node.
Align Left from the node menu
Right-click the Log node and choose Align Left.
Align Center with Shift+C
Press Shift+C.
Open Align and choose the edge
Click Align on the toolbar and choose Align Right.
Change the primary, then undo
Cmd/Ctrl-click the enabled pill twice, press Shift+A, then press Cmd/Ctrl+Z.
 7 stepsFull size ↗
What it writes
Section titled “What it writes”Nothing in the script. An aligned position is a layout position. Like a drag, it saves x and y to the method’s .rt.json layout file. If you want to see it, this is the gameObject pill’s entry after Align left lined it up under the Log node, which sits at x 440, trimmed to its id and position:
The class’s .cs file is byte-for-byte unchanged by any of the six commands, and Compile has nothing to do with them. Alignment, like a drag, is layout only; it needs no Compile and raises no banner.
The toolbar and the Coverage pill
Section titled “The toolbar and the Coverage pill”The same release regrouped the toolbar. After the method title come Undo and Redo, then Cut, Copy and Paste. The right side starts with the layout group, Align and Auto layout, then Changes, Reload, Source, Info, the search field and Settings. The window walks every button.
The Coverage pill, which reported how much of the class the canvas can show, is now off by default. Turn it on with Show coverage under TOOLBAR in Preferences > Round Trip; open windows update at once, and Reset all turns it back off.


When it goes wrong
Section titled “When it goes wrong”When it goes wrong
| Symptom | Check | Fix |
|---|---|---|
| The align entries are dimmed, or the list says SELECT TWO OR MORE NODES. | Count the rings on the canvas. | Cmd/Ctrl-click a second node, then open the menu or the list again. |
| The wrong node stayed still. | The primary is the node you added last; it wears the blue ring while the others are gray. | Cmd/Ctrl-click the node you meant twice so it rejoins the selection last, then align again. Undo puts the first result back. |
| Shift+A typed a capital A somewhere. | A text field had focus: a literal on a node, a rename, or the search box. | Click empty canvas to leave the field, then press the shortcut again. |
| Aligned nodes overlap. | Two selected nodes shared a column before Align top, Bottom or Middle, or a row before Align left, Right or Center. Alignment changes one axis only. | Undo, drag one of them to its own row or column, then align again. |
| The Coverage pill is gone from the toolbar. | Show coverage is off by default since 0.90.0. | Switch Show coverage on under TOOLBAR in Preferences > Round Trip. |
| Align top left a node between grid dots. | The command moves a node to the primary's edge, which need not be a grid line. | Drag the aligned node a short distance and release it, and it snaps. |
- Snap to grid: where a node lands when you drag it.
- Layout, wire knots, and comments: the rest of the arrangement tools.
- Wire knots: bend a wire around the nodes you lined up.
- Shortcuts: every key and gesture in one table.