
Unity Version Control
Where to set up Unity Version Control, what Round Trip needs checked in, and what the Changes list does and does not show with it.
On this page
Unity Version Control is the easiest version control to add to a Unity project: it is built into Unity Hub and the Editor, handles large art and sound files without extra setup, and has a free plan.
Set up
Section titled “Set up”Follow Unity’s own guides, in this order:
- Add version control for your projects: connect the project from Unity Hub.
- Ignore files: set up the ignore list before the first check-in, so
Library,Temp,Logs,obj,UserSettingsand build output stay out of the repository. Unity provides a ready-made list for Unity projects. - Check in files: make the first check-in.
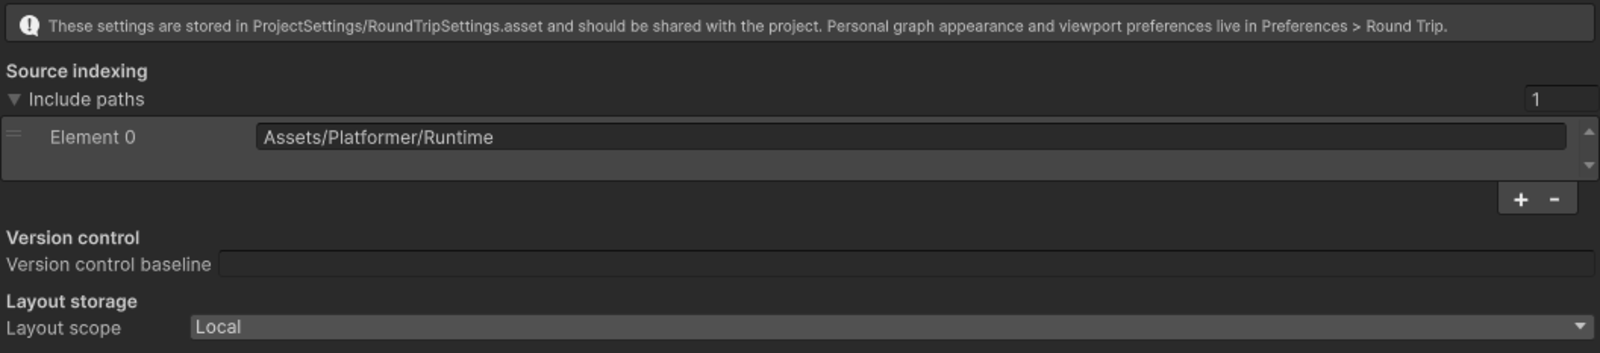
For Round Trip itself: check in ProjectSettings/RoundTripSettings.asset, which holds the folders Round Trip reads, so the team indexes the same code. Check in the RoundTrip folder only when the team uses Shared layouts (Layout and configuration files). UserSettings stays out; it holds each person’s own layouts and last open method.
Every session
Section titled “Every session”Check in before you edit, or before an AI assistant edits, and check in again afterwards, with a comment that says what works.
What Round Trip shows
Section titled “What Round Trip shows”When it goes wrong
| Symptom | Check | Fix |
|---|---|---|
| The Changes button is grayed out. | Hover it. The tooltip reads No version control detected. | Open the project from the folder connected through the Hub. |
| The Changes list stays empty after you edit a script. | Look at Pending Changes in the Unity Version Control window. | Install the desktop app through Open in Desktop App so Round Trip can run cm; use Help if it is still empty. |
- Changes and history: the Changes list and the method menu.
- Check what the AI did: review a change as a diagram, then keep it or go back.